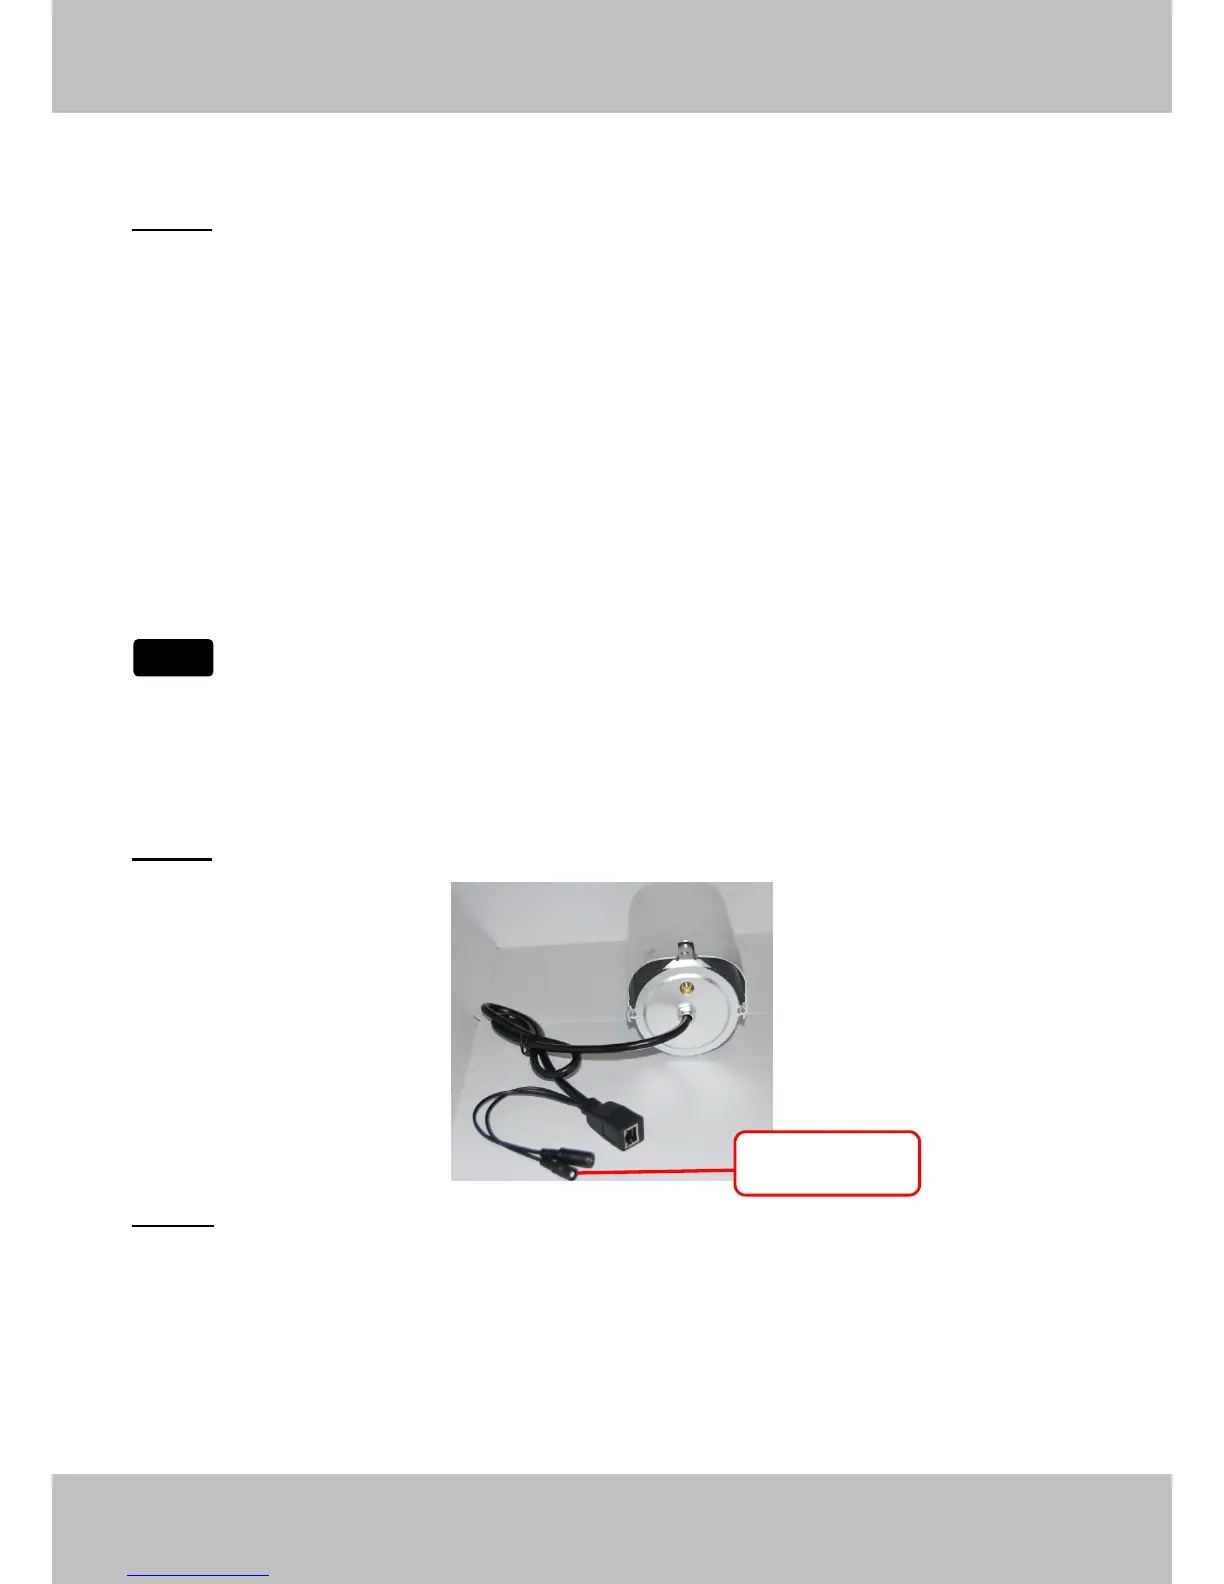
Figure 3.20
Step 03) Please click on the Submit button after all settings have been entered,the camera will
reboot. After the camera has completed the reboot process, wait 10 seconds and disconnect the
network cable.
The LAN IP address will disappear on the window of IP Camera Tool when the camera gets
restarted. Just wait for around 1 minute, the camera will get wireless connection, and the LAN IP
of the camera will be showed again on the window of the IP Cam Tool. You have done wireless
connection of the camera successfully. If the camera has a dynamic IP, after the wireless settings,
the IP will be changed.
If fail to make WiFi connection, please refer to seller or us for help.
3.7.2 WPS (Wi-Fi Protected Set-up)
Step 01) Press and hold the RESET button for four seconds. .
Step 02) Press the WPS button on your router within 60 seconds. The WPS button is usually
on the back or side of your router. On some routers, you may need to log in to the web interface
and click on an on-screen button to activate the WPS feature. If you are not sure where the WPS
buttons is on your router, please refer to your router’s User Manual.
The camera will automatically create a secure wireless connection to your router. If you have