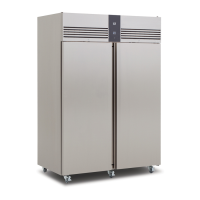
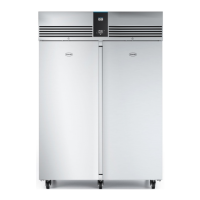
Assembly Of Wall Panel
Note: there is no door header panel, as this is integral with the ceiling panel.
Fit the side panel into the channel and apply a bead of mas c (see fi gs) to create a vapour seal. Place the
rear panel in the channel, these can now be locked together (see fi g 2). Repeat this process for the
remaining panel un l all panels are locked internally.
Fi ng The Ceiling Panel
At the top of the wall panels there is a recess that accepts the ceiling.
Apply mas c to the recess so that when the panel is fi ed there is a good vapour seal.
Slacken the screws securing the front panel to the sides and rest it securely on the top of the ceiling panel,
taking care not to damage the interconnec ng cables, See below.
Li the ceiling panel complete and lower into the top recess.
With the ceiling panel in place slide the galvanised angle bracket into place (see fi g 4). Secure using the
screws provided (see fi g 5 and 6).
English
5