5
95
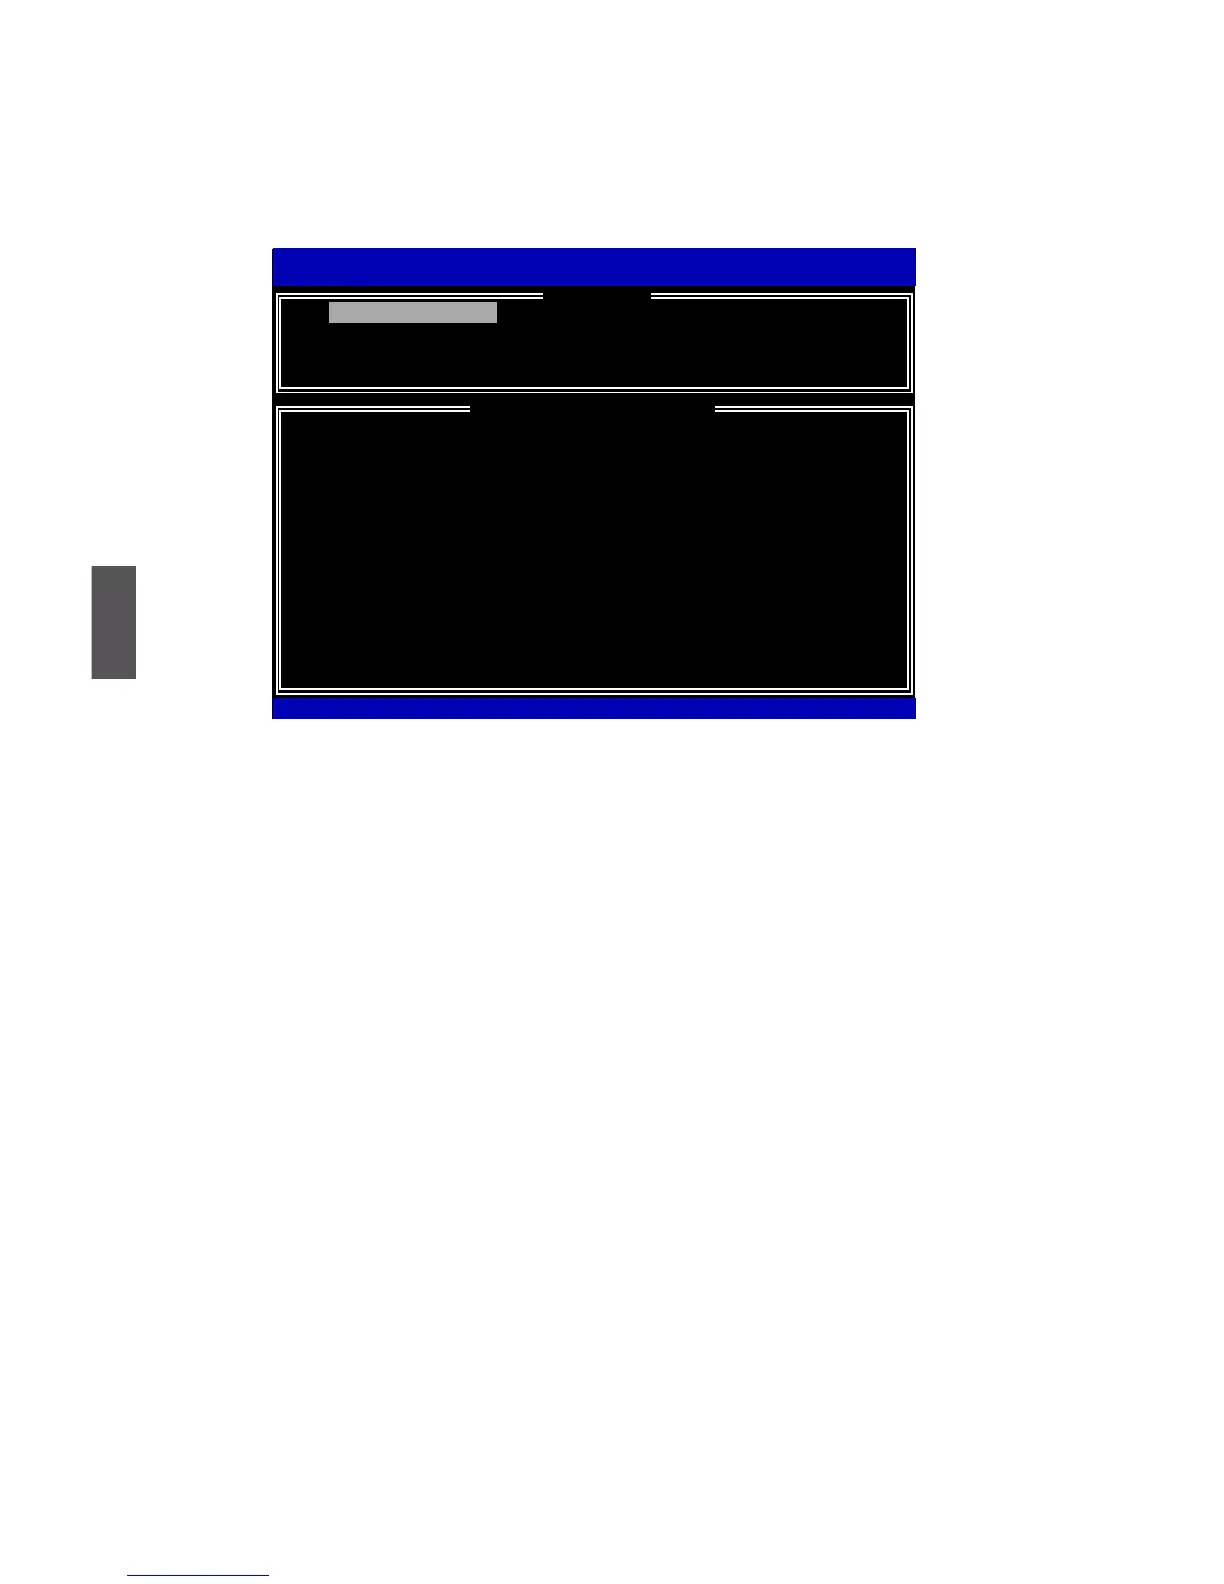
Exit RAID BIOS
1. Take TryRAID5 as an example, select “5. Exit” in main menu and press <Enter>.
The screen displays :
1. Create RAID Volume 4. Recover Volume Options
2. Delete RAID Volume 5. Acceleration Options
3. Reset Disks to Non-RAID 6. Exit
RAID Volume :
None Dened.
Physical Devices:
ID Device Model Serial # Size Type/Status(Vol ID)
0 ST3320418AS 9VM8Y4D8 298.0GB
Non-RAID Disk
1
ST3160815AS
5RX4M04N 149.0GB Non-RAID Disk
Intel(R) Rapid Storage Technology - Option ROM - 10.0.0.1032
Copyright(C) 2003-10 Intel Corporation. All Rights Reserved.
[ DISK/VOLUME INFORMATION ]
[↑↓]-Select [ESC]-Exit [ENTER]-Select Menu
[ MAIN MENU ]
1. Create RAID Volume
2. Press <Y> to exit Intel
®
Matrix Storage Manager program. The system will enter
BIOS setup.
3. Shut down the computer, remove the Non-RAID disk, and we will continue for
Windows OS installation. If you do not remove irrelevant hard disk, Windows may
detect it during the installation, and you could be confused.
4. Remove any diskette from oppy drive.
5. Restart computer to start Windows installation.
 Loading...