RAID CONFIGURATION
69
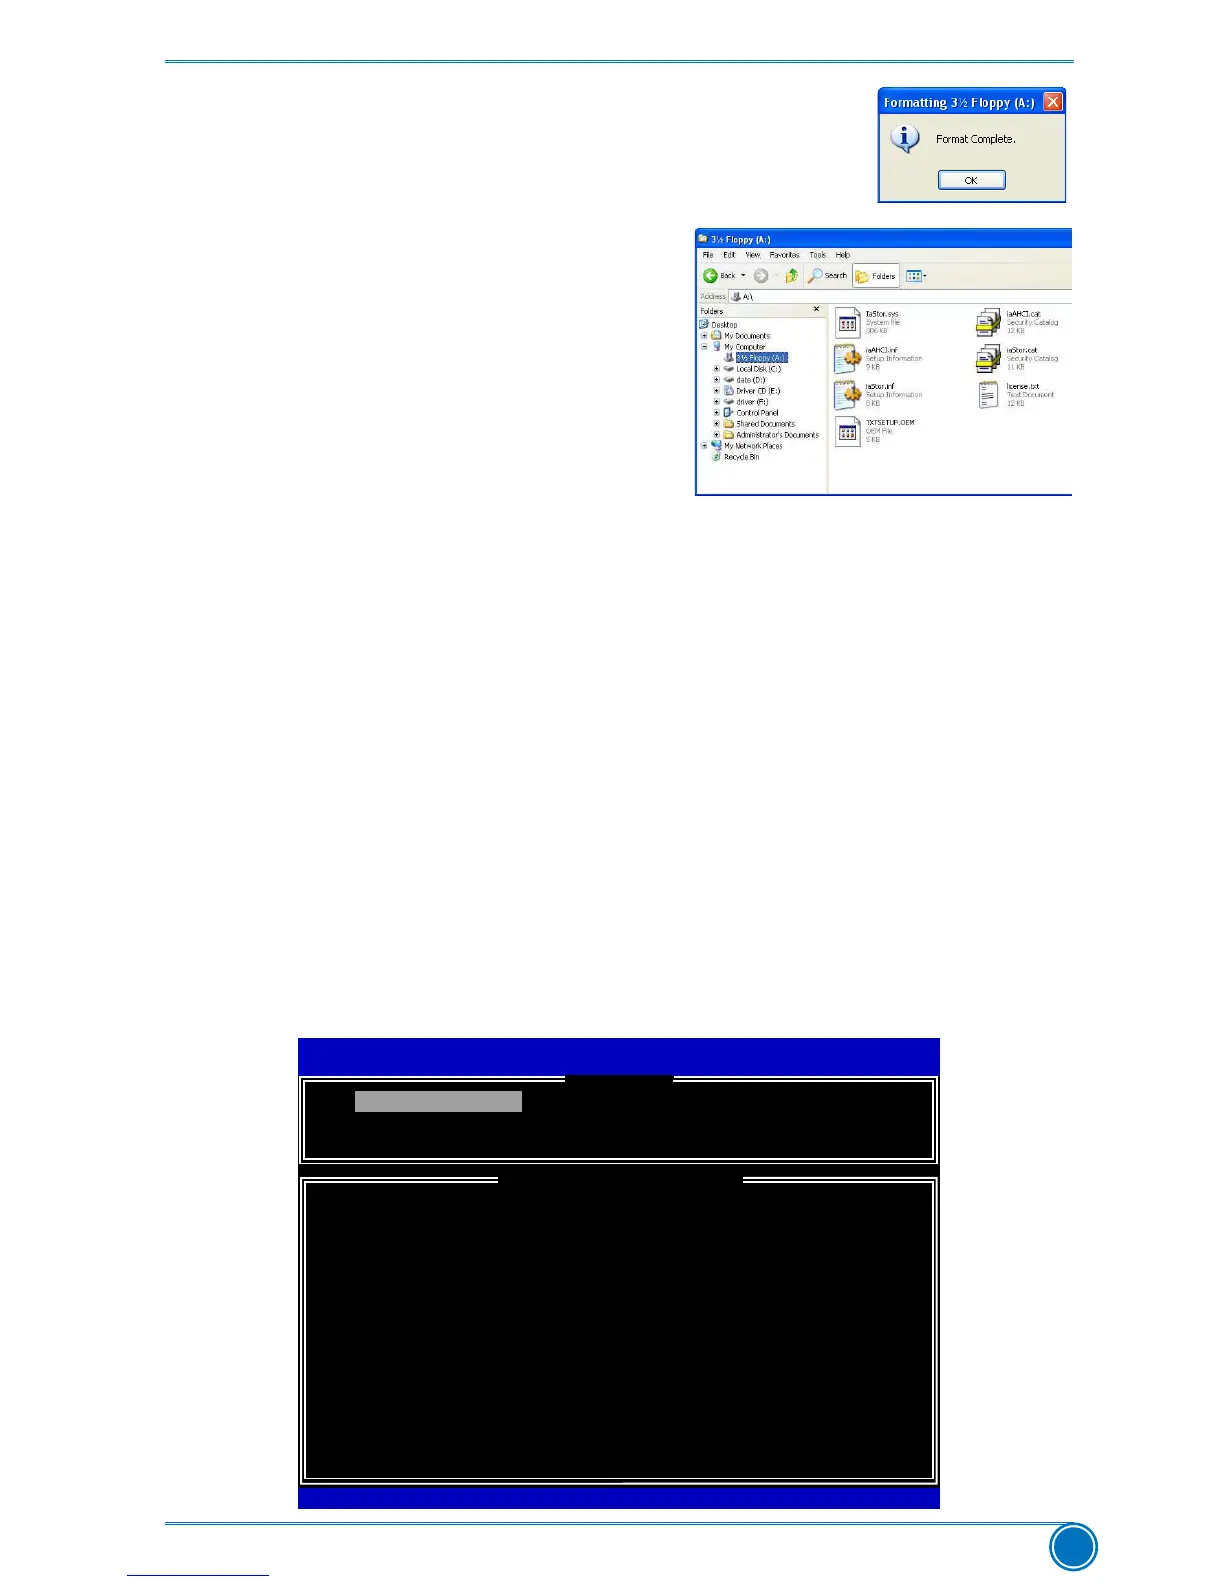
8.Formatnished.Click"OK"tocontinue
copying of RAID driver into this diskette.
9.Checkifthediskettecontainsthedriverles.
Later, when in the process of installing
Windows XP in your RAID system, it will ask
youtousethisoppydiskettetoprovide
driverforadditionalspecicdevices,for
example, a RAID device.
10. Install Serial ATA Hard Disks :
10-1. Shut down your computer.
10-2.InstallSATAharddisksintothedrivebays,connectallpowerandSATAcables.
5-5 BIOS Conguration
1. Enter the BIOS setup by pressing <DEL> key during the POST(Power On Self Test).
2.Setthe“SATAMode”to“RAIDMode”.(PleaserefertoChapter3BIOSSetup)
3.Press<F4>tosavethesettingthenPCwillrebootitself.
5-6 Create RAID in BIOS
1. Enter RAID BIOS Setup
When BIOS is restarted, it will display a message asking you to press <Ctrl>+<I> keys simul-
taneouslytoenterthemainmenuofIntel®RapidStorageTechnologyenterpriseOptionROM
Utility.Pressthe<Ctrl>+<I>toenterCongurationUtility.
Intel(R)MatrixStorageManageroptionROMv5.0.0.1011ICH9Rw6AID5
Copyright(C)2003-04IntelCorporationAllRightsReserved.
1.CreateRAIDVolume4.RecoverVolumeOptions
2.DeleteRAIDVolume 5.AccelerationOptions
3. Reset Disks to Non-RAID 6. Exit
RAID Volume :
NoneDened.
Physical Devices:
ID Device Model Serial # Size Type/Status(Vol ID)
0
ST3320418AS
9VM8Y4D8 298.0GB Non-RAID Disk
1
ST3160815AS 5RX4M04N
149.0GB Non-RAID Disk
Intel(R)RapidStorageTechnology-UptionROM-11.0.8.1204
Copyright(C)2003-11IntelCorporation.AllRightsReserved.
[DISK/VOLUMEINFORMATION ]
[ MAIN MENU ]
1. Create RAID Volume
[↑↓]-Select[ESC]-Exit[ENTER]-SelectMenu
 Loading...