6
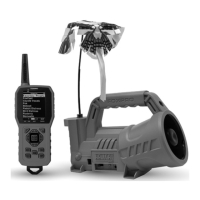
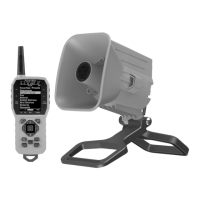
Figure 1 displays the HellCat Pro. Numbered lines are present to
highlight different features. The following numbered list corresponds to
the numbered lines in the image:
1. The carry handle is located on the top of the HellCat Pro.
2. The decoy is located on the left side.
3. The charge jack is located to the left of the control panel.
4. The power switch is located on the left side of the control panel.
5. The pilot lamp/low battery indicator is to the right of the power
switch.
6. The auxiliary jack is located to the right of the pilot lamp/low
battery indicator.
7. The tripod mount is located on the underside of the HellCat Pro.
8. The USB port is located inside of the battery compartment.
9. The battery compartment door is located on the backside of the
HellCat Pro.
10. The decoy support rod connects to the decoy coupler.
11. The blue bird topper connects to the decoy support rod.
12. The horn speaker is located on the right side.
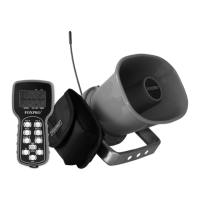
Installing the Battery Pack in the HellCat Pro
Open the battery compartment by unscrewing the knurled
thumbscrew. Locate and connect the power wire to the battery pack
and install the battery pack into the battery compartment.
Turning on the HellCat Pro
To turn on the HellCat Pro, move the power switch to the right or “on”
position. The green LED will illuminate solid green to indicate that it is
now powered on. To turn it off, move the power switch to the left or
“off” position.