FPI P36D Zero Clearance Direct Vent Gas Fireplace 39
14 GA.
16 GA.
18 GA.
20 GA.
22 GA.
50 Ft.
32 Ft.
20 Ft.
12 Ft.
9 Ft.
Recommended Maximum Lead Length
(Two-Wire) When Using Wall
Thermostat (CP-2 System)
Wire Size Max. Length
Thermostat Wire Table
Option 3:
WALL THERMOSTAT
A wall thermostat may be installed if desired,
connect the wires as per the wiring diagram.
Use the table below to determine the maximum
wire length.
Note: Preferable if the thermostat is in-
stalled on an interior wall.
FPI offers an optional programmable thermostat
but any 250-750 millivolt rated non-anticipator
type thermostat that is CSA, ULC or UL ap-
proved may be used.
CAUTION
Do not connect millivolt
wall thermostat wires
to a 120V wire.
Option 1:
REMOTE CONTROL
Use the FPI Remote Control Kit approved for this
unit. Use of other systems may void your
warranty.
The remote control kit comes with a hand held
transmitter, a receiver and a wall mounting
plate.
1) Choose a convenient location on the wall to
install the receiver and the receptacle box
(protection from extreme heat is very im-
portant). Run wires from the fireplace to
that location. Use the Thermostat Wire Ta-
ble.
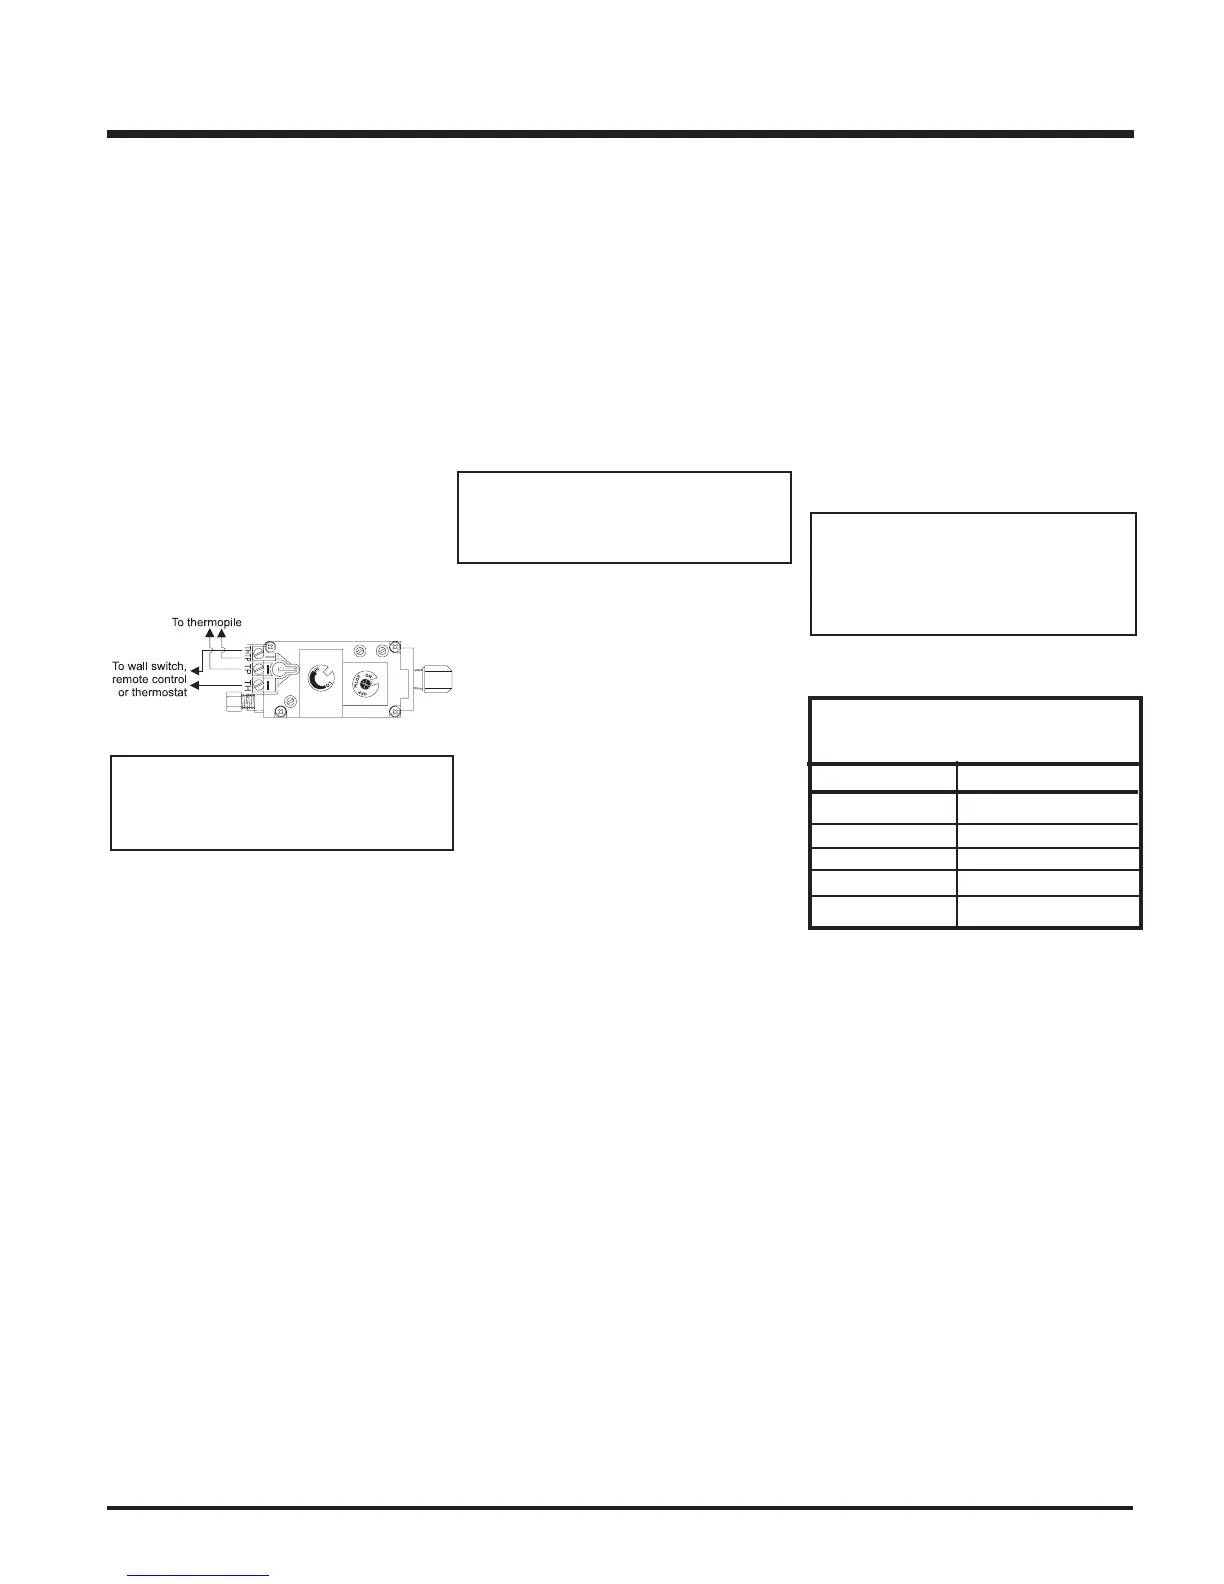
2) Connect the two wires to the gas valve.
See diagram below.
CAUTION
Do not connect millivolt remote
control wires to a 120V wire.
3) Install 3 AAA alkaline batteries in transmitter
and 4 AA alkaline batteries in the receiver.
Install the receiver and its cover in the wall.
Switch the remote receiver to "remote"
mode. The remote control is now ready for
operation.
Option 2:
WALL SWITCH
1) Run the wire through the right or left side
inlet opening. Be careful not to damage
wire.
Note: We recommend a maximum of 15'
of wire but if you wish to go with a
longer run, use the Thermostat
Wire Table.
2) Connect the wire to the wall switch and
install into the receptacle box.
CAUTION
Do not connect millivolt
wall switch wire to a 120V wire.
INSTALLATION