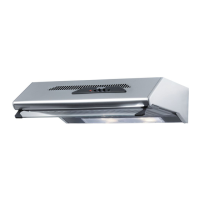
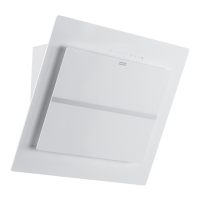
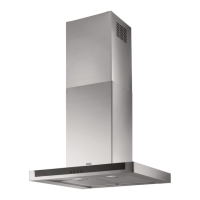
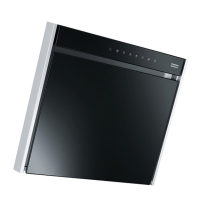
INSTALLATION
The cooker hood is intended for installation
under, built into or between cupboards. The
cooker hood is equipped with Easy Clean™
motor package, LED lighting and a metal
mesh filter. The cooker hood has three
speeds, an intensive mode as well as a ven-
tilation mode. Installation, use, care, main-
tenance etc., are described in these
instructions.
TECHNICAL INFORMATION
A B
50 cm 498 249
60 cm 598 299
70 cm 698 349
80 cm 798 399
90 cm 898 449
267
Ø160
Ø150
30
33
216
235
261
118
479
104
31
26
A
B
82
24
Fig. 1
Measurements see Fig. 1
Electrical
installation
230 V ~ earthed.
Lighting LED 2 x 2 W
INSTALLATION
Fixing parts, screws for mounting, etc. are
supplied with the cooker hood.
Electrical installation
The cooker hood is supplied with a cable
and earthed plug for connection to an ear-
thed socket. The socket should be acces-
sible after installation is complete.
Assembly
Remove grease filter and motor unit, see
Fig. 7 and Fig. 8.
Fig. 2
Fig. 3
The cooker hood can be placed under, be-
tween or built into cupboards. When instal-
led under cupboards, the cooker hood is
screwed into place with four 3.8 x 30
screws, Fig. 2. When placed between or
built into cupboards, the cooker hood is in-
stalled with the aid of brackets. Brackets
and cooker hood must be screwed into pla-
ce with eight 3.5 x 13 screws, Fig. 3. The
brackets are screwed into place with the
bevelled corners facing out and level with
the front edge of the cupboard, Fig. 3A, or
10
991.0357.786/D000000006688/180157/2021-09-24