Fitting the Hood Canopy
Before fixing the Hood to the wall, Lower corner spacer 30 must
be connected to the Hood Canopy as follows:
• Loosen the 2 Screws that join the elements making up a Lower
corner spacer 30.
• Fasten the Lower corner spacer 30 to the Hood using 3 Screws
(2.9 x 9.5) provided.
• Adjust the Screws Vr, located on the Hood Canopy connection
points, so that they are at the half-way point.
• Hook the Hood Canopy to the Bracket provided.
• It is now possible to level the hood canopy, using the screws
Vr.
• Lock the 2 Screws in the Lower corner spacer, loosened as
above, after moving the mobile part until it is in the right posi-
tion.
• If necessary, it is possible to fasten the hood to the wall using
two more screws with wall plugs, which can be positioned
from inside the hood canopy.
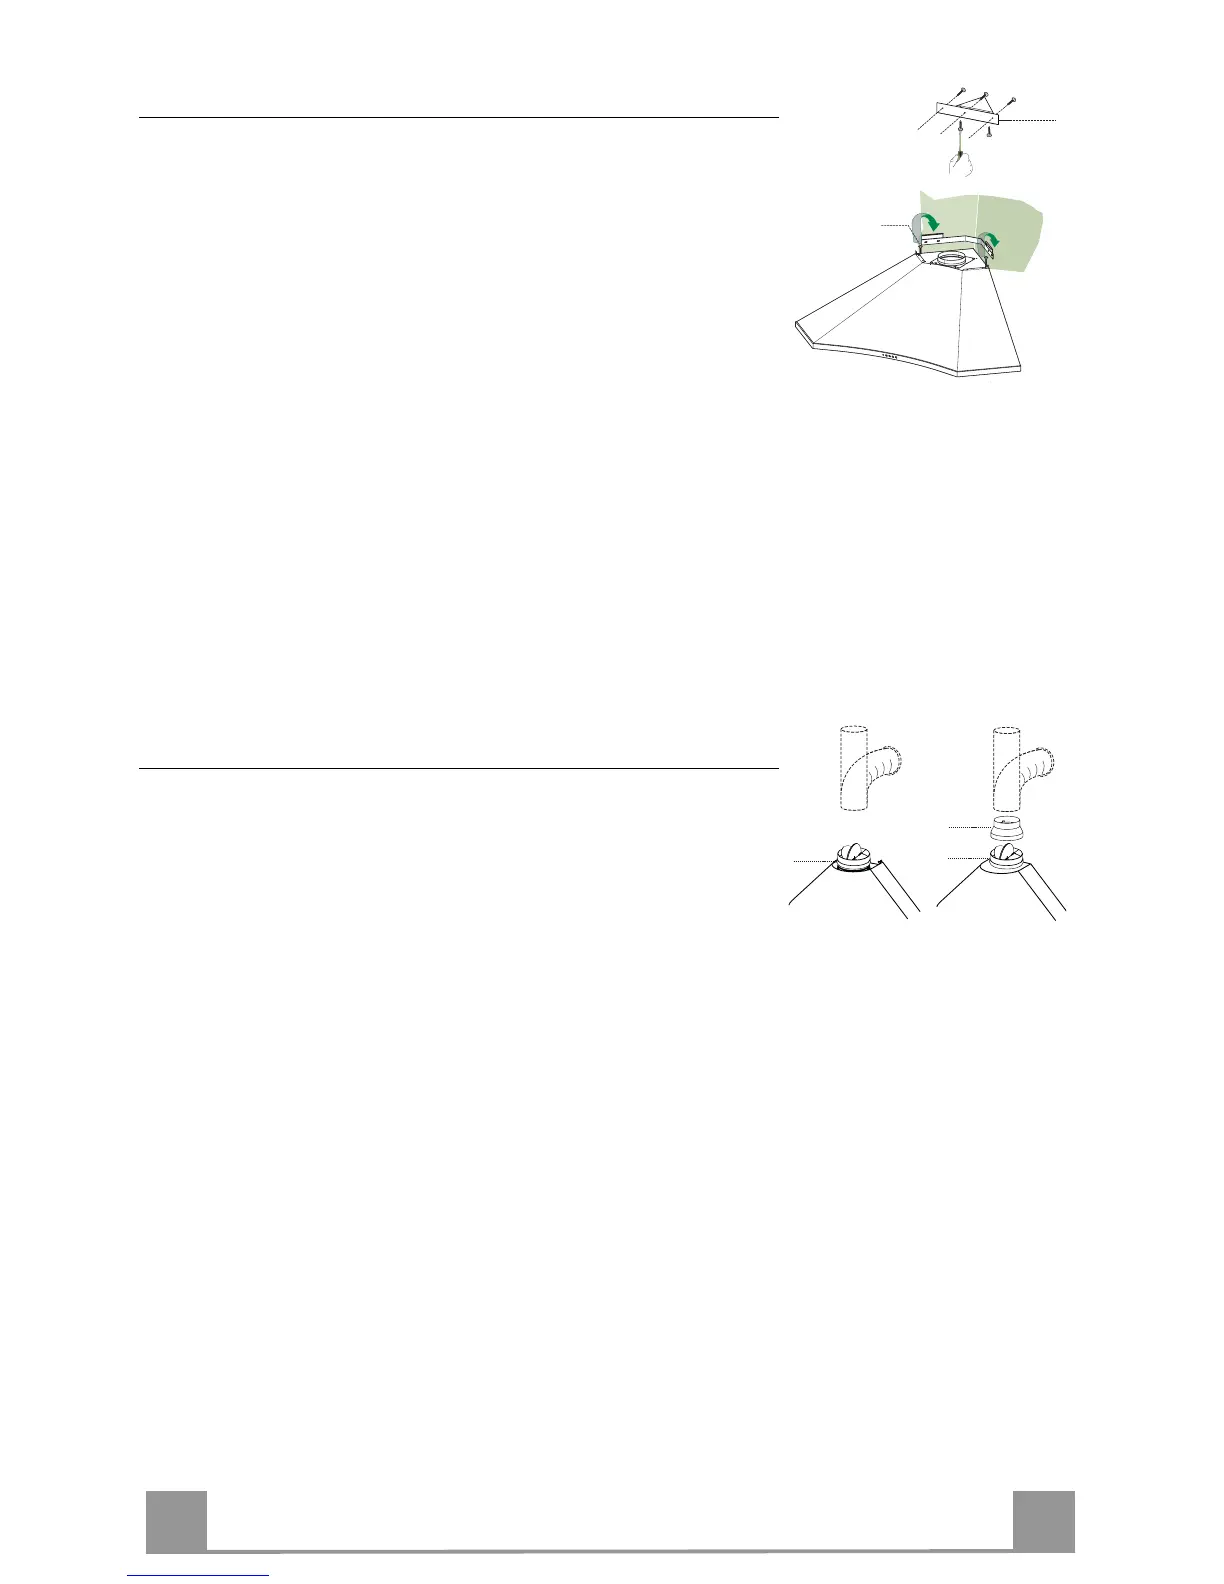
Connections
DUCTED VERSION AIR EXHAUST SYSTEM
When installing the ducted version, connect the hood to the
chimney using either a flexible or rigid pipe ø 150 or 120mm, the
choice of which is left to the installer.
To install a ø 150
• To install the dumper 10
• Fix the pipe in position using sufficient pipe clamps (not sup-
plied).
To install a ø 120
• To install a ø 120 mm air exhaust connection, insert the re-
ducer flange 9 on the dumper 10.
• Fix the pipe in position using sufficient pipe clamps (not sup-
plied).
• Remove any activated charcoal filters.
 Loading...