999075 – Rev F Page 19 of 40
4 . 4 Charging the Ceiling Hoist
As standard practice, the ceiling hoist should be placed on charged
after each use. Keeping the batteries charged regularly and not
allowing full discharge, will maintain the lifespan and performance of
the batteries. From full discharge, the batteries take up to 8.5hrs
before they are fully charged.
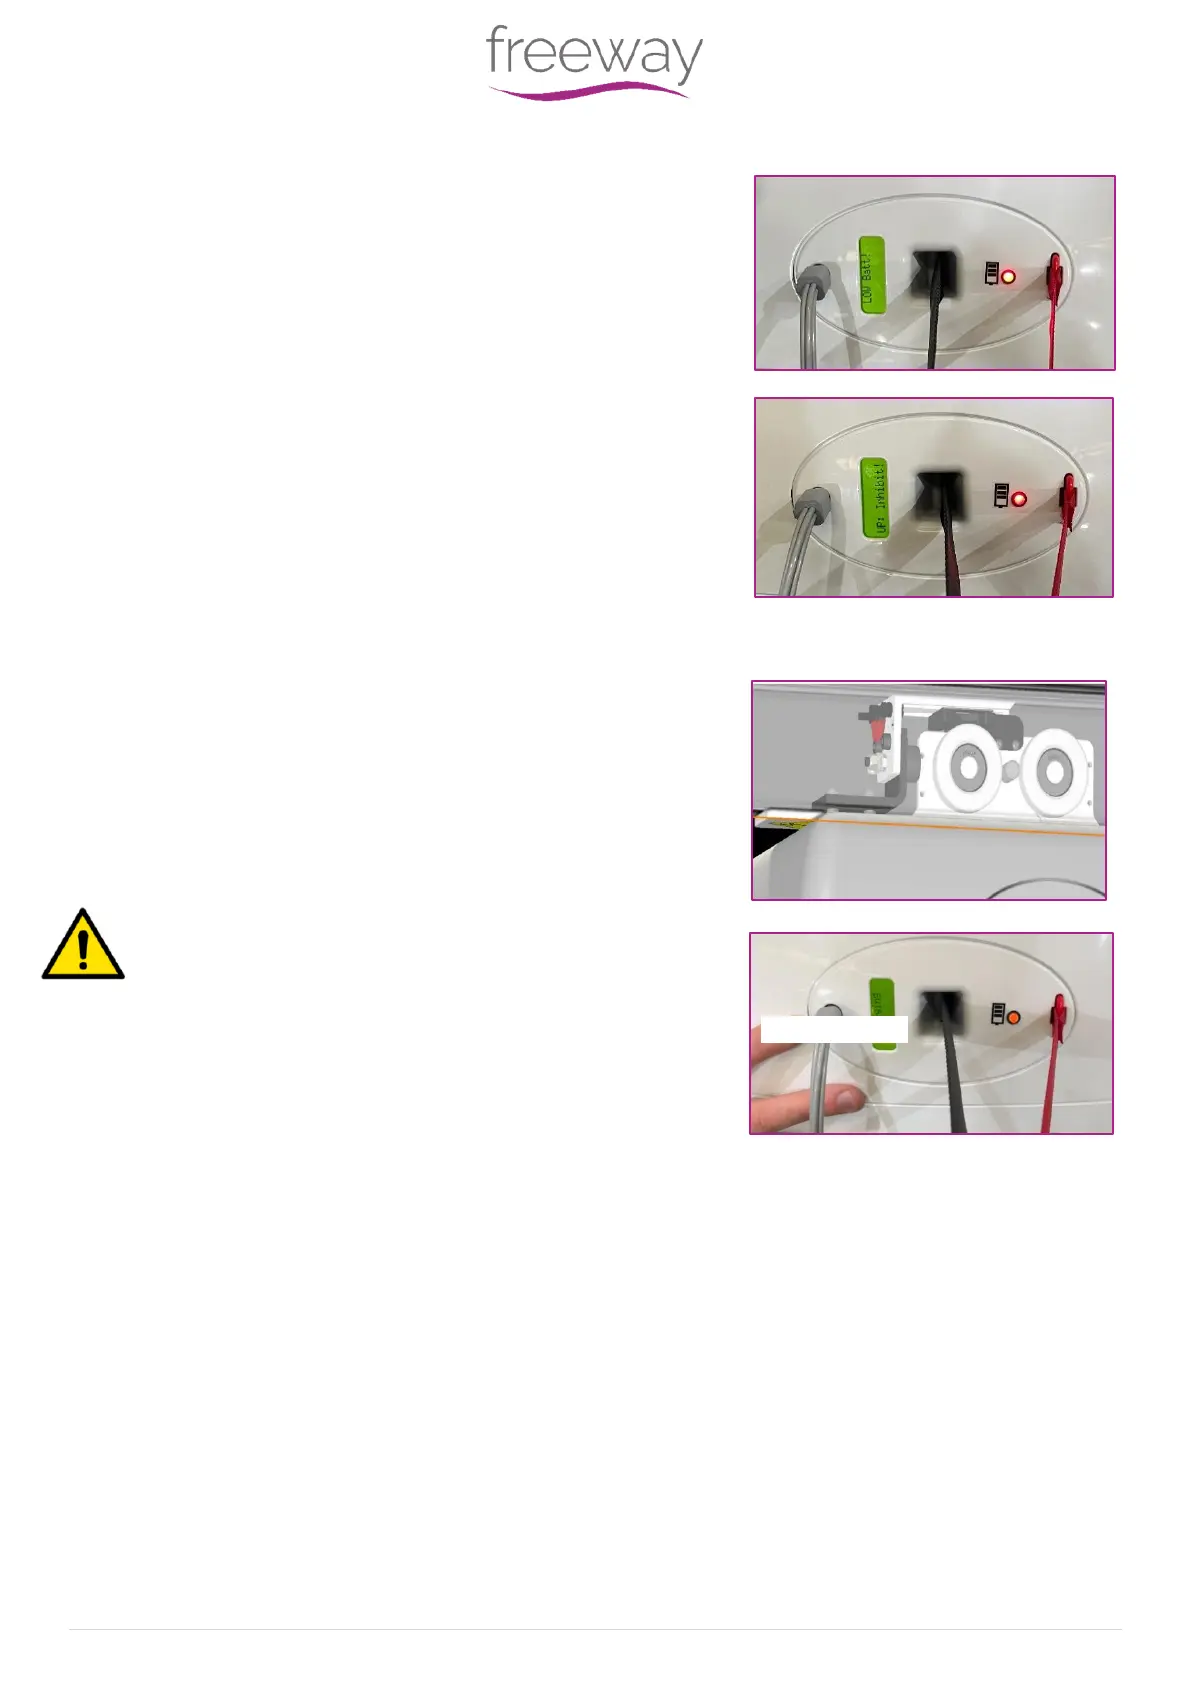
The hoist LCD indicates the remaining charge in the batteries. Once
the batteries are low, the LCD will display “Low Batt!”, the LED will turn
orange and the ceiling hoist will sound three single audible beeps.
If the ceiling hoist has not been charged during the low battery period.
The LCD will then display “Up: Inhibit!”, the LED will turn red, and the
ceiling hoist will sound a single audible beep, lasting three seconds.
The ceiling hoist will no longer lift but will lower to allow the user to
exit the ceiling hoist.
When the ceiling hoist is placed on charge, it may remain connected
to the charger indefinitely because the ceiling hoist has a built-in
regulator, removing the danger of overcharging.
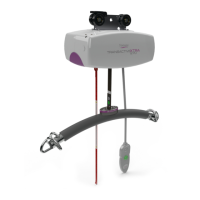
The ceiling hoist is designed for in-track charging. The charging dock
will be located at either end of the track system. To begin charging,
traverse the ceiling hoist into the charging dock. Once contact is
made, the LCD will display “Charging” and the LED will begin to flash
orange.
Do not traverse the ceiling hoist with excessive force into the
dock as this has the potential to damage both the ceiling hoist
and the charger.