50
Configuring the inverter
Your FRONIUS IG has been pre-configured in the factory, and is ready for use.
Once the FRONIUS IG has been connected to the solar modules (DC) and the public
mains network (AC), all you need do is close the disconnectors.
Factory configu-
ration
- If the solar modules are producing sufficient power, the LED will show steady
orange and the startup procedure will begin to appear on the display unit
- When the LED lights up orange, this indicates that the FRONIUS IG is about to start
up automatically
- Once the FRONIUS IG has completed its automatic startup, the LED will show
steady green
- Provided that power continues to fed into the mains, the LED will remain steady
green to confirm that the FRONIUS IG is functioning correctly.
If, when you use your FRONIUS IG for the first time, events do not occur as described
above and if the FRONIUS IG does not start feeding power into the mains, consult the
chapter on “Troubleshooting”.
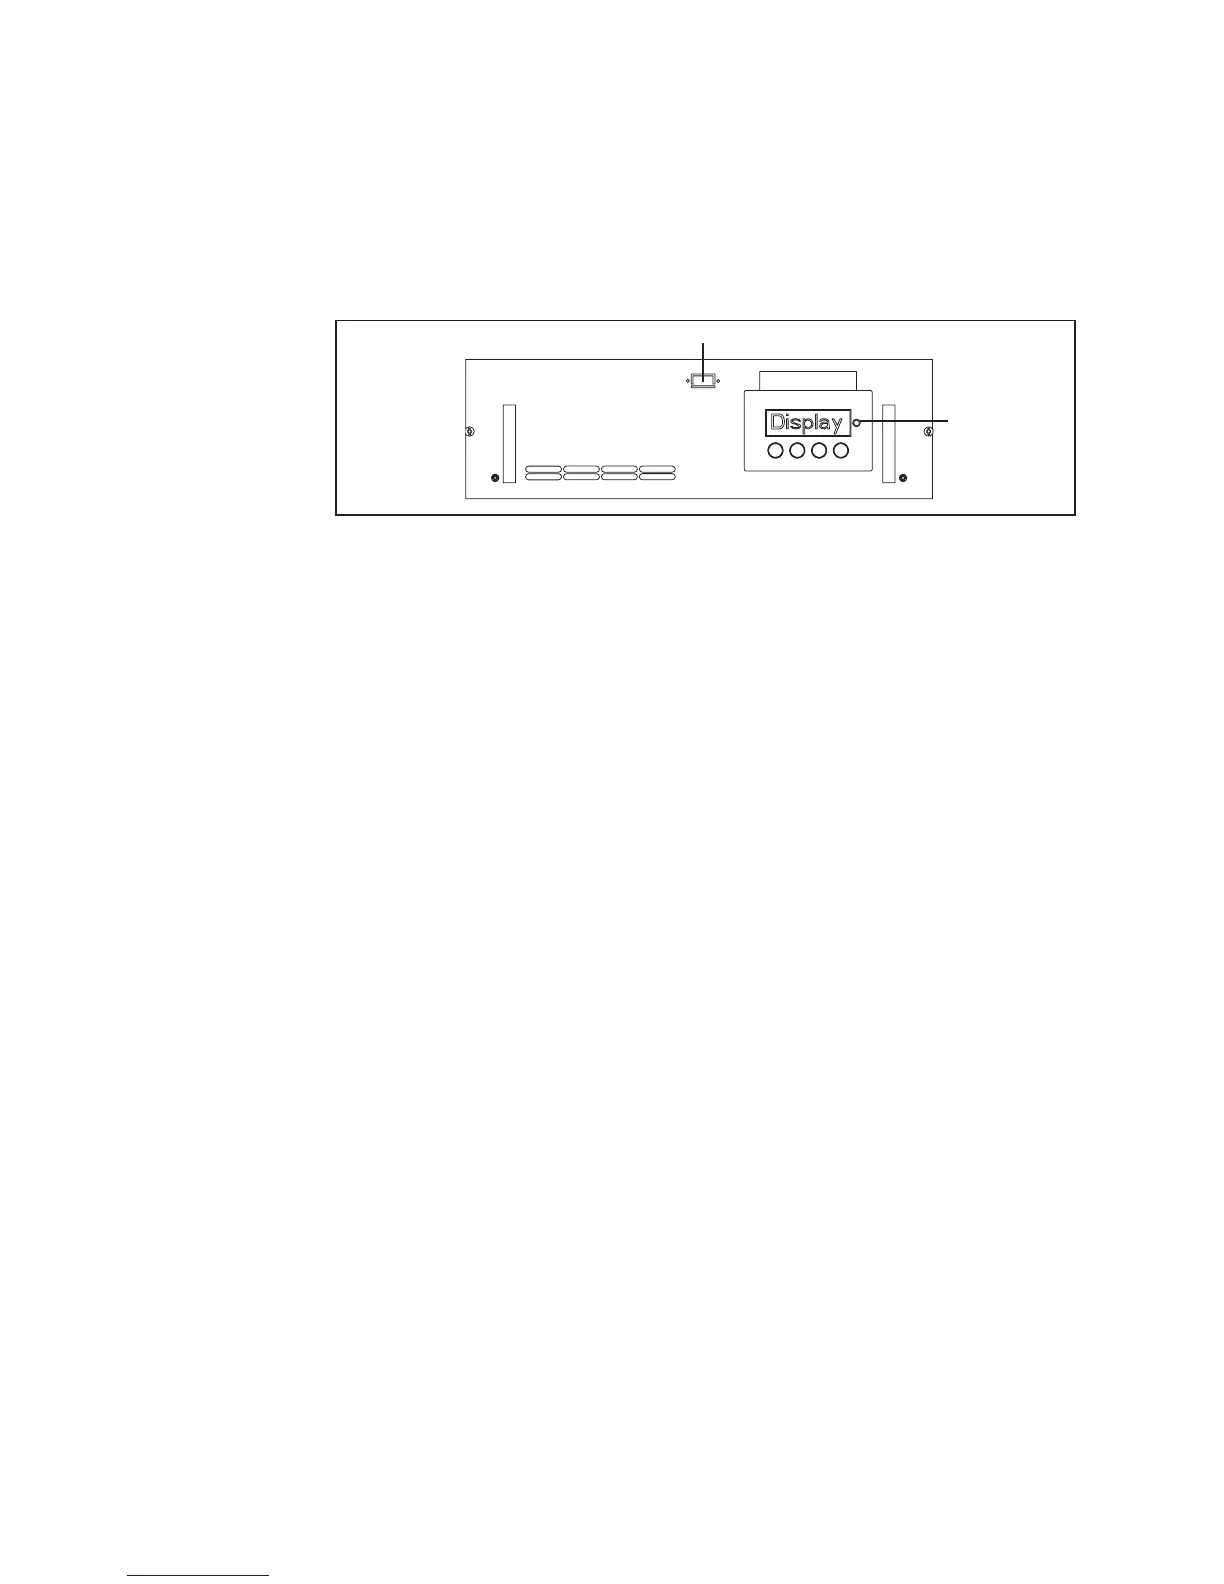
Fig.5 Optional rack with display and LED
Custom configu-
ration
The options for custom configurations are described in the chapter entitled „Operating
Scheme“, „The Setup Menu“ section in the operating instructions.
Settings for connecting several inverters via LocalNet (e.g. enumerating the connected
bus subscribers/add-on system components) can be found in the chapter entitled „Local-
Net“.
LED
RS 232 installation option