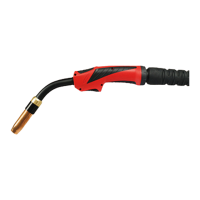
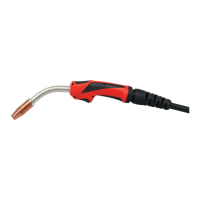
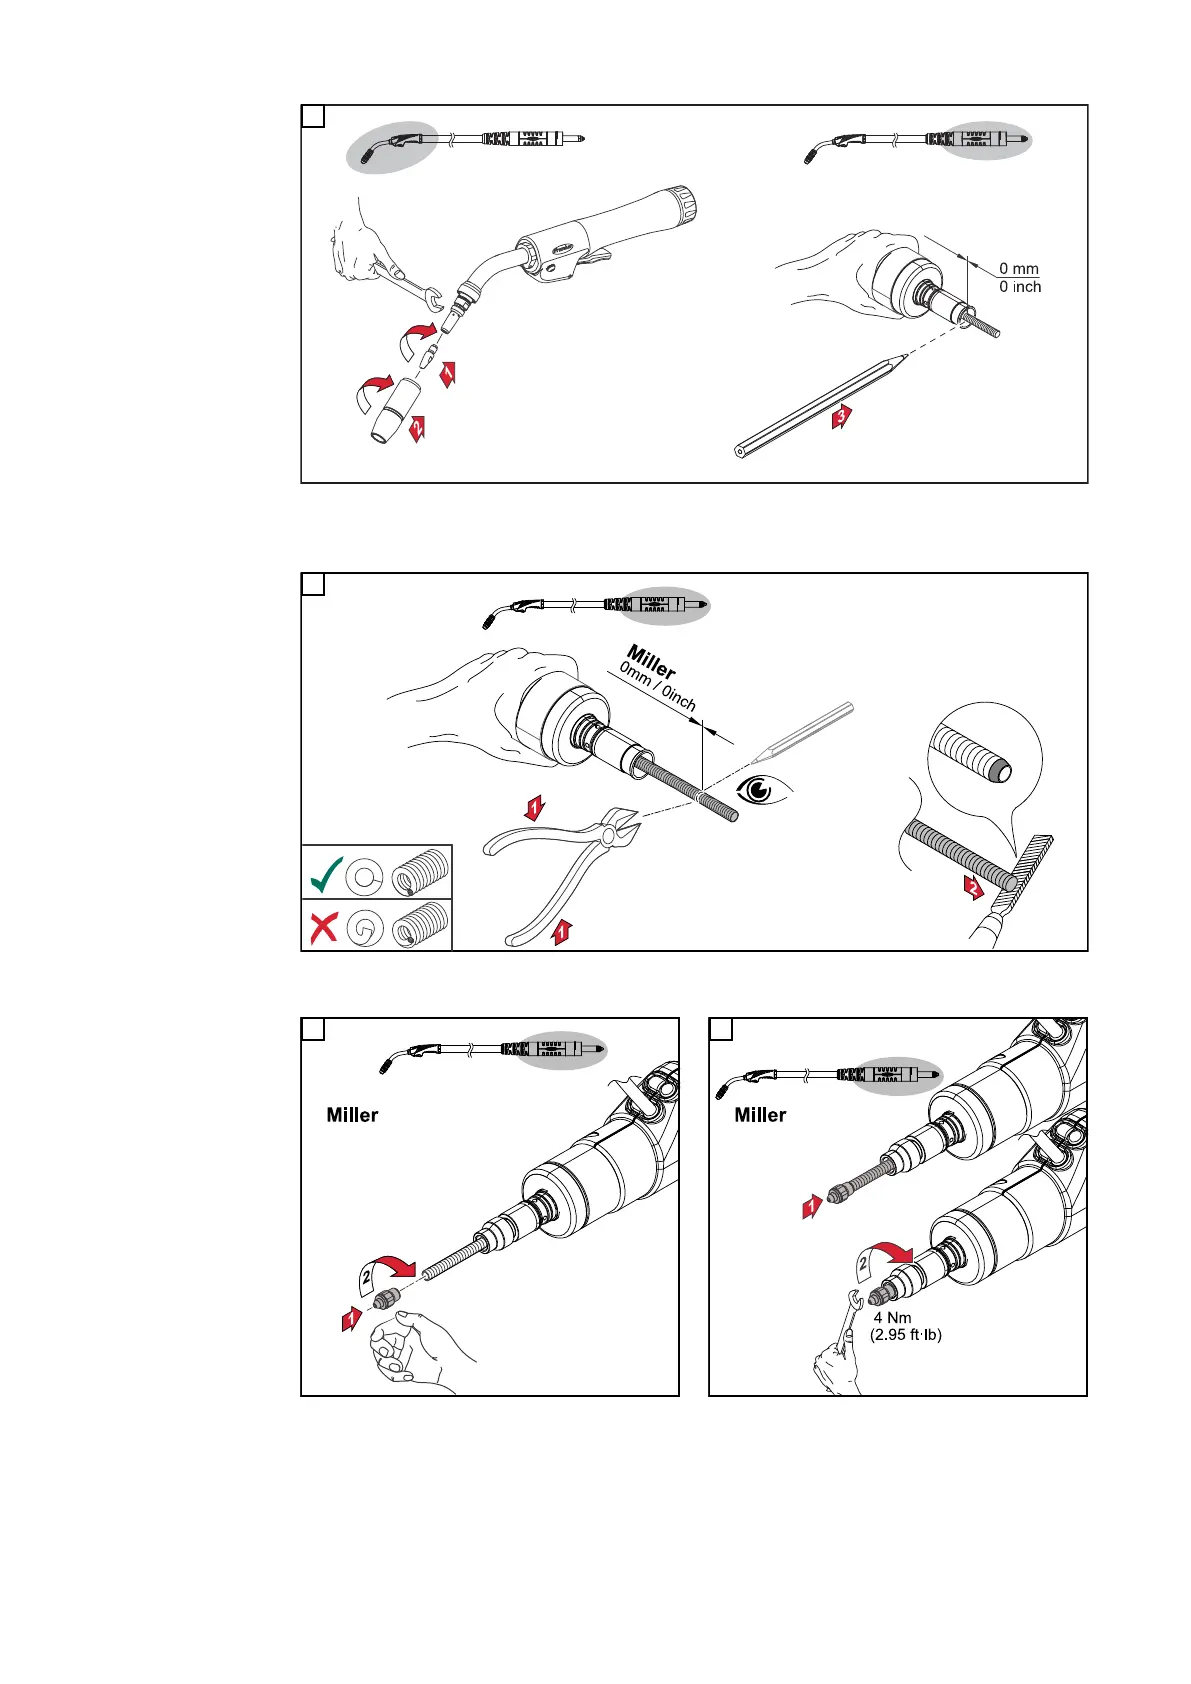
Fit the contact tip and gas nozzle; mark the inner liner at the end of the PowerPin
4
Final tasks - Miller:
Cut and deburr the inner liner at the previously marked position; make sure that no burr protrudes into the inner
liner
5
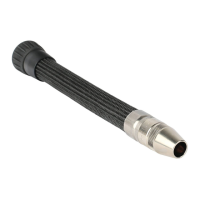
Screw the end cap onto the inner liner
6
Push the inner liner into the welding torch fully and
secure the end cap in the PowerPin
7
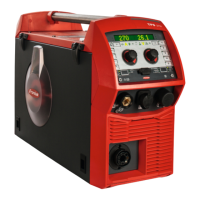
- The welding torch can now be connected to a Miller welding system. To do so, see
the Operating Instructions for the respective welding system.
- For information on connecting the control line, see the following section Connec-
ting the welding torch
40