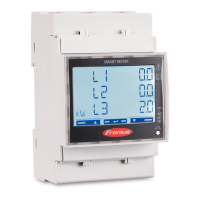
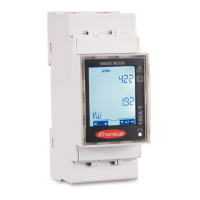
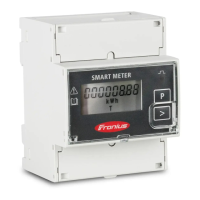
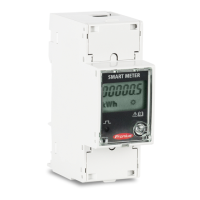
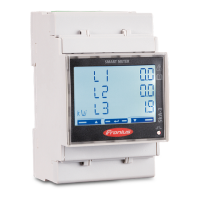
The "Current general view" menu area displays the power of the PV modules, self-con-
sumption, the energy fed into the grid and the battery charge (if available).
Configuring the
Fronius Smart
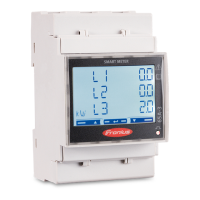
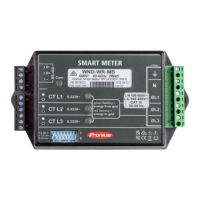
Meter TS as a
secondary meter
1
Go to the Fronius Datamanager website.
- Open the web browser.
- In the address bar of the browser, enter the IP address (IP address for WLAN:
192.168.250.181, IP address for LAN: 169.254.0.180) or the host and domain
name of the Fronius Datamanager and confirm.
- The Fronius Datamanager website will be displayed.
2
Click the "Settings" button.
3
Log in to the login area with the "service" user and the service password.
4
Call up the "Meter" menu area.
5
Select the secondary meter from the drop-down list.
6
Click the "Add" button.
7
Enter the name of the secondary meter in the "Name" input field.
8
Enter the previously assigned address in the “Modbus address” input field.
9
Add meter description.
10
Click the button to save the settings.
The Fronius Smart Meter TS is configured as a secondary meter.
32
 Loading...
