EN
8
1. Plug the AC power cord into the power port on the back panel of the switch.
2. Connect the other end of the power cord to an AC power source.
Connecting the Power
1413
1615
2019
2221
2423
1817
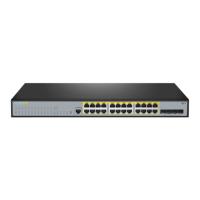
SFP+
25 26 27 28
Step 1: Connect a computer to any Ethernet port of the switch using the network cable.
Step 2: Set the IP address of the computer to 192.168.1.x. ("x" is any number from 2 to 254.). Set the
subnet mask of the computer to 255.255.255.0.
Conguring the Switch Using the Web-Based Interface
Internet Protocol Version 4 (TCP/IPv4) Properties
Cancel
Advanced...
OK
x
General
You can get IP settings assigned automatically if your network
supports this capability. Otherwise, you need to ask your network
a dministrator for the appropriate IP settings
Obtain an IP address automatically
Use the following IP address:
IP address:
Subnet mask:
Default gateway
Obtain DNS server address automatically
Use the following DNS server address:
Validate settings upon exit
192 . 168 . 1 . 2
225 . 225 . 225 . 0
. . .
Preferred DNS server
. . .
Alternate DNS server
. . .
?
Conguring the Switch
100-240V AC50/60Hz
WARNING: Do not install the power cord while the power is on.
 Loading...