Google Cloud Print
575
Appendix
15
Registering Devices to Google Cloud Print
This section explains how to register your machine to Google Cloud Print, using CentreWare
Internet Services to enable [Google Cloud Print] port.
You should create a Google account (e-mail address) in advance to register your machine to
Google Cloud Print.
For more information on creating an account, refer to the Google Inc. web site.
Preparing Paper
The machine will print out a registration paper during the procedure. Make the following
settings before starting the registration.
Note • When the registration is finished, restore the original settings.
1
Log in to your machine as a system administrator.
2
Select [Tools] on the Services Home screen.
3
Select [System Settings] > [Print Service Settings] > [Other Settings] > [Substitute Tray].
Then select [Change Settings].
4
Select [Use Closest Size], and select [Save].
5
Select [Close].
6
Select [Close].
Enabling [Google Cloud Print] Port
1
Start a web browser from a network connected computer.
2
Enter the machine's IP address into the address box on the browser, and then press the
<Enter> key. Connection to CentreWare Internet Services is established.
Note • During connection/operation, pop-up screen for user ID/passcode entry may appear. In this case,
enter a system administrator's user ID/passcode and click [OK].
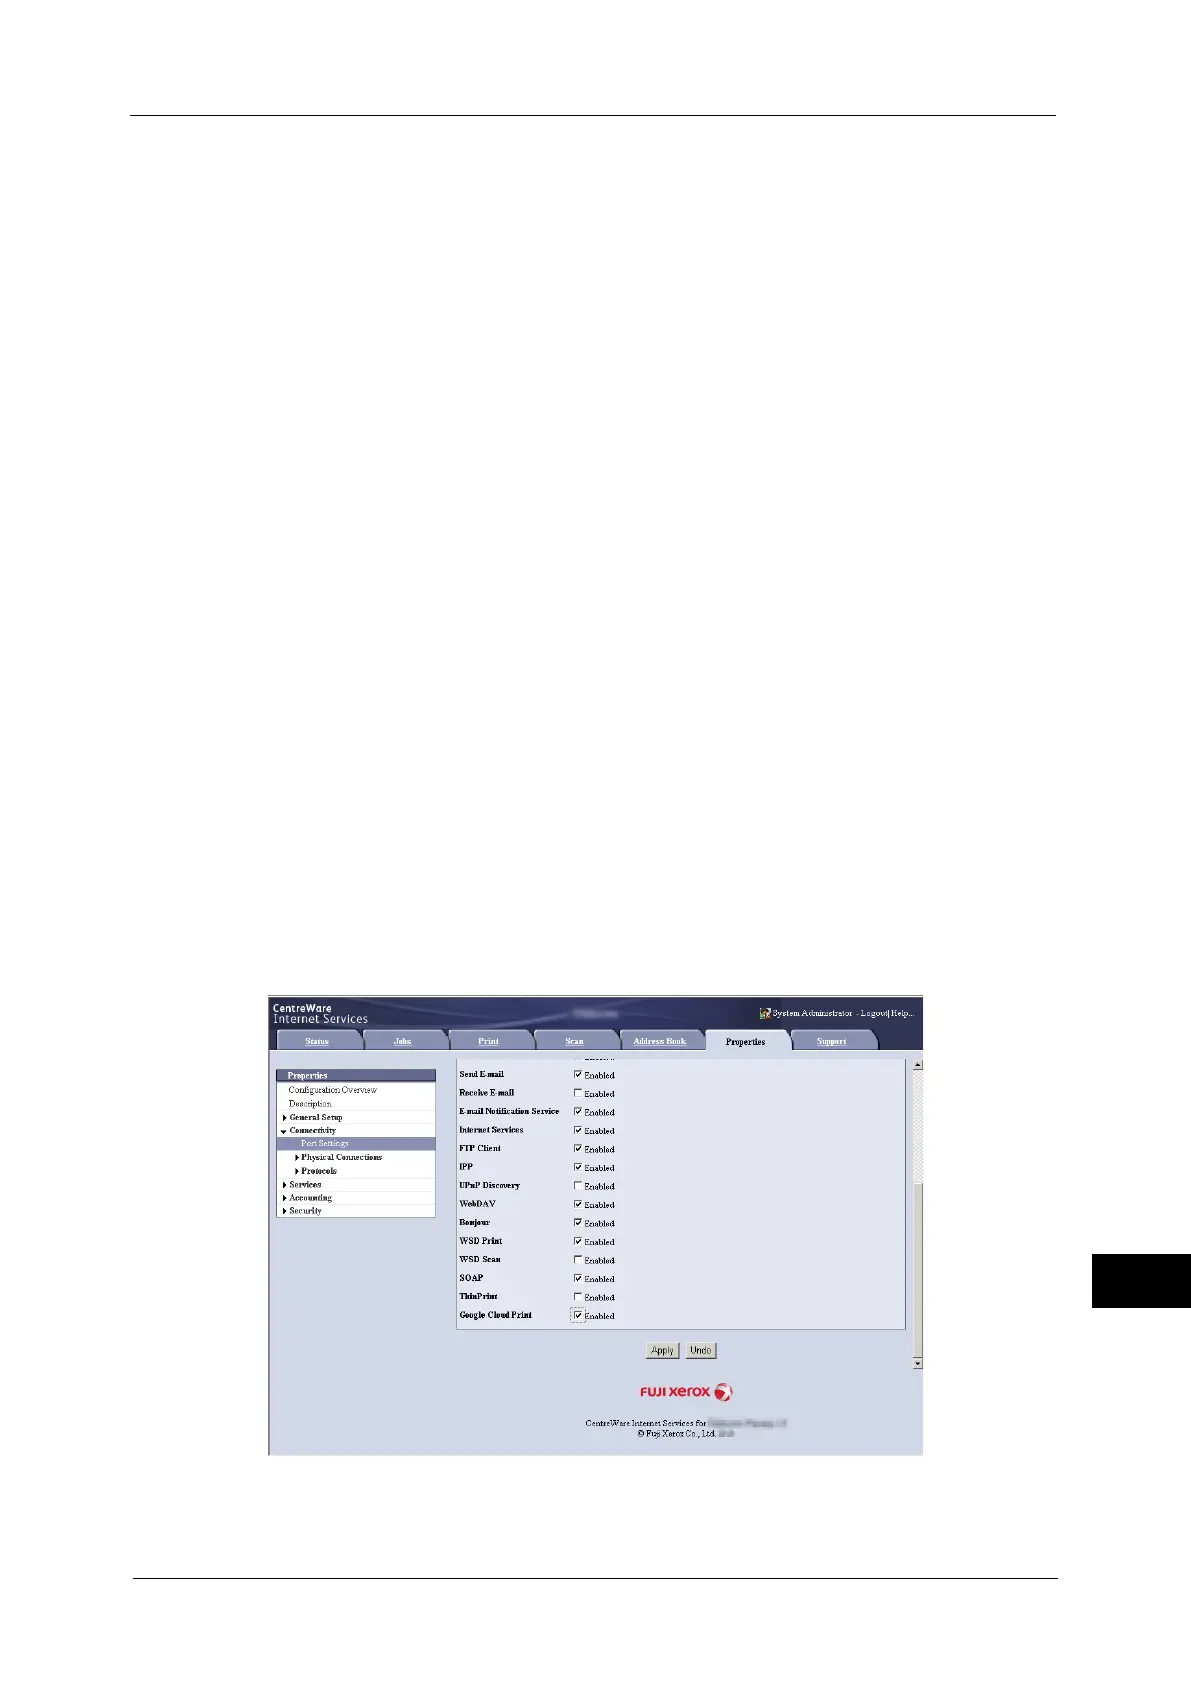
3
Click [Properties] tab > [Connectivity] > [Port Settings]. Then check [Enabled] in [Google
Cloud Print].
Note • WSD stands for Web Services on Devices.
4
Click [Apply].

 Loading...