Printing and Deleting Stored Jobs
381
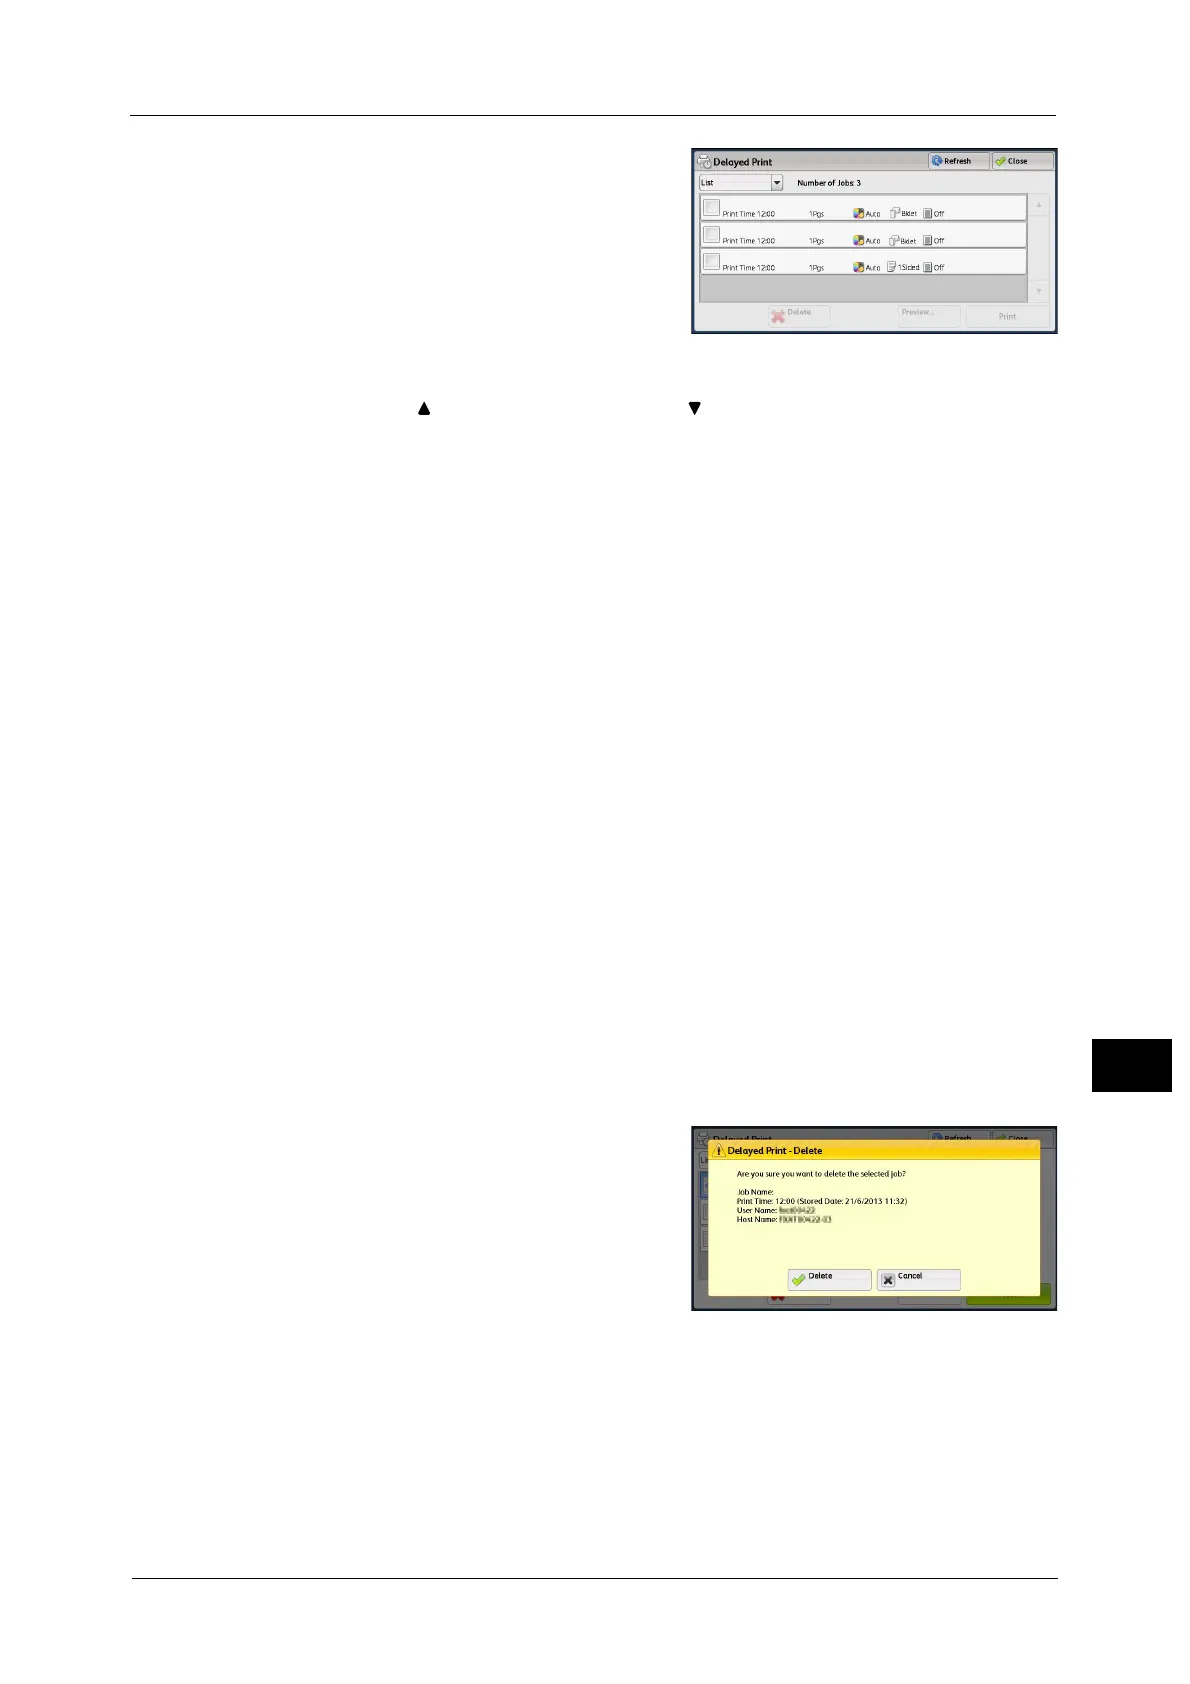
Job Status
11
2 Select the job to be printed or deleted.
Note •Select [Refresh] to display the updated information.
• Select [ ] to return to the previous screen or [ ] to move to the next screen.
• Scroll the list by drag or flick operation to switch the screen to be displayed. For information on how
to drag or flick, refer to "Touch Screen" (P.77).
• [Print Time] shows the time to start printing.
• The files in a folder can be displayed in a list or thumbnail view. You can also preview the files.
• The image of a direct print job from the USB port is not previewed.
• You can set whether or not to display detailed information in the list screen of the stored files. For
more information refer to "5 Tools" > "Stored File Settings" > "Display Details of Stored Print Job" in
the Administrator Guide.
• When the booklet layout is set using a printer driver, the icon for booklet is displayed.
3 Select any option.
Delete
Deletes the Delayed Print job.
Refer to "When [Delete] is Selected" (P.381).
Preview
Displays the previewed image on the first page of the selected job.
Note •If you select multiple documents, the [Preview] cannot be selected.
Refer to "When [Preview] is Selected" (P.381).
Print
Prints the Delayed Print job. After printing, the job is deleted. If printed manually, the job
will not be printed at the specified time.
Refer to "When [Print] is Selected" (P.382).
When [Delete] is Selected
1
Select [Delete].
Delete
Deletes the job.
Important • Once the job is deleted, it cannot be restored.
Cancel
Cancels deleting the job.
When [Preview] is Selected
1
Select any option.
Note •Only the first page is displayed for the preview screen.
• A preview image cannot be rotated.

 Loading...