401
Home > Security > Network Security Features > Use LDAP Authentication > Configure LDAP Authentication
Using Web Based Management
Configure LDAP Authentication Using Web Based Management
1.
Start your web browser.
2.
Type "http://machine's IP address" in your browser's address bar (where "machine's IP address" is the
machine's IP address).
For example:
http://192.0.2.1
3.
Type a password, and then click . The default password is "x-admin". To ensure security, it is important you
change the password.
4.
Click the Administrator tab.
5.
Click the User Restriction Function menu in the left navigation bar.
6.
Select LDAP Authentication.
7.
Click Submit.
8.
Click LDAP Authentication in the left navigation bar.
9.
Configure the following settings:
10.
Click Submit.
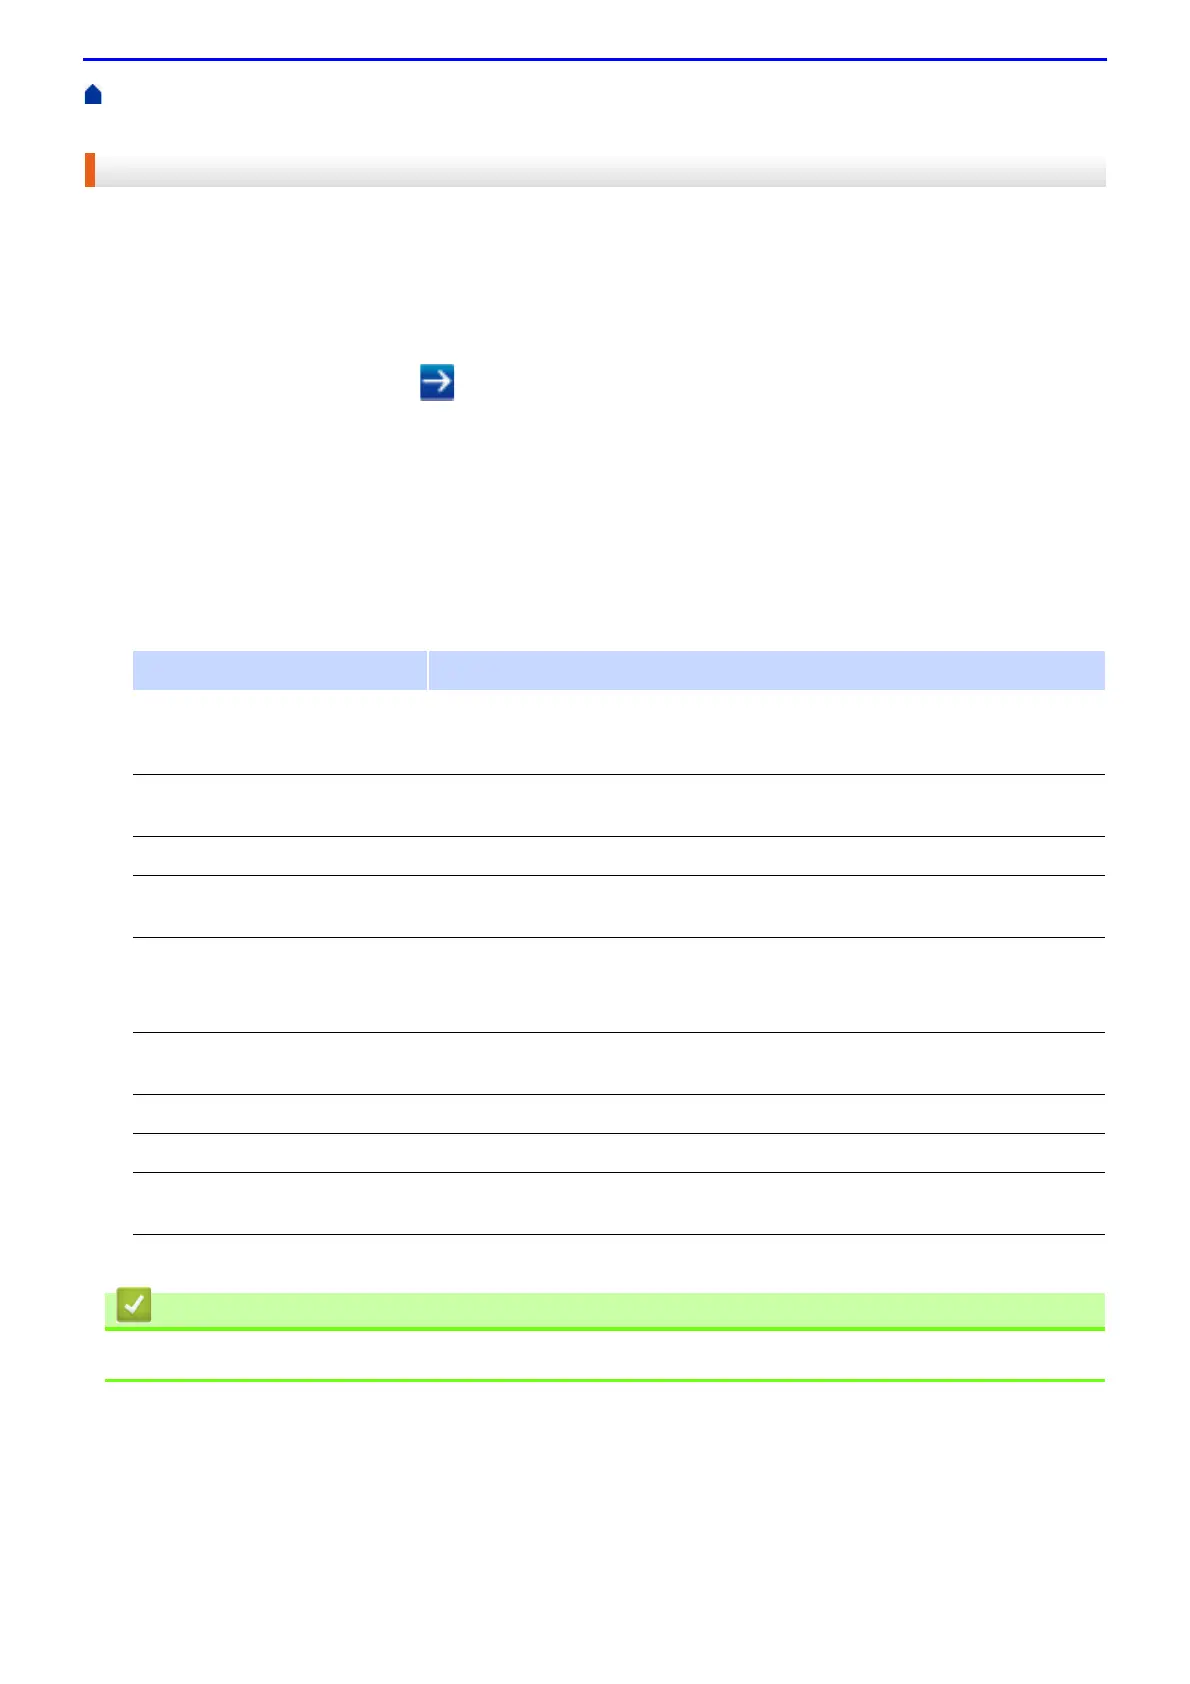
• Use LDAP Authentication
Option Description
Storage PC Print Data Select this option to store incoming print data. After you log on to the machine,
your PC print jobs will be printed automatically. This feature is available only for
print data created by a Fuji Xerox native printer driver.
Storage Fax RX Data Select this option to store incoming fax data. You can print all incoming fax
data after you log on to the machine.
Remember User ID Select this option to save your User ID.
LDAP Server Address Type the IP address or the server name (for example: ad.example.com) of the
LDAP server.
Get Mail Address
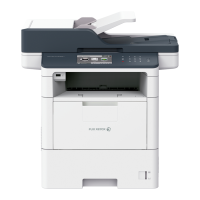
(DocuPrint M385 z/
DocuPrint M375 z)
Select this option to obtain logged on user's email address from the LDAP
server.
Get User's Home Directory Select this option to obtain your home directory as the Scan to Network
destination.
LDAP Server Port Type the LDAP server port number.
LDAP Search Root Type the LDAP search root directory.
Attribute of Name (Search
Key)
Type the attribute you want to use as a search key.
 Loading...

