
C
Corey ShepherdAug 15, 2025
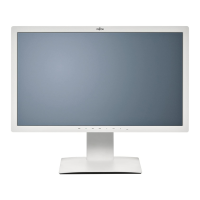
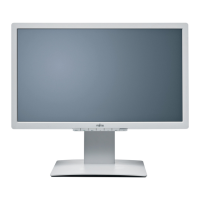
How to fix wrongly adjusted picture on Fujitsu SCENICVIEW A17-3 Monitor?
- JJohn BrownAug 16, 2025
Adjust the monitor automatically using the AUTO button (if provided) or using the OSD menu.
How to fix wrongly adjusted picture on Fujitsu SCENICVIEW A17-3 Monitor?
Adjust the monitor automatically using the AUTO button (if provided) or using the OSD menu.
What to do if the picture position is not correct on Fujitsu SCENICVIEW A17-3 Monitor?
This issue may occur if the monitor recognizes an undefined mode. Try adjusting the monitor automatically using the AUTO button (if provided) or using the OSD menu. You can also set the picture position with the OSD menu.
What to do if my Fujitsu SCENICVIEW A17-3 says 'No Signal'?
First, check whether the data cable for the monitor is correctly attached to the monitor port on the computer. Also, ensure that the computer is switched on.
Why is there no screen display on my Fujitsu SCENICVIEW A17-3 Monitor but the power indicator is on?
There could be several reasons. First, ensure that the computer is switched on. Check if the data cable for the monitor is correctly attached to the monitor port on the computer. Press any key on the computer keyboard, as the computer may be in energy saving mode. Finally, alter the brightness and/or contrast until you get a picture.
How to fix a Fujitsu SCENICVIEW A17-3 with no screen display when the power indicator doesn't light up?
First, ensure that the monitor is switched on. Check that the power cable on the monitor is connected correctly. Also, verify that the computer is switched on.
How to resolve picture shaking on Fujitsu SCENICVIEW A17-3?
Check whether the data cable for the monitor is correctly attached to the monitor port on the computer. You can also try adjusting the monitor automatically using the AUTO button (if provided) or using the OSD menu.
What to do if Fujitsu SCENICVIEW A17-3 Monitor screen becomes darker?
First, try adjusting the monitor automatically using the AUTO button (if provided) or using the OSD menu. If the auto-adjustment function does not give satisfactory results, set the contrast and brightness correctly using the OSD menu.
How to fix picture disturbances with vertical lines on Fujitsu Monitor?
Adjust the monitor automatically using the AUTO button (if provided) or using the OSD menu.
How to resolve picture disturbances like horizontal lines or picture noise on Fujitsu Monitor?
Adjust the monitor automatically using the AUTO button (if provided) or using the OSD menu.
What does 'This is 85 Hz overdrive' mean on my Fujitsu Monitor and how do I fix it?
This message indicates that the input signal (horizontal frequency and refresh rate) at the displayed input does not correspond to the technical monitor data. Adjust the video frequency range using the computer software. You can also adjust a different screen resolution using the computer software.
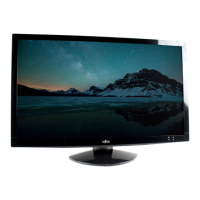
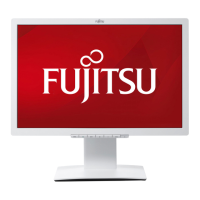
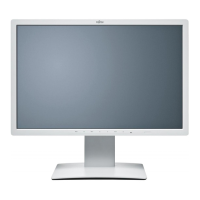
Provides an overview of the SCENICVIEW A17-3/A19-3 monitor's features and capabilities.
Defines symbols and font styles used for clarity and emphasis throughout the manual.
Covers critical safety measures for operation, environment, electrical connections, and disposal.
Instructions for safe power cable use, monitor transport, and cleaning procedures.
Details CE marking and FCC Class B compliance for electromagnetic compatibility and safety.
Information on Energy Star compliance and environmentally responsible disposal of the monitor.
Instructions for unpacking the monitor and verifying all included accessories against the delivery note.
Guidance on positioning the monitor, keyboard, and seating for an ergonomic workspace.
Procedures for mounting and removing the monitor base for alternative mounting solutions.
Detailed steps for connecting the data, audio, and power cables to the monitor and computer.
Adjusting monitor tilt and switching between landscape and portrait display modes.
Explains how the monitor's power management system conserves energy in different modes.
Guide to setting up the monitor using supplied software or the On-Screen Display (OSD) menu.
Details on navigating the OSD menu for picture, color, and display adjustments.
Covers advanced settings like DDC-CI, resolution notifications, and restoring factory defaults.
Provides solutions for common problems like no display, no signal, and picture distortions.
Presents detailed technical data including dimensions, weight, electrical specifications, and interface details.
Information on environmental operating conditions, VESA-DDC compatibility, and preset operating modes.
Details the pin configuration for the D-SUB (VGA) connector, crucial for video signal transmission.