EasyManua.ls Logo

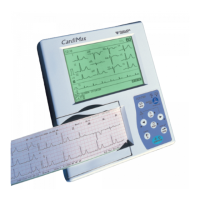
Fukuda Denshi FCP-7101 - User Manual

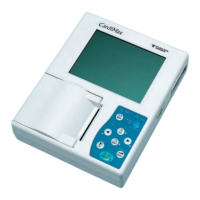
Fukuda Denshi FCP-7101
170 pages
Print Icon
To Next Page IconTo Next Page
Loading...
F
F
C
C
P
P
-
-
7
7
1
1
0
0
1
1
/
/
F
F
X
X
-
-
7
7
1
1
0
0
2
2
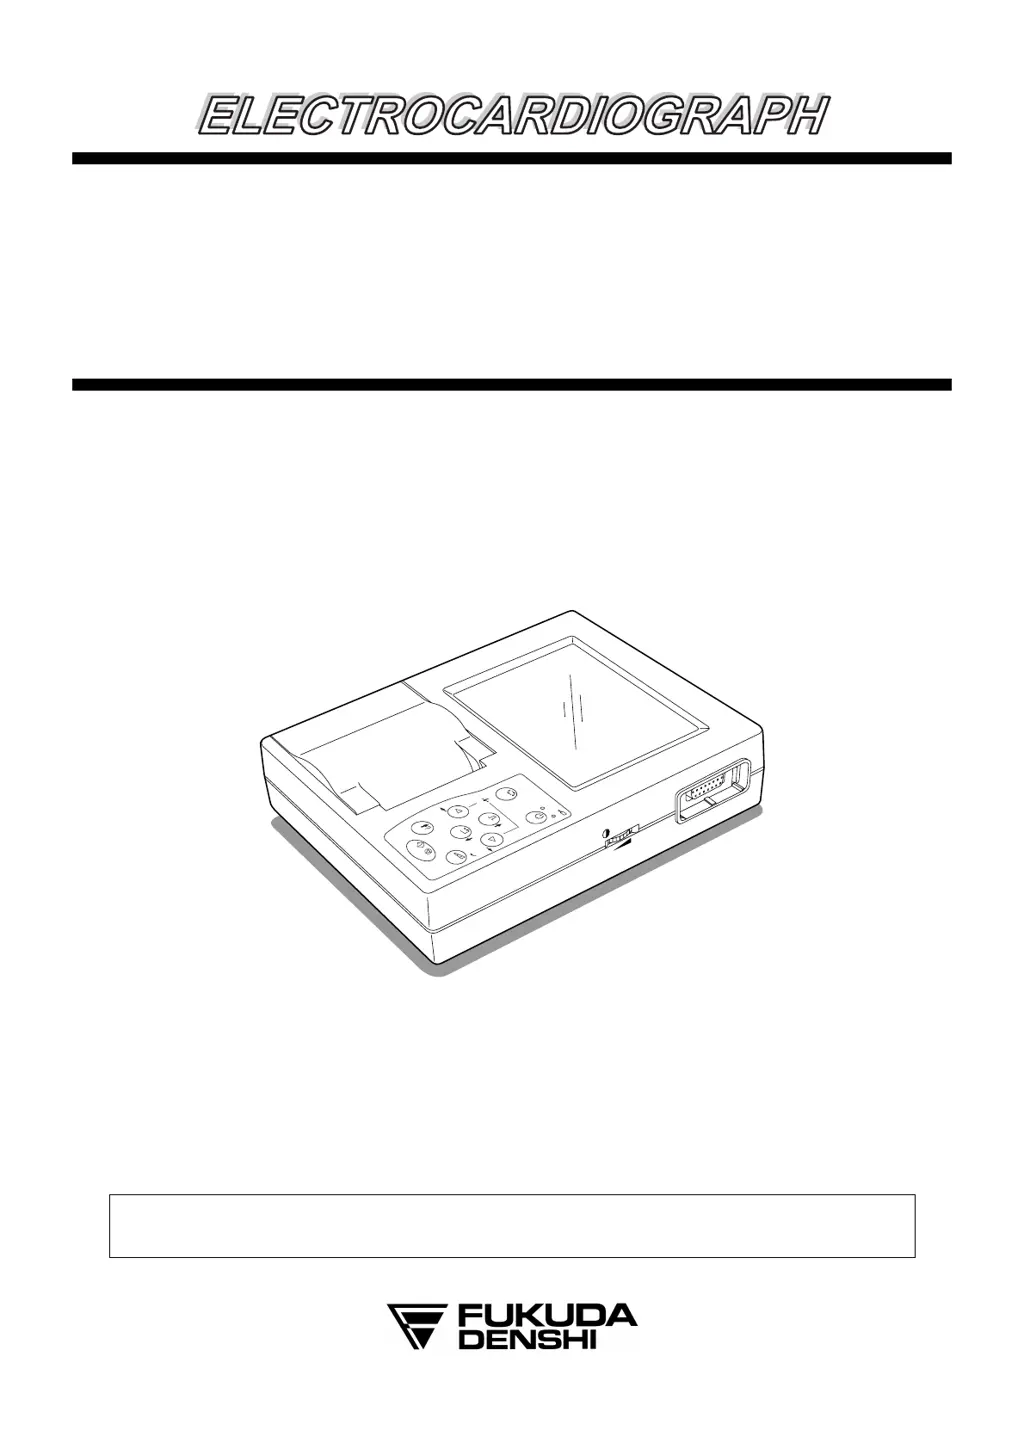
Service Manual
FCP-7101
Main
Powe r
Charge
M
O
D
E
PO
W
ER
O
F
F
:H
O
L
D
2
s
ec
.
LEAD
1
m
V
RESET
SENSE
START/STOP
ID
ENTER
C
A
N
C
E
L
O
N
/O
FF
(stby)
CONTRAST
Before setting up/maintenance, please read this service manual carefully.
Keep this manual where it can be always referred to.

Table of Contents

Questions and Answers

  • L
    Lauren HernandezAug 20, 2025
    What to do if Fukuda Denshi FCP-7101 unit doesn't start?
    • J
      Julie JenkinsAug 20, 2025
      If your Fukuda Denshi Medical Equipment unit fails to start, verify that the power cable is properly connected to both the power outlet and the AC adapter, and ensure the DC plug is securely connected to the equipment. If the [Main Power] LED on the operation panel doesn't light up after connecting the DC plug, inspect the KEY cables linking the operation panel and the MAIN BOARD for any breaks. Also, use a voltmeter to check if the F6 fuse is blown. Confirm the presence of +18V, +5V, +3.3V, +1.8V, +3.3VSTB, and +5VSTB at the C100, C311, C312, C317, C314, and C310 terminals of the MAIN BOARD using a voltmeter. Check if the LED of the AC adapter is lit and verify that +18V is present at the DC plug terminal.
  • C
    Casey RangelAug 21, 2025
    What to do if Fukuda Denshi FCP-7101 Medical Equipment recording paper is not fed?
    • P
      Paula LangAug 21, 2025
      If the recording paper is not feeding, check that the motor cable is securely connected and undamaged. While recording, verify that a signal is present at P5 pins 1 through 4 on the MAIN BOARD, ensuring the level is not "L" at Q6 and Q7 pins 3. If a signal is present, the motor may be faulty.
  • S
    Sean LewisAug 23, 2025
    What to do if Fukuda Denshi Medical Equipment LCD does not display?
    • R
      Robert MillerAug 23, 2025
      If the LCD on your Fukuda Denshi Medical Equipment does not display or the display is abnormal, try adjusting the LCD brightness using the contrast control knob. Ensure that the flat cable of the LCD unit and P1 on the KEY • LCD I/F board is securely connected, inserted in the correct direction, and free of cuts or separation. Check the voltage for the main board. Also, verify that LCD control signals FLM, CL1, CL2, and D0-3 are not at fixed H or L levels and that the DISPOFF* signal is at the H level. Check the voltage on P1 pins 12.
  • S
    smillerAug 26, 2025
    What to do if Fukuda Denshi FCP-7101 battery operations are not executed?
    • J
      John CaldwellAug 26, 2025
      If battery operations are not executing on your Fukuda Denshi Medical Equipment, first ensure the battery pack is securely connected inside the battery compartment. If the device fails shortly after starting operation on battery after a full charge, the battery may be deteriorated and require replacement with a new one. Use a voltmeter to check if the F3 fuse is blown. Also, with a voltmeter, verify that the battery pack voltage, +5V, +3.3V, +1.8V, and +3.3VSTB are present at the C100, C311, C312, C314, and C317 terminals of the MAIN BOARD. When +5V or +3.3V is present, LED4 or LED5 is lit.
  • V
    Valerie HolmesAug 27, 2025
    Why Fukuda Denshi FCP-7101 charge error LED is lit?
    • R
      Russell TuckerAug 27, 2025
      The charge error LED on the Fukuda Denshi Medical Equipment may light up if the battery voltage is +14.4 V or higher, or if the battery temperature exceeds 70°C. Detach the battery from the equipment and check if the battery is excessively hot.
  • C
    Caleb HigginsAug 29, 2025
    What to do if Fukuda Denshi FCP-7101 is not detecting paper?
    • R
      Randall SantiagoAug 30, 2025
      If your Fukuda Denshi Medical Equipment does not detect the mark on z-fold paper, the end of paper, or always displays a "No recording paper" warning, first check if the recording paper is set at roll paper. Then, verify that the mark sensor area is free of any foreign matter and that the sensor is securely attached. Ensure the sensor cable is securely connected, not broken, and the soldering of connector P6 on the MAIN BOARD is free of defects. Confirm that 2kHz rectangular waves are input to P6 pin 4; if not, IC8 or IC20 may be faulty. When the magazine is closed and a non-mark area of the recording paper is aligned with the sensor, check if the waveform from IC16 pin 7 is 2 kHz. If this signal isn't detected, inspect the mark sensor and mark drive signals.
  • A
    Amanda LynnSep 3, 2025
    How to fix date/time changes on Fukuda Denshi FCP-7101 Medical Equipment?
    • E
      efreySep 3, 2025
      To address date/time changes on your Fukuda Denshi Medical Equipment, check that the voltage of the lithium battery (BT1) is +2V or higher and that the battery is properly mounted to the MAIN BOARD. Also, verify that RTCCE, RTCDATA, and RTCCLK signals on the IC13 do not become fixed at H or L each time the date/time is changed in the program settings.
  • P
    Phillip KaufmanSep 5, 2025
    What to do if Fukuda Denshi Medical Equipment cannot perform key operations?
    • M
      mark34Sep 5, 2025
      If you cannot perform key operations on the Fukuda Denshi Medical Equipment, check that the KEY cable is connected to P2 and the KEY BOARD and that the parts around P2 are properly mounted. Ensure that the signal corresponding to the key pressed is at “L” level.
  • S
    Sean BallSep 7, 2025
    Why Fukuda Denshi Medical Equipment battery is nearly uncharged after charging?
    • B
      Brianna BrennanSep 7, 2025
      The number of charge and discharge cycles of battery is about 300 although it depends on the particular operating environment. The duration in hours after charging shortens as the number of discharges increases. If the battery cannot hardly be charged, replace it.
  • N
    Nicholas HallSep 8, 2025
    Why Fukuda Denshi FCP-7101 Medical Equipment buzzer would not sound?
    • T
      Timothy ReedSep 8, 2025
      If the buzzer on your Fukuda Denshi Medical Equipment does not sound, first check the program settings to ensure that the buzzer is not set to OFF or the volume is not set to an extremely low setting. Verify that the buzzer (Y1) is properly mounted to the MAIN BOARD. Use an oscilloscope to observe the potential at IC8 pin 103 while the buzzer is sounding to confirm it is not a fixed potential.

Summary

Chapter 1 Component Names and Functions

Unit (top face)

Identifies components on the top surface of the ECG unit.

Unit (side, rear, and bottom faces)

Identifies components on the sides, rear, and bottom of the ECG unit.

Operation panel

Details the keys, LEDs, and functions of the ECG unit's control panel.

Specifications list

Lists the technical specifications and parameters of the ECG unit.

Chapter 2 Troubleshooting

On power supply in equipment (ECG AMP not included)

Discusses DC power supply voltages generated within the equipment.

On ECG AMP supply voltage

Explains the power supply voltages for the ECG amplifier section.

Problem conditions and corrective action

Provides a general overview of troubleshooting common issues and recommended actions.

Troubleshooting related to supply voltages

Details troubleshooting steps for issues related to various voltage supplies.

Failures related to charging operations

Covers common failures and troubleshooting steps for battery charging issues.

LCD does not display or display is abnormal

Guides on diagnosing and fixing problems with the LCD display.

Cannot perform key operations

Addresses issues where the unit's keys are unresponsive or not functioning correctly.

Recording paper is fed, but printing and waveform recording are not performed

Troubleshooting steps when paper feeds but no print or waveform is recorded.

All 12-lead patient records appear as baselines

Diagnosing issues when all 12 leads show only baseline readings.

Chapter 3 Maintenance

Cleaning

Instructions for cleaning the ECG unit's enclosure and components.

Replacing the battery

Step-by-step guide for safely replacing the unit's internal battery.

Update of the software

Procedure for updating the ECG unit's software via LAN connection.

Self-diagnostics test

Overview of user and manufacturer self-diagnostic test modes.

User self-diagnostics test

Details on running built-in diagnostic tests for daily checks by the user.

Manufacturer self-diagnostics test

Procedures for advanced diagnostics and adjustments performed by authorized personnel.

Periodical inspections

Guidelines and schedule for regular inspections to maintain performance.

Safety inspections

Specific safety tests, primarily focused on leakage current measurement.

Chapter 4 Disassembly

Removing the LCD

Instructions for safely detaching and removing the liquid crystal display.

Removing the enclosure cover

Steps to remove the outer casing of the ECG unit.

Removing the Recorder unit

Guide for detaching and removing the paper recording mechanism.

Removing the main board

Procedure for accessing and removing the primary circuit board.

Chapter 5 Electric Circuit Diagrams

Overall block diagram of unit

High-level overview of the ECG unit's main functional blocks and interconnections.

MAIN BOARD block diagram

Detailed block diagram illustrating the main board's internal circuitry and components.

MAIN BOARD (PCB-6950) circuit

Breakdown of the MAIN BOARD into its major circuit blocks like CPU and FPGA.

KEY BOARD (PCB-6949) circuit

Schematic diagram for the key input board and its associated LEDs.

SENSOR BOARD (PCB-6948) circuit

Circuit diagram for the mark sensor and related components.

MAG UP BOARD (PCB-6951) circuit

Schematic for the magazine up sensor board and switch.

POWER; CAPACITOR; RESET IC; CLOCK; LCD POWER block

Circuit diagram for the power supply, reset, clock, and LCD power sections.

CPU block

Detailed circuit diagram of the central processing unit and its peripheral connections.

FPGA block

Schematic illustrating the Field-Programmable Gate Array and its I/O signals.

Chapter 6 Spare Parts List

MAIN BOARD (PCB-6950) Spare Parts

Comprehensive list of spare parts for the main circuit board.

KEY BOARD (PCB-6949) Spare Parts

List of spare components for the key input board.

SENSOR BOARD (PCB-6948) Spare Parts

Spare parts list for the sensor board.

MAG UP BOARD (PCB-6951) Spare Parts

Spare parts for the magazine up sensor board.

Other spare parts list

List of miscellaneous spare parts not specific to main boards.

Chapter 7 Board Component Diagram

MAIN BOARD (PCB-6950 component side)

Diagram showing component placement on the main board (component side).

MAIN BOARD (PCB-6950 soldering side)

Diagram showing component placement on the main board (soldering side).

KEY BOARD (PCB-6949 component side)

Component layout for the key board on the component side.

KEY BOARD (PCB-6949 soldering side)

Component layout for the key board on the soldering side.

SENSOR BOARD (PCB-6948 component side)

Component placement diagram for the sensor board (component side).

MAG UP BOARD (PCB-6951 component side)

Component placement diagram for the magazine up board (component side).

Chapter 8 Assembly Diagrams

Magazine Assembly

Exploded view and parts list for the paper magazine assembly.

Paper shaft Assembly

Diagram and parts list for the paper shaft mechanism.

Recorder Assembly

Exploded view and parts list for the recorder unit.

Upper case (FX-7102) Assembly

Exploded view of the FX-7102 upper case and its components.

Upper case (FCP-7101) Assembly

Exploded view of the FCP-7101 upper case and its components.

Lower case Assembly

Exploded view of the unit's lower case and its parts.

General assembly diagram (FX-7102)

Overall assembly diagram for the FX-7102 model.

General assembly diagram (FCP-7101)

Overall assembly diagram for the FCP-7101 model.

Chapter 9 Technical Instructions Related to EMC

Emission information CISPR11

Declaration regarding electromagnetic emission compliance according to CISPR11.

Immunity information (to other than radiation;conduction)

Declaration of immunity to electrical disturbances like ESD and surges.

Immunity information (to radiation;conduction)

Declaration of immunity to RF conducted and radiated disturbances.

Recommended distance of separation from portable telephone, etc.

Guidelines for maintaining safe distances from RF devices.

Fukuda Denshi FCP-7101 Specifications

General IconGeneral
DisplayLCD
Input Impedance≥10 MΩ
Power SupplyAC 100-240 V, 50/60 Hz
RecorderThermal Array
Printing MethodThermal
Paper Speed5/10/25/50 mm/sec
Power SourceAC/DC
TypeElectrocardiograph

Related product manuals