28
3.2 Setup for Multiple MFDs in the Network
When you have multiple MFDs in the network, designate one as the DHCP (dynamic Host Con-
figuration Protocol) server. Then, confirm that applicable DIP switches connected MFDs on the
internal hub to ON.
1. Turn on the MFD chosen to act as DHCP server.
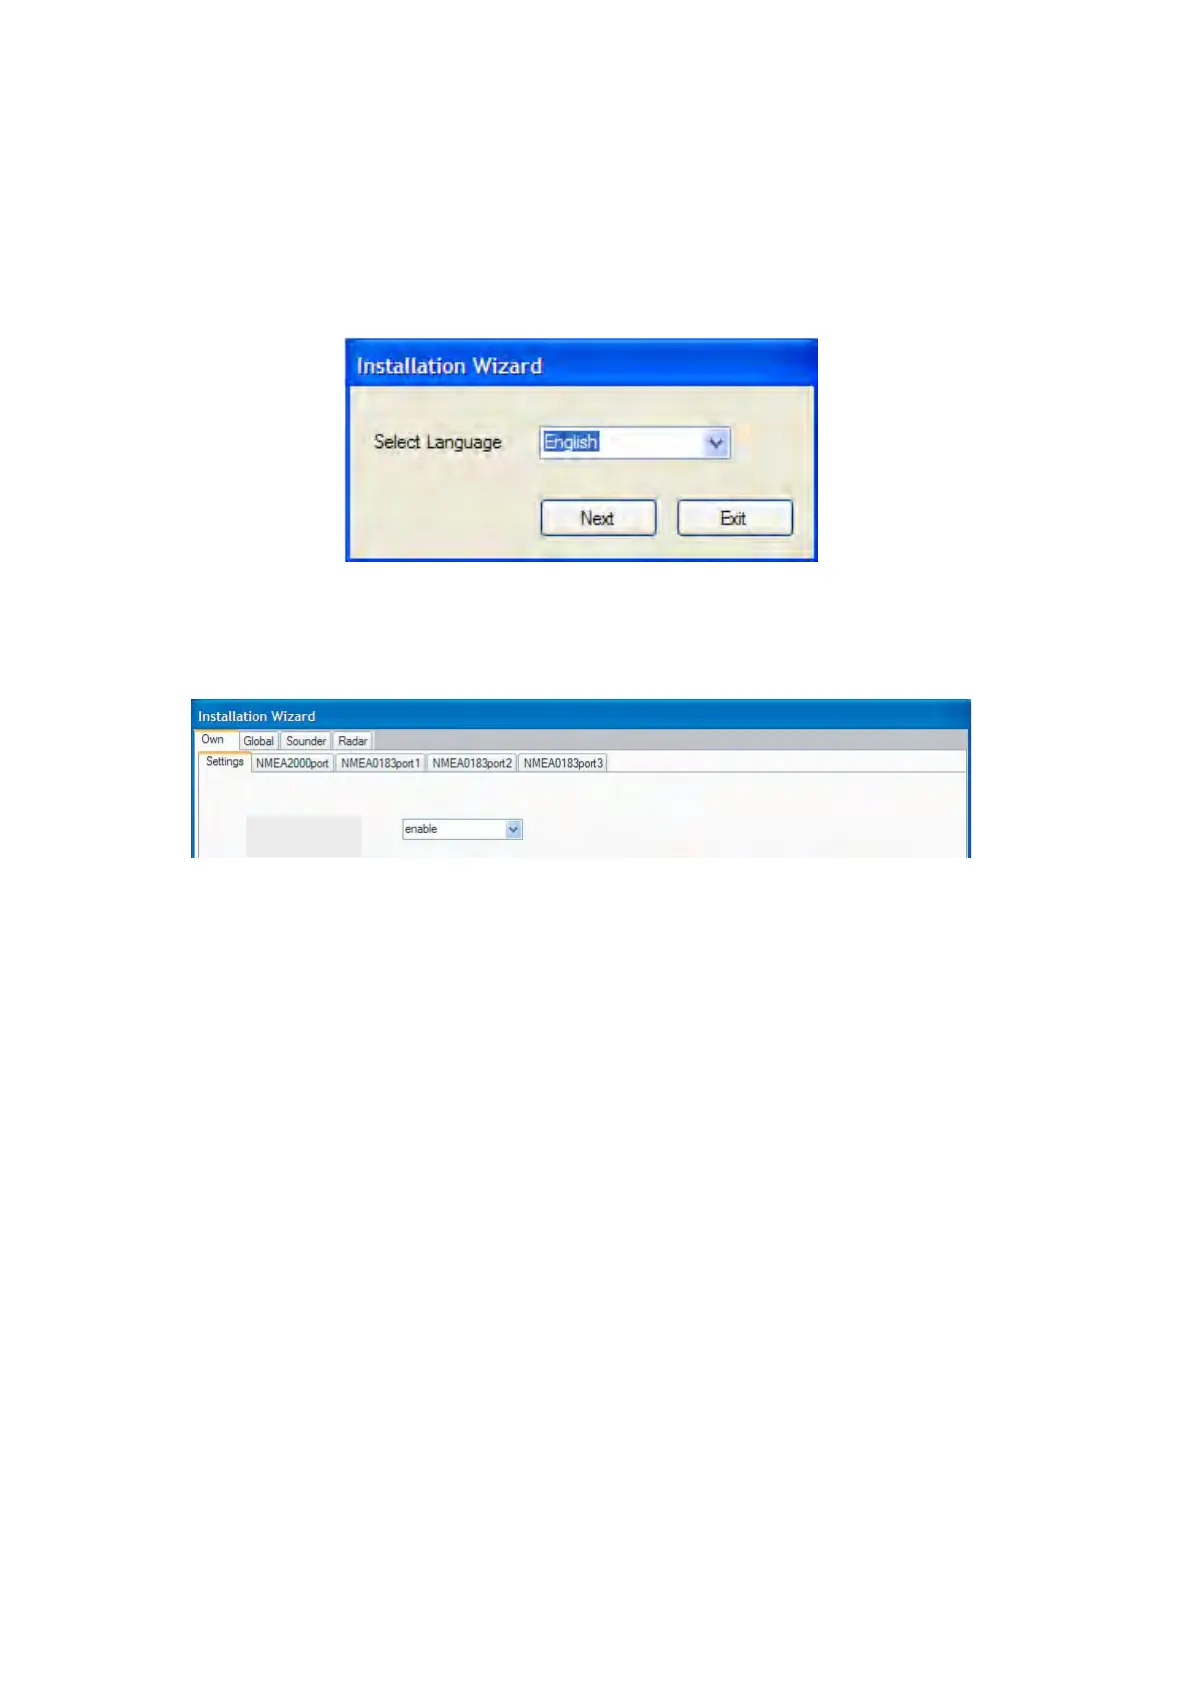
2. Select Language and click the Next button.
3. Set DHCP server setting to enable.
4. Choose enable in Power synchronization box.
5. Click the Exit button. (The unit turns off automatically.)
6. Turn on the server MFD.
7. Turn on all other MFDs in the network.
8. Carry out the Installation Wizard settings on the server MFD, referring to section 3.1.
9. Set up the next MFD as follows:
a) Choose language and click the Next button.
b) Choose “Disable” from the DHCP server setting box.
c) Choose “Enable” from the Power synchronization box.
d) Click the Exit button. (The unit turns off automatically.)
e) Turn on the MFD.
f) Set up the MFD using the Installation Wizard.
10.Set up other MFDs.
11.After setting up all MFDs, click the Exit button on the server MFD and the unit goes off auto-
matically.
12.Click the Exit button on other MFDs in the order in which they were set up.
13.Turn on the server MFD. Confirm that other MFDs go into sleep mode.
14.Press the POWER switch on each MFD. Confirm that each MFD shows the NavNet 3D star-
tup screen.
DHCP server setting

 Loading...