2
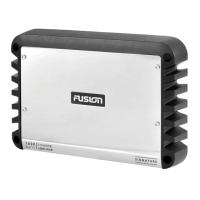
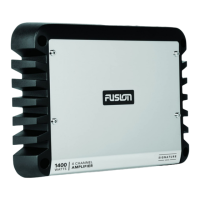
AMPLIFIER SPECIFICATIONS
Peak Power
(Watts)
1600
Frequency
Response
10Hz -50kHz
Dimensions (mm)
300(l) x 210(w) x 50(h)
11-13/16 x 8-1/4 x 2”
Power Ratings
80W RMS x 4 +
250W RMS x 1 @ 4Ω 1% THD+N
130W RMS x 4 +
330W RMS x 1 @ 2Ω 1% THD+N
250W RMS x 2 @ 4Ω Bridged 1% THD+N +
250W RMS x 1 @ 4Ω 1% THD+N
INSTALLATION
GUIDELINES
1. Ensure the +12V lead is disconnected
from the battery before you connect any
new equipment.
2. Ensure the mounting location will not
interfere with the gas tank or electrical
wiring.
3. Ensure the Amplier is securely fastened
to the vessel to prevent injury in the
event of an accident.
4. Ensure all wiring is protected to avoid
pinching or crushing which could result
in damage to the audio system.
5. Ensure the mounting location has
sufcient air ow around the amplier. If
the amplier is mounted in an enclosed
space a 3” fan with ducting should be
used to aid in air ow.
6. Ensure you use the recommended gauge
wire/cable for all amplier connections.
7. Note: we do not recommend mounting
your amplier in close proximity to other
bridge-mounted equipment critical to
safe navigation of your vessel, in close
proximity to receiving antennas, or
near radio-communications equipment
mounted on your vessel.
WIRING
Ensure the audio system is turned off before
making any connections to the amplier,
speakers or source unit, failure to do so could
result in permanent damage to the audio
system.
When wiring the FUSION amplier ensure
that the cable is protected from sharp objects
and always use rubber grommets when wiring
through metal panels.
Ensure all terminals and connections are
protected from the vessel chassis and from
each other as failure to do so could result in
permanent damage to the audio system.
+12V CONNECTION
FUSION ampliers should be connected
directly to the +12V battery terminal via a
4 gauge cable with an inline fuse or circuit
breaker as close to the battery as possible.
GROUND CONNECTION
Connect directly to the vessel’s earth system
via a 4 gauge cable. NOTE: This is the rst wire
to connect up during the installation.
REMOTE TURN-ON CONNECTION
This connection turns the amplier on & should
be connected to the remote turn on wire from
the Head Unit. If one is not available a switched
12v source must be used.