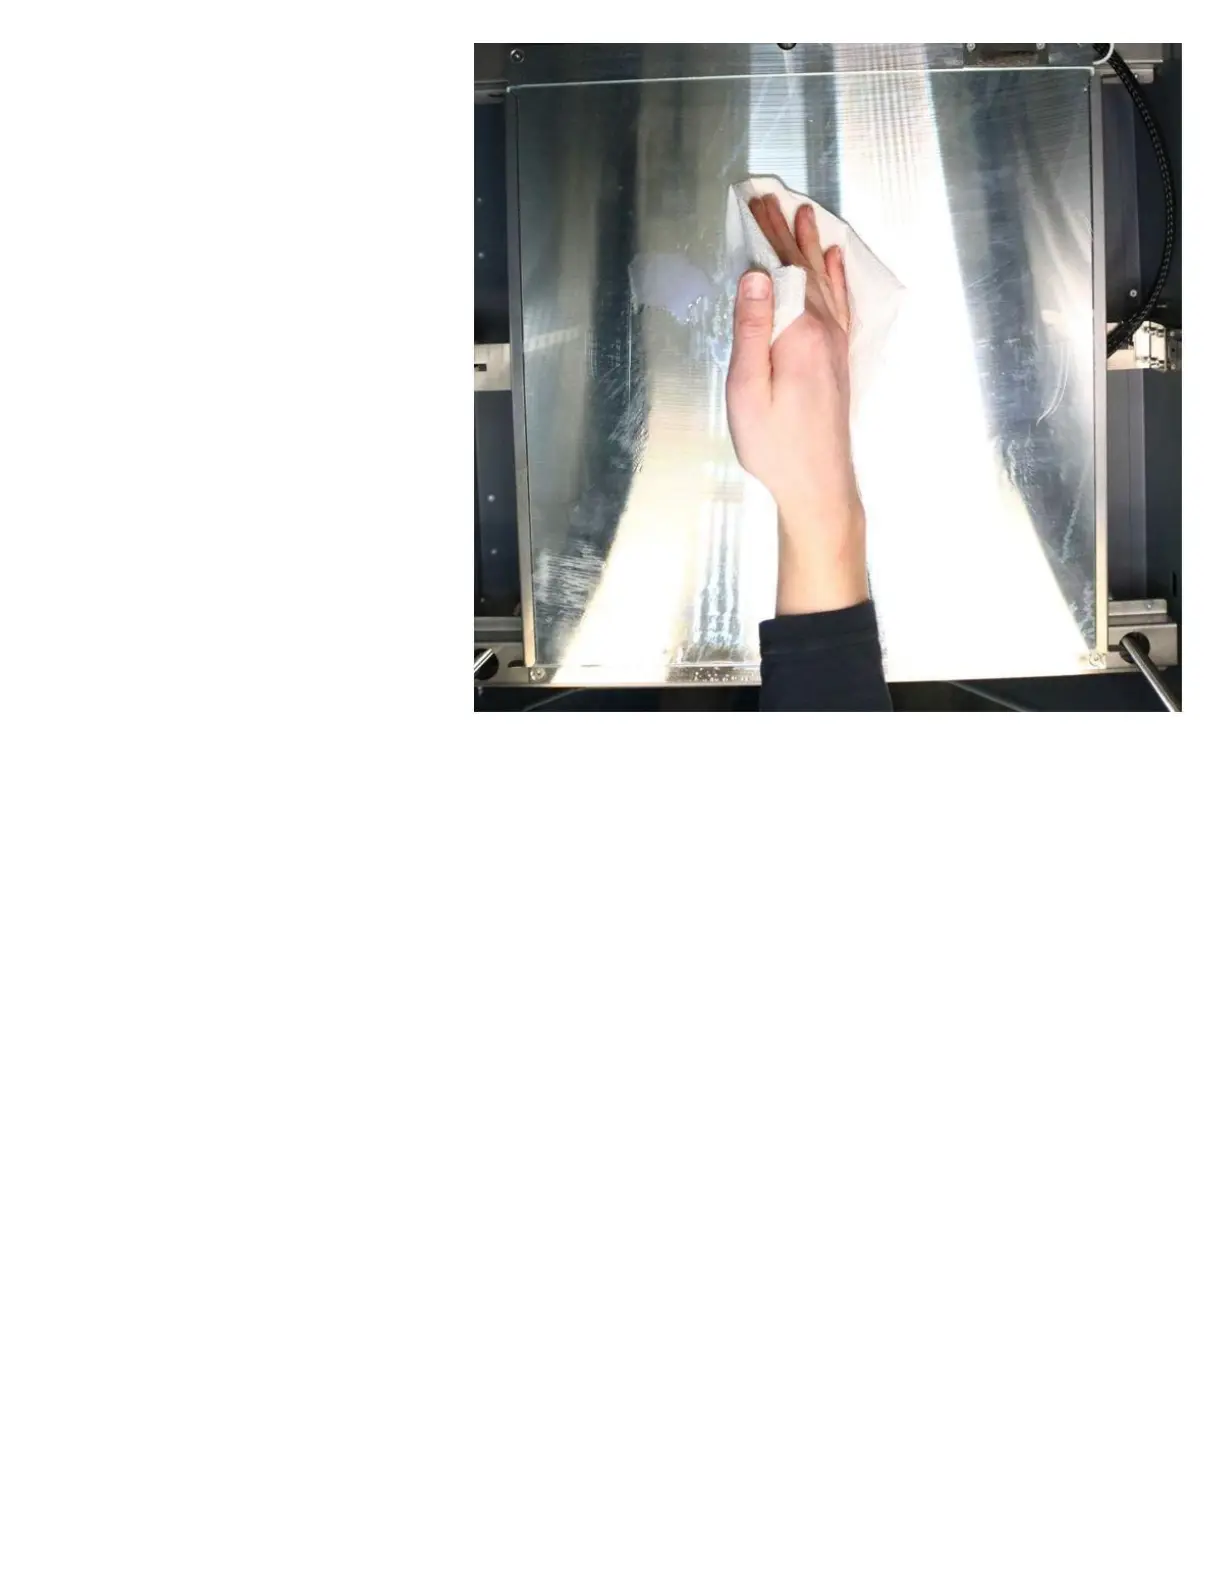
5. Collect the water and scraped-off
coating in a paper towel and wipe
it off the bed. Repeat as needed to
get all the coating and water off.
6. If desired, you can remove the
glass from the printer and clean it
separately, but the basic steps are
the same.
NOTE: If water gets between the
glass and the tool plate, it's a good
idea to remove the glass and wipe
it up. Over time, water can deposit
scale which is unsightly and can
prevent good heat transfer
between the tool plate and the
glass.
Preparing The Surface For Printing:
NOTE: The exact preparation you need will depend on what material you're printing. We're going
to cover the basics below, but if you have material-specific documentation that says something
different, follow those instructions.
General Notes:
- Surface must be clean
- Surface must be dry; wait for all water residue to evaporate off of the glass after cleaning
- Surface must be less than 45 C. Applying the bed coating with the surface hotter than this will lead to
poor first layer adhesion
Most materials will use 1 to 3 layers of purple gluestick applied to the glass.
1. Hold the gluestick at 90 degrees to the bed; it should stick straight up.
2. Apply only very light downward pressure during application; let the gluestick do the work.
3. Cover the area your print is going to need with back-and-forth passes with the gluestick, like a 3D printer
printing infill. You should have no gaps in your gluestick coverage.