13-18-601 Page 58
SECTION 9
MINIMUM PRESSURE/CHECK VALVE
MINIMUM PRESSURE/CHECK VALVE - This device maintains minimum pressure within the air/oil
reservoir, thus insuring [cooling/lubricating] oil injection flow into the compressors. It also serves as a
check valve to prevent back flow of compressed air flow from the customer’s piping or pipe network back
into the compressor package when the compressor is not active. The valve does not require
maintenance or adjustment. If the valve fails to function, check the valve stem O-ring for sealing, valve
orifices for restriction, or valve and valve seat for burrs and dirt. Repair kits are available from your local
authorized Gardner Denver distributor.
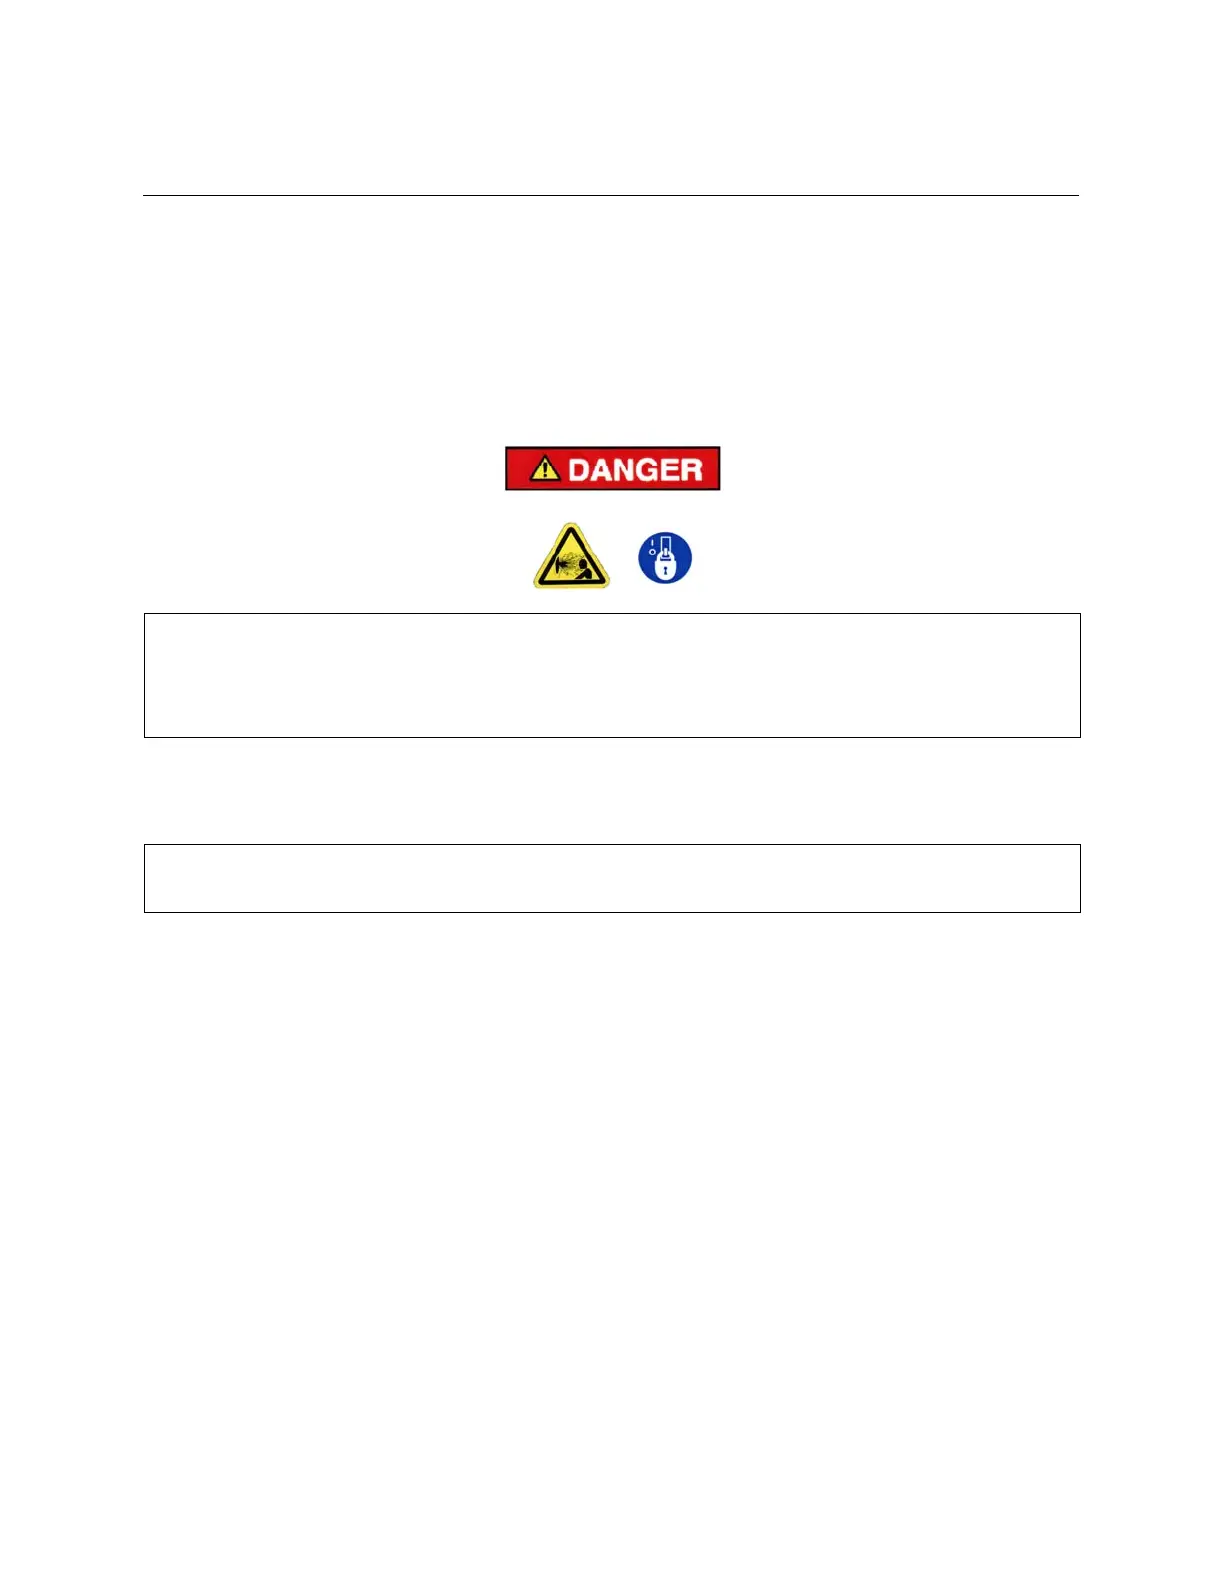
Before servicing the minimum pressure valve, always stop the unit, release air
pressure, lockout and tagout the power supply to the compressor package.
Failure to release pressure or properly disconnect the power may result in
personal injury or death.
NOTICE
Working spring within valve body is under tension. Failure to relieve spring
tension gradually may cause serious injury upon cap removal.
Minimum Pressure/Check Valve (MPV) Inspection:
1. Be sure the unit is completely off and that the oil sump is depressurized – including pipe works
between MVP and [external] isolation valve.
2. Disconnect, lockout and tagout power supply to the compressor package.
3. Remove tubing and fittings from top (center) of MPV.
4. Install (removal) bolt (5), located on side of MPV housing, on top, center hole of MPV and tighten nut
(7) securely. Note that this bolt keeps internal MPV parts from flying apart under spring pressure
during removal.
5. Remove snap ring on MPV cover, remove cover and gently pry out MPV.
6. Gradually back off nut (7) while keeo\ping bolt (5) from turning until spring pressure is released.
Remove MPV internal parts. Inspect and/or replace parts.
7. Re-assemble in reverse order.




 To Next Page