Peking to Paris 2013 - Garmin 78s GPS Setup & Use Guide
Garmin 78s P2P2013 - Setup & Use V2.doc Page 13 of 15
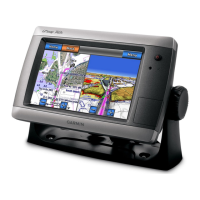
MAP SCREENS & ZOOM LEVELS
The Zoom IN (+) and OUT (-) buttons provide a very large range of zoom levels that you
should use to provide different information about your current position and the route ahead.
The screen examples above show the same position at different zoom levels as indicated by
the scale bar. The right hand screen shows the screen with 2 data fields showing.
1 Shows an overall view of a Route indicating the current position between points R0003
and R0004. It also shows the general direction and shape of this Route.
2 Shows the Route at a closer, 800m, zoom level giving a better indication that we are
slightly off to the left of the direct line from R0003 and R0004.
3 At an even closer zoom (300m) we can more clearly how far off the direct route we are.
The blue arrow head indicates we are travelling in the correct direction.
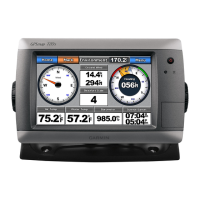
4 Is the same position but with two data fields showing. The author
prefers to use the Compass screen (5) for data information but
many previous competitors seem to like having data on the map
screen. You should experiment with the different options.
The Compass and Trip Computer pages can provide more
information than is possible on the Map page. In this example the
arrow head pointer shows that I need to head slightly right to
reach the next point and that I’m 2.49kms from it. There is a
large choice of data fields that can be chosen for the Compass
and Trip Computer screens.
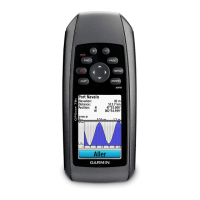
NOTE: The red pointer arrow is not a compass needle. It is a
pointer to indicate the direction you should take. Follow its
direction, if it points right go right, if it points left go left, if it points
straight up you are exactly on course. The compass direction is
indicated by the outer number ring. In this example the number
ring indicates slightly less than 165°, which is confirmed by the
heading data field showing 162°
1
2 3 4
5