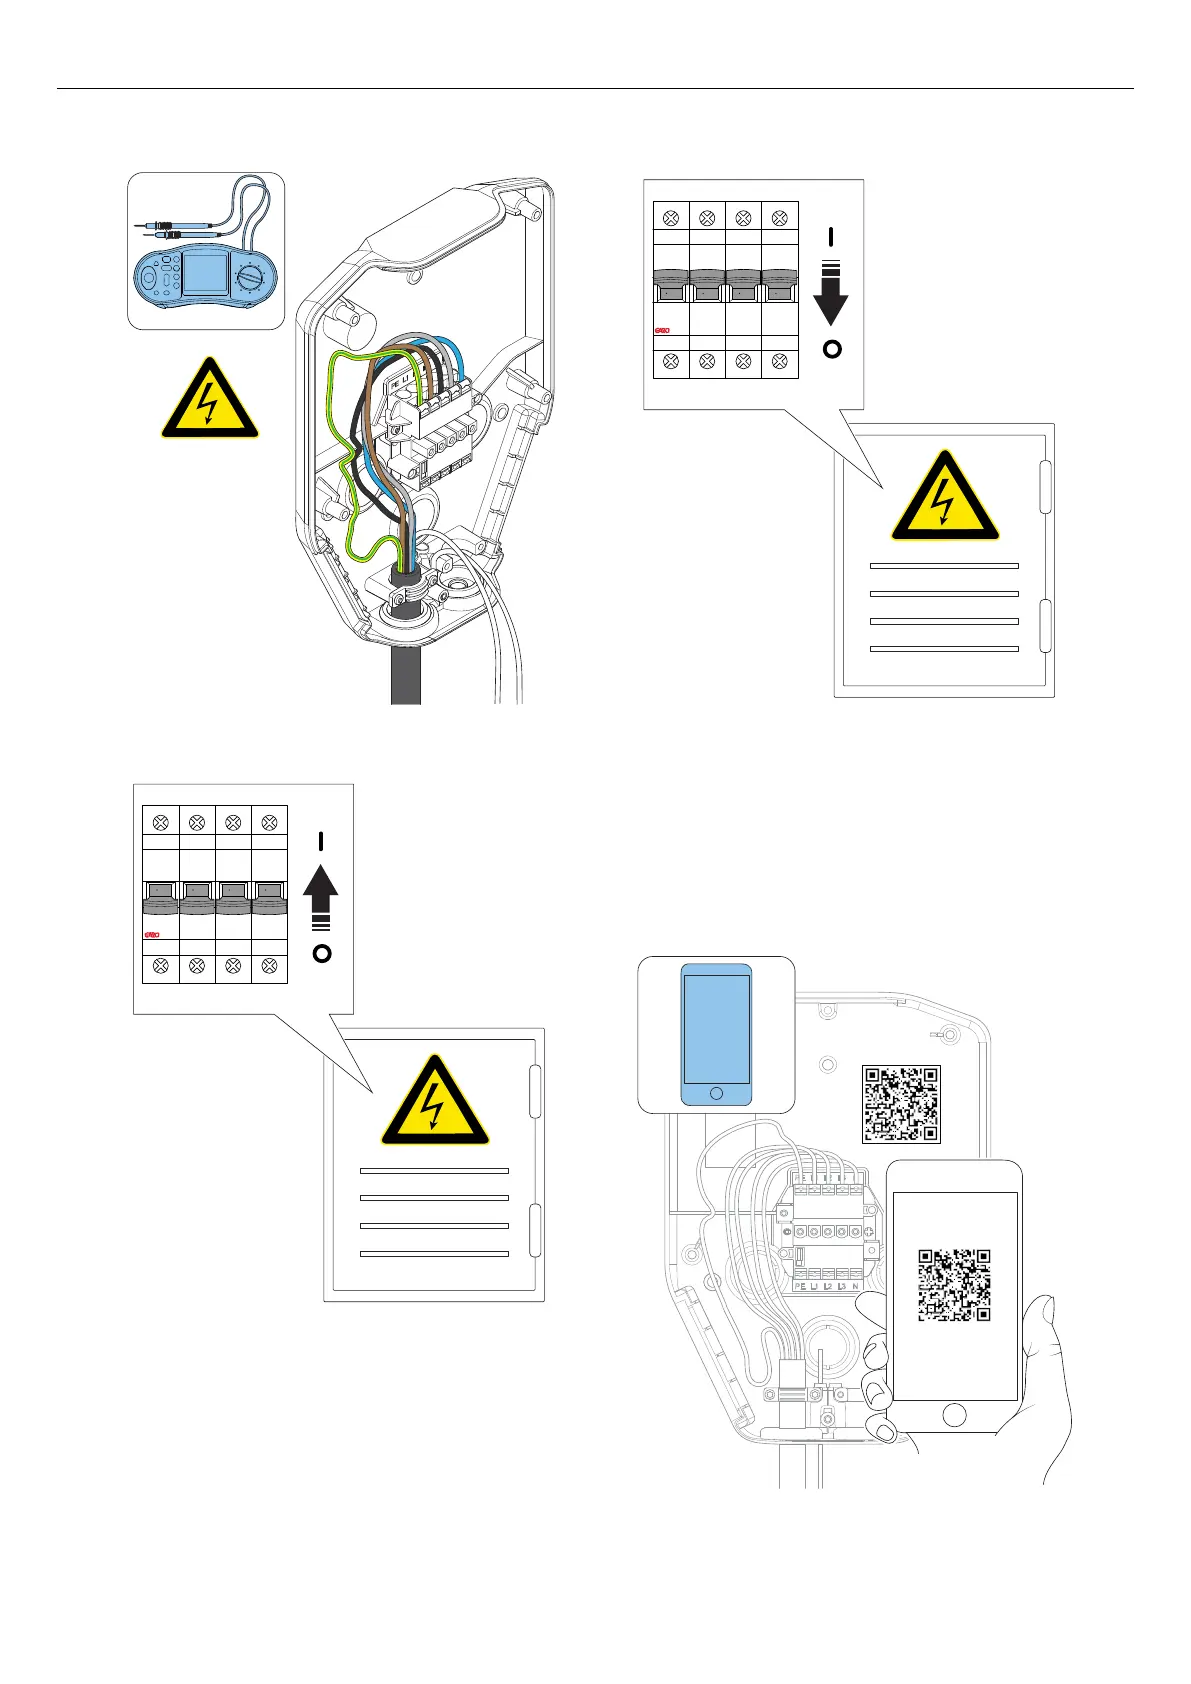
4. Switch the power/voltage to on.
5. Do a check of the voltage and phase sequence in
the installation bracket terminal. Make sure that the
voltage and phase sequence matches the planned
setup. Refer to 4.12.5 To connect the power cable
to the terminal, page 28.
6. Switch the power/voltage to off.
7. Read the QR code on the installation bracket using
the Gar Connect App. At this step, it is time to
connect the charging station, created in the GARO
Connect App to the physical installation bracket.
Refer to 4.13 GARO Connect, page 39 for more
information about the procedure and functions of
the GARO Connect app.
O OFF O OFF O OFF O OFF
I ON I ON I ON I ON
34
Installation