Replacing Gateway Notebook Components www.gateway.com
14
Caution
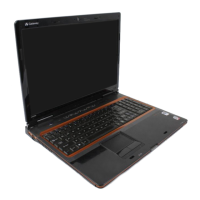
The cooling assembly cable is attached to
the system board at this point. Be careful
not to break the cable.
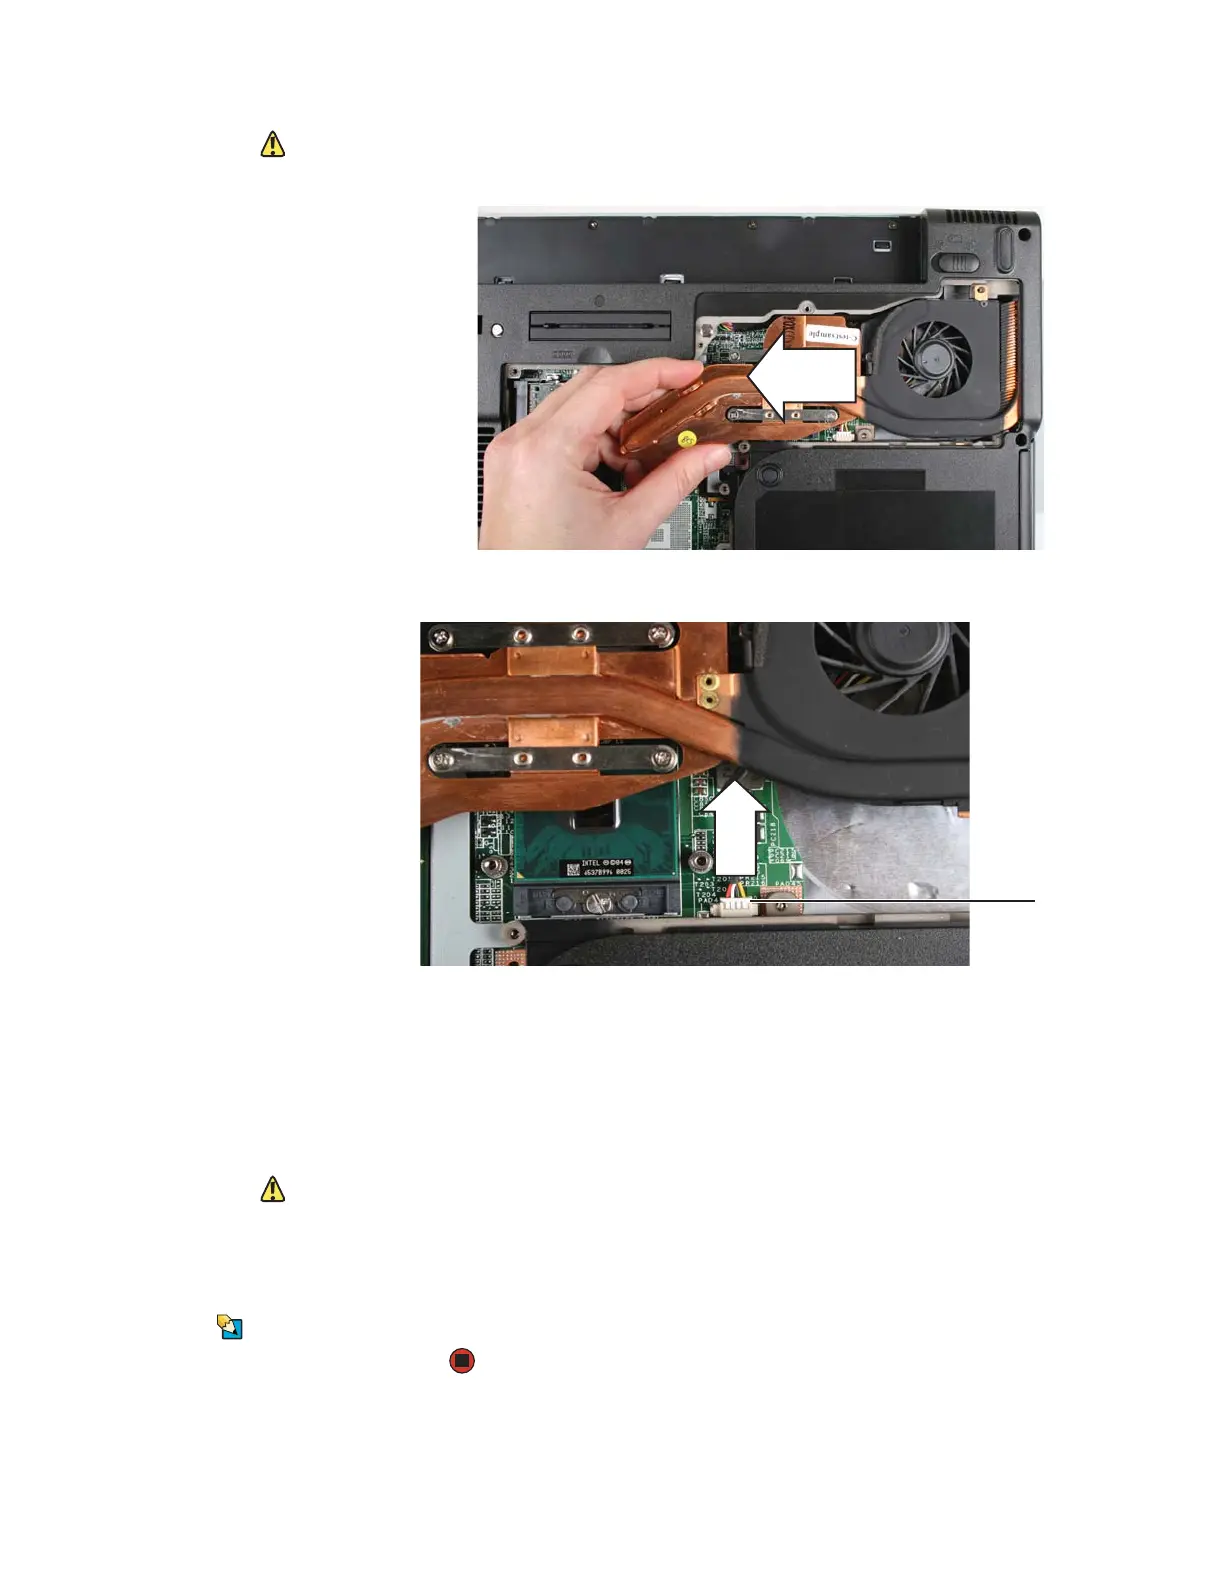
6 At the same time as you lift, move the cooling assembly away from the
side of the notebook.
7 Unplug the old cooling fan, then remove the cooling assembly.
8 Remove any thermal grease residue from the processor using a soft cloth
and isopropyl alcohol.
9 Place new thermal grease on the processor. Use only enough to cover the
CPU die.
10 Plug in the new cooling fan.
11 Insert the new cooling assembly into the notebook.
Caution
When tightening the cooling assembly’s
screws into the numbered holes, tighten
them in numerical order.
12 Tighten the three or four screws that secure the cooling assembly to the
system board. Use the numbers stamped in the metal next to each screw
and tighten the screws in numerical order (start with 1, then 2, then 3,
then 4).
13 Replace the memory bay cover, then tighten the cover screws.
Tips & Tricks
The screw hole is marked with a K.
14 Replace the keyboard screw.
Connector