– 26 –
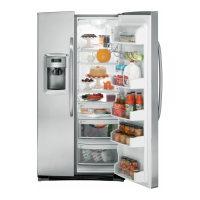
2. Remove 2 Phillips mounting screws.
3. Pull out the motor.
4. Disconnect the wire connectors.
5. Remove the drive fork and nut.
GEA00919
Solenoid Mounting ScrewsSolenoid Mounting Screws
Motor
Mounting
Screws
Motor
Mounting
Screws
6. Disconnect the motor wiring connectors.
GEA00892
Wiring
Connectors
Wiring
Connectors
7. Remove 3 motor mounting screws.
8. Remove the motor from the housing.
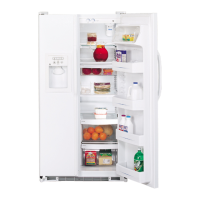
Ice Cube Solenoid
The ice cube solenoid energizes when the cube
mode is selected on the dispenser control panel.
1. Remove the ice dispenser tray and assembly
(see page 21).
2. Remove 2 Phillips mounting screws.
3. Pull out the motor.
4. Disconnect the wire connectors.
5. Remove the ground wire to the ice cube
solenoid.
6. Disconnect the wire connectors.
GEA00695
Solenoid
Solenoid
Motor
Motor
Ground
Wire
Ground
Wire
7. Remove 2 solenoid mounting screws.
8. Slide the solenoid out of the housing.
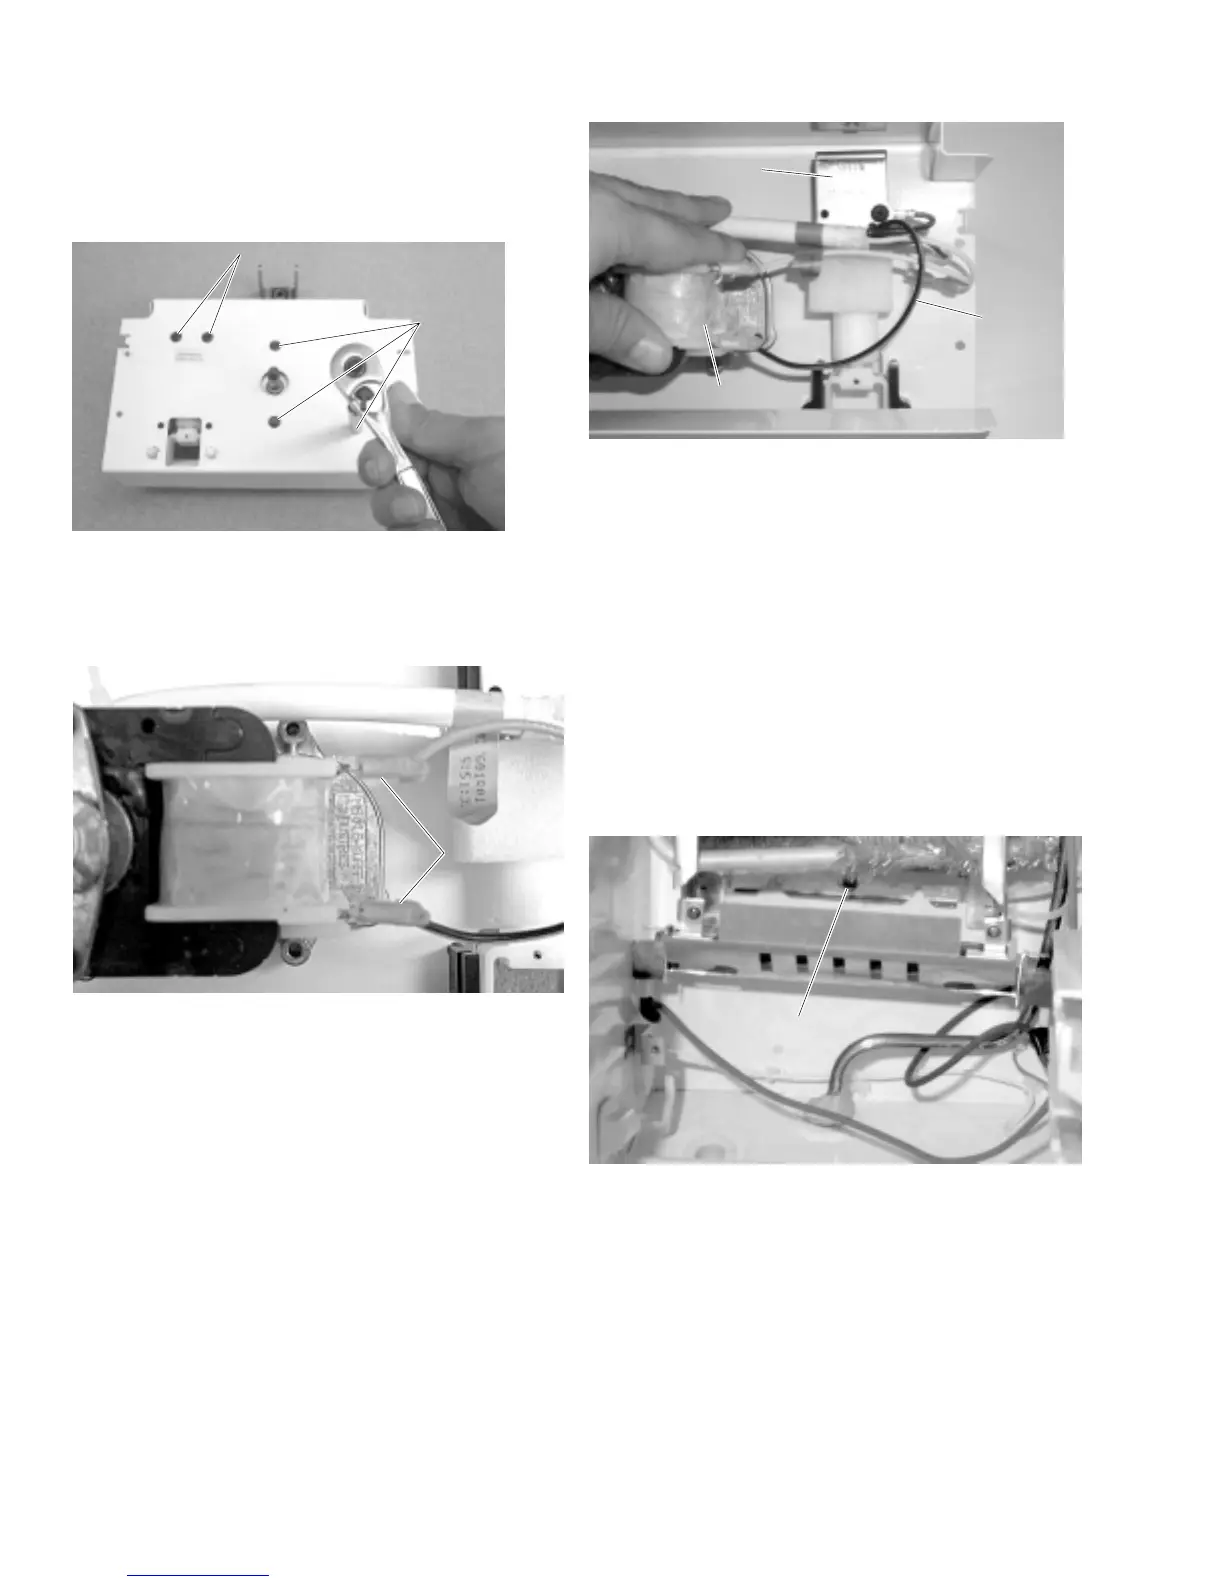
Evaporator
Air is driven across the evaporator coils to
produce cold air for the freezer and fresh food
compartments. Evaporator is replace like previous
models.
1. Complete steps 4 and 5 in the
Evaporator
Fan
procedure.
GEA00893
ScrewScrew
2. Remove 3 Phillips screws from the evaporator
mounting.
3. Cut the capillary and suction line.
4. Remove the evaporator.
 Loading...