– 27 –
GEA00894
ScrewsScrews
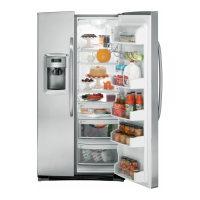
5. With a file, score the capillary tube just above
the soldered section. Break off the soldered
section of the capillary tube. This helps prevent
solder from plugging the tube during assembly.
6. Place a new evaporator into the freezer and
insert the suction line and capillary tube into
the evaporator.
7. Braze the suction line and capillary tube to the
evaporator using silfos.
8. Install a replacement dryer.
9. Evacuate and recharge the system using
currently accepted procedures.
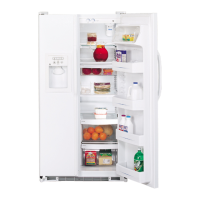
Condenser Fan
The condenser fan provides forced-draft cooling
for the condenser coil.
1. Remove the machine compartment access
cover.
2. Remove 1 screw from the condenser fan
mounting bracket.
GEA00895
ScrewScrew
3. Entire fan motor bracket and shroud assembly
can be pulled out.
4. Remove 2 screws from the condenser fan
cover.
5. Pull out the fan until the electrical connector is
exposed.
6. Disconnect the electrical connector.
GEA00725
Electrical
Connector
Electrical
Connector
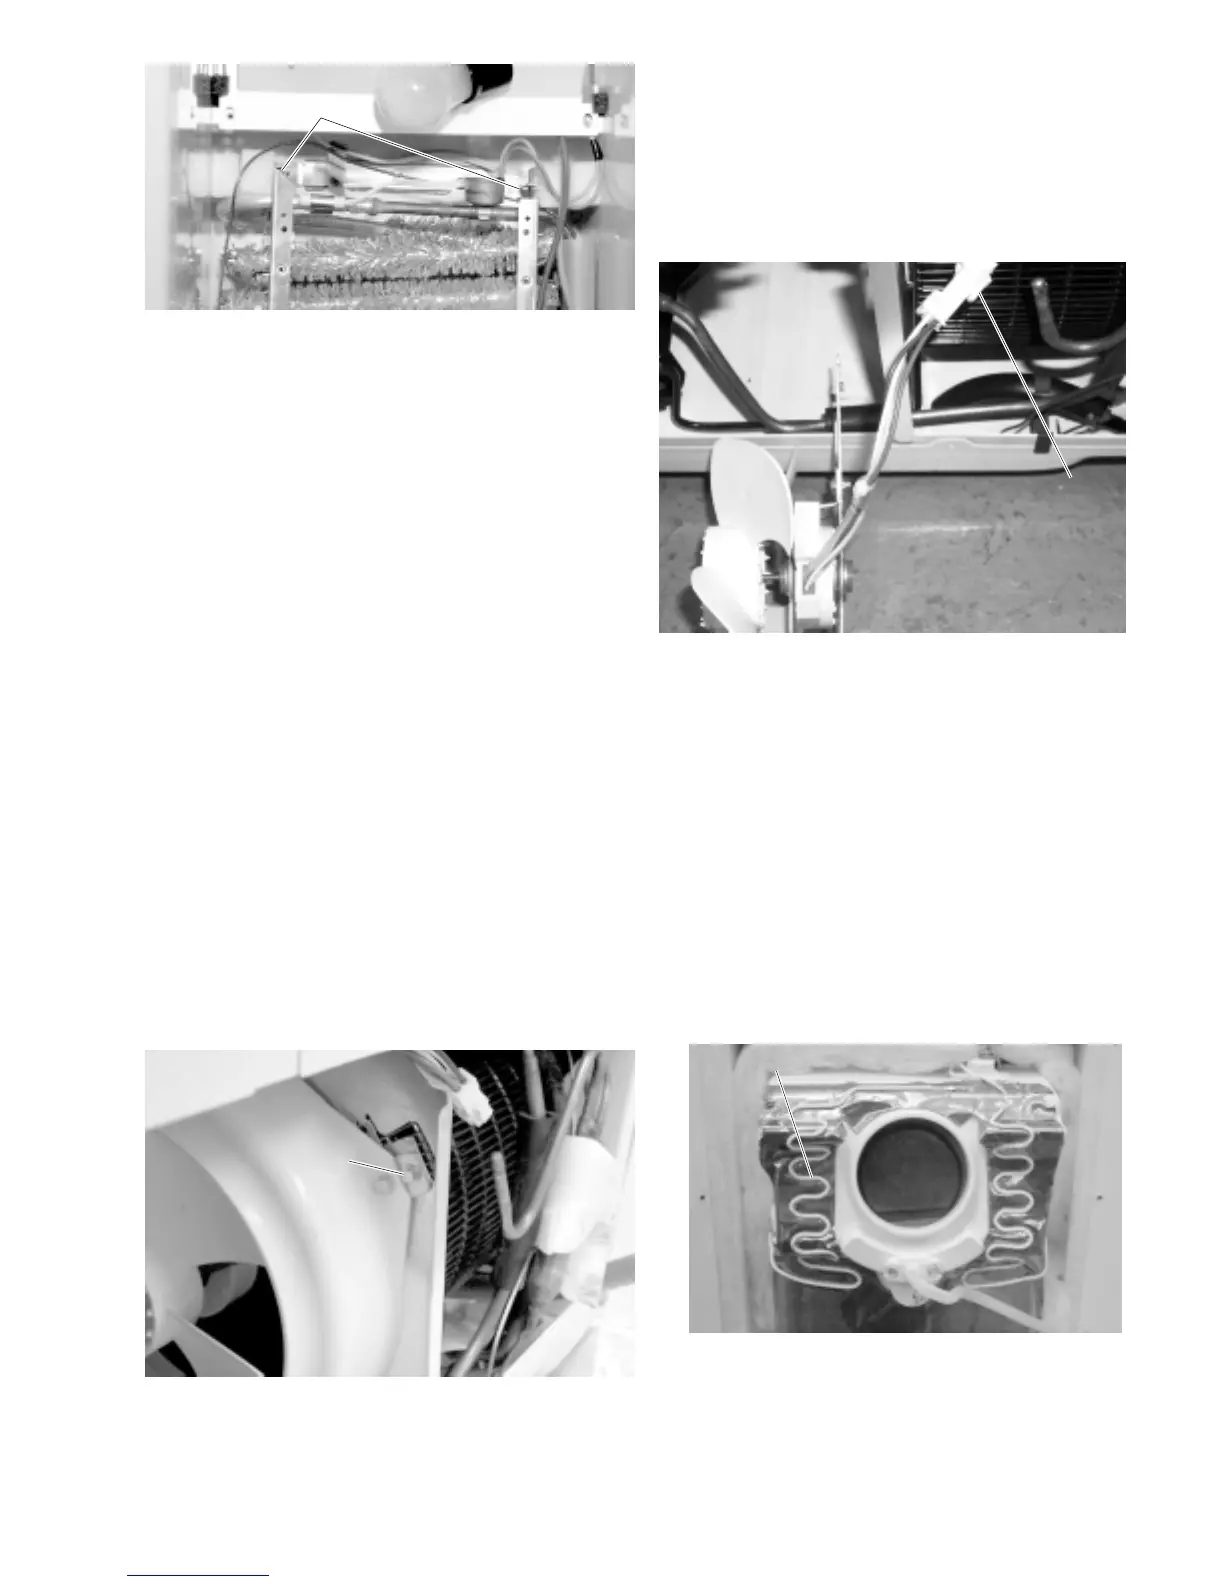
Dispenser Heater
The dispenser heater ensures that the dispensing
recess does not sweat in high humidity.
1. Remove 40 door liner mounting screws.
2. Remove the door liner.
Note: The door liner has double-sided tape on the
inside corners.
3. Remove the styrofoam dispenser cover.
4. Disconnect the wires and remove the heater.
GEA00981
Dispenser HeaterDispenser Heater
 Loading...