NX-4V2 Control 7
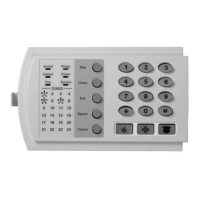
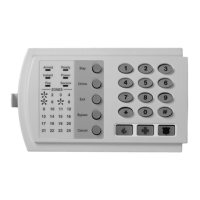
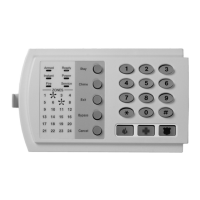
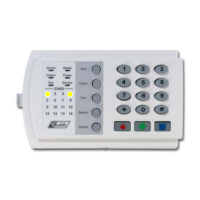
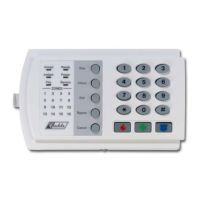
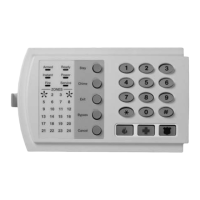
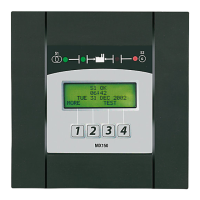
VI. PROGRAMMING THE LED KEYPADS
KEYPAD ADDRESS
This section describes how to program the address of each keypad as well as the options that are available. The address of the keypad is
important because this is how the panel supervises the keypads.
The factory default for the Master code is [1]-[2]-[3]-[4] when using a 4-digit code or [1]-[2]-[3]-[4]-[5]-[6] for a 6-digit code. The factory
default for the "Go To Program" code is [9]-[7]-[1]-[3]
for a 4-digit code or [9]-[7]-[1]-[3]-[0]-[0] for a 6-digit code.
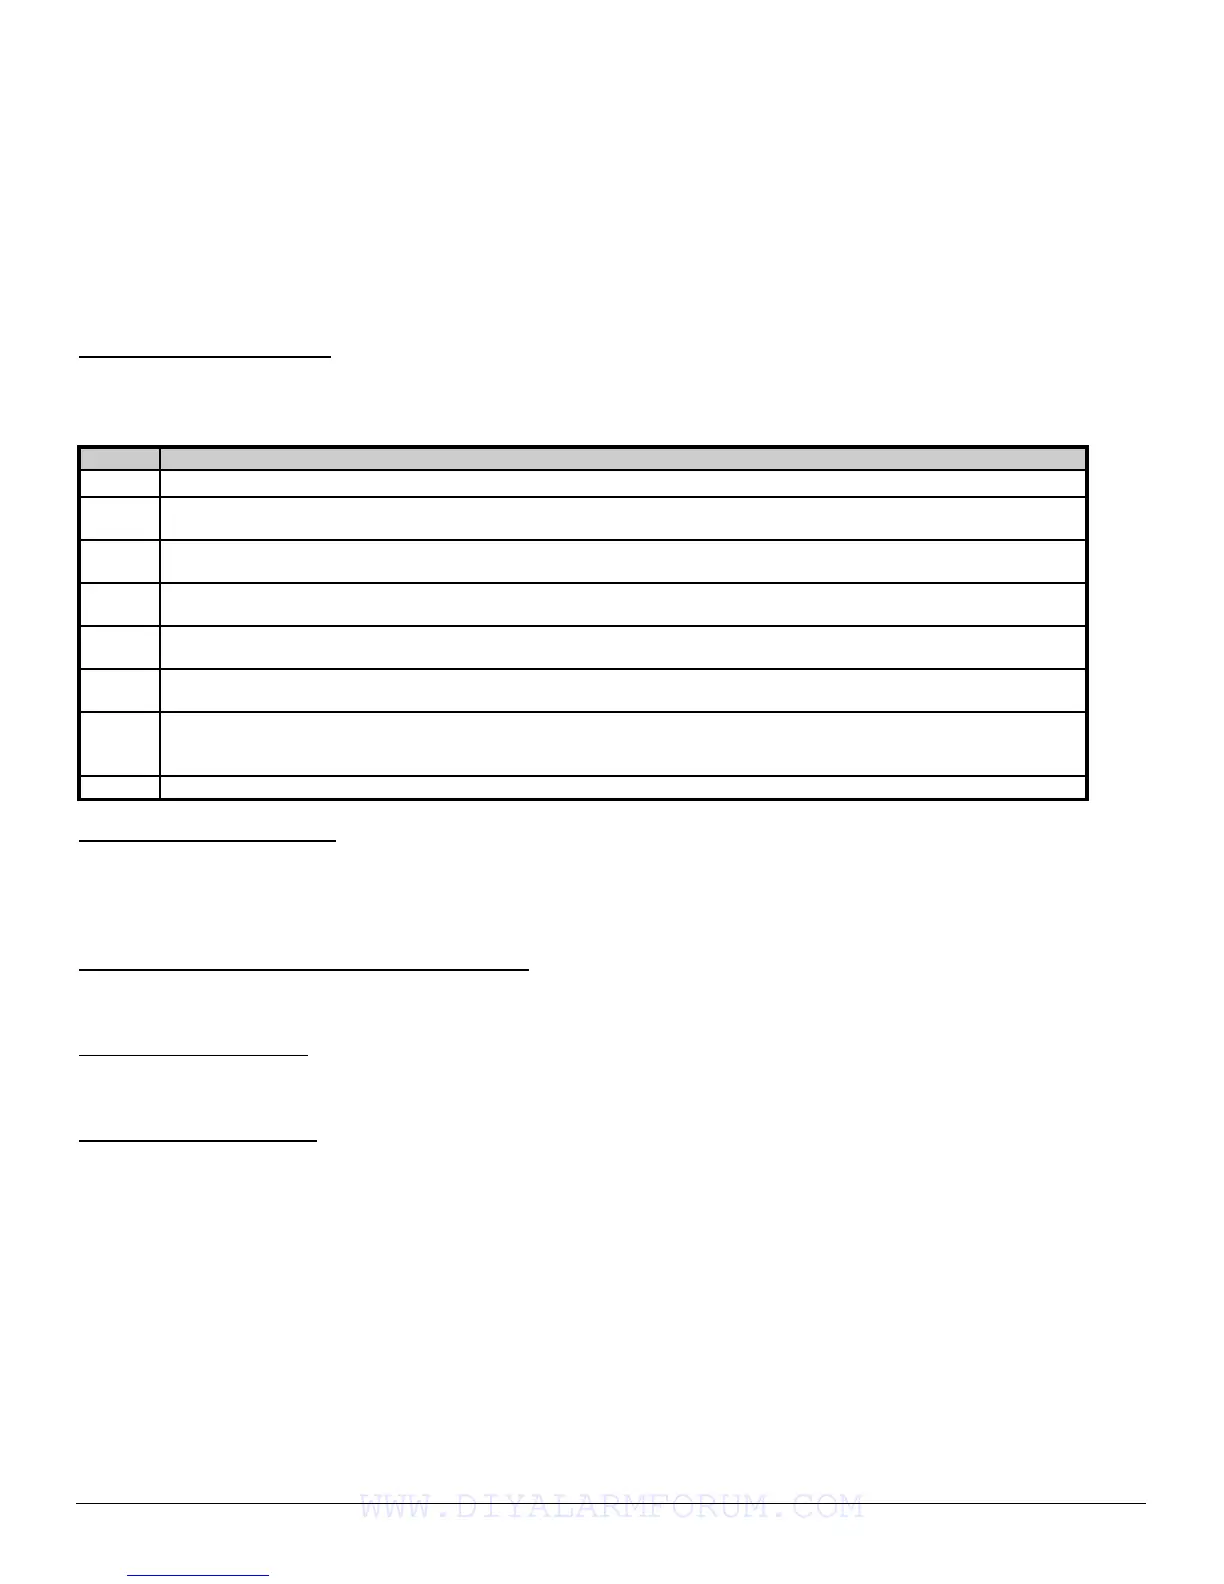
[r]-[9]-[3] Set keypad options
• Enter [r]-[9]-[3] [program code]. The "Service" LED will flash.
• LEDs 1-8 can now be toggled on/off to enable/disable the following functions:
• After enabling/disabling the desired functions press [r]
LED KEYPAD FEATURE ENABLED
1
RESERVED...DO NOT PROGRAM THIS AT ALL!
2 ENABLE SILENT KEYPAD OPTION
Silences the entry/exit sounder & chime only.
3 ENABLE DING-DONG SOUND FOR CHIME
If off, chime will be a single tone. (See location 40, page 19)
4 ENABLE KEYPRESS SILENCE OPTION
Silences the pulsing keypad sounder for 5 seconds when a key is pressed)
5 ENABLE ARMED STATUS SUPPRESSION
Will not allow the keypad to display faulted or bypassed zones when the system is armed)
6 ENABLE PANIC, FIRE, MEDICAL BEEPTONE
Will sound a short beep to verify that the keypress was accepted)
7
SUPPRESSES THE "SERVICE" LED (NOTE: For UL installations, the Service LED shall not be suppressed.)
Will not allow the "Service" LED to illuminate for any reason. If there is a system trouble, pressing [r]-[2] will
still show the service menu.)
8
RESERVED...This LED should always be “off”.
[r]-[9]-[4] Set Keypad Number
• Enter [r]-[9]-[4]-[program code]. The "Service" LED and the "Instant" LED will flash.
• Enter the keypad number (1-8)
• Press [r]. The "Instant" LED will illuminate steady and the "Service" LED will remain flashing.
• Enter [1]. The keypad will automatically exit this mode at this time.
[r]-[9]-[5] Set elapsed increments since last autotest
• Enter [r]-[9]-[5]-[program code]. The "Service" LED will flash.
• Enter [100's digit] -[10's digit]-[1's digit]-[#]
[r]-[9]-[6] Set system date
• Enter [r]-[9]-[6]-[master code]. The "Service" LED will flash.
• Enter [day of week (1=Sun)]-[month 10's digit]-[month 1's digit]-[day 10's digit] [day 1's digit] -[year 10's digit]-[year 1's digit]
[r]-[9]-[7] Set system clock
• Enter [r]-[9]-[7]-[master code]. The "Service" LED will flash.
• Enter [hour 10's digit]-[hour 1's digit]-[minutes 10's digit]-[minutes 1's digit]
CHANGING USER CODES:
• Enter [r]-[5]-[master code]. The "Ready" LED will flash.
• Enter the 2 digit user number (i.e. “03” for user 3). Maximum number of users is 8.
• Enter the new user code designated for that individual. The "Ready" LED will flash indicating that the code was accepted. If it
rejects the code, the sounder will beep 3 times.
• If another user code needs to be programmed, return to step 2.
• Press [#] while the "Ready" LED is flashing to exit the User Code Programming Mode.
ASSIGNING AUTHORITY LEVEL:
• Enter [r]-[6]-[master code]. The "Ready" LED will flash.
• Enter the 2 digit user number. The "Ready" LED will illuminate steady and the "Instant" LED will flash.
• Refer to the chart below for the description of each LED. Turn the LED on for the features that you desire.
WWW.DIYALARMFORUM.COM
 Loading...