– 23 –
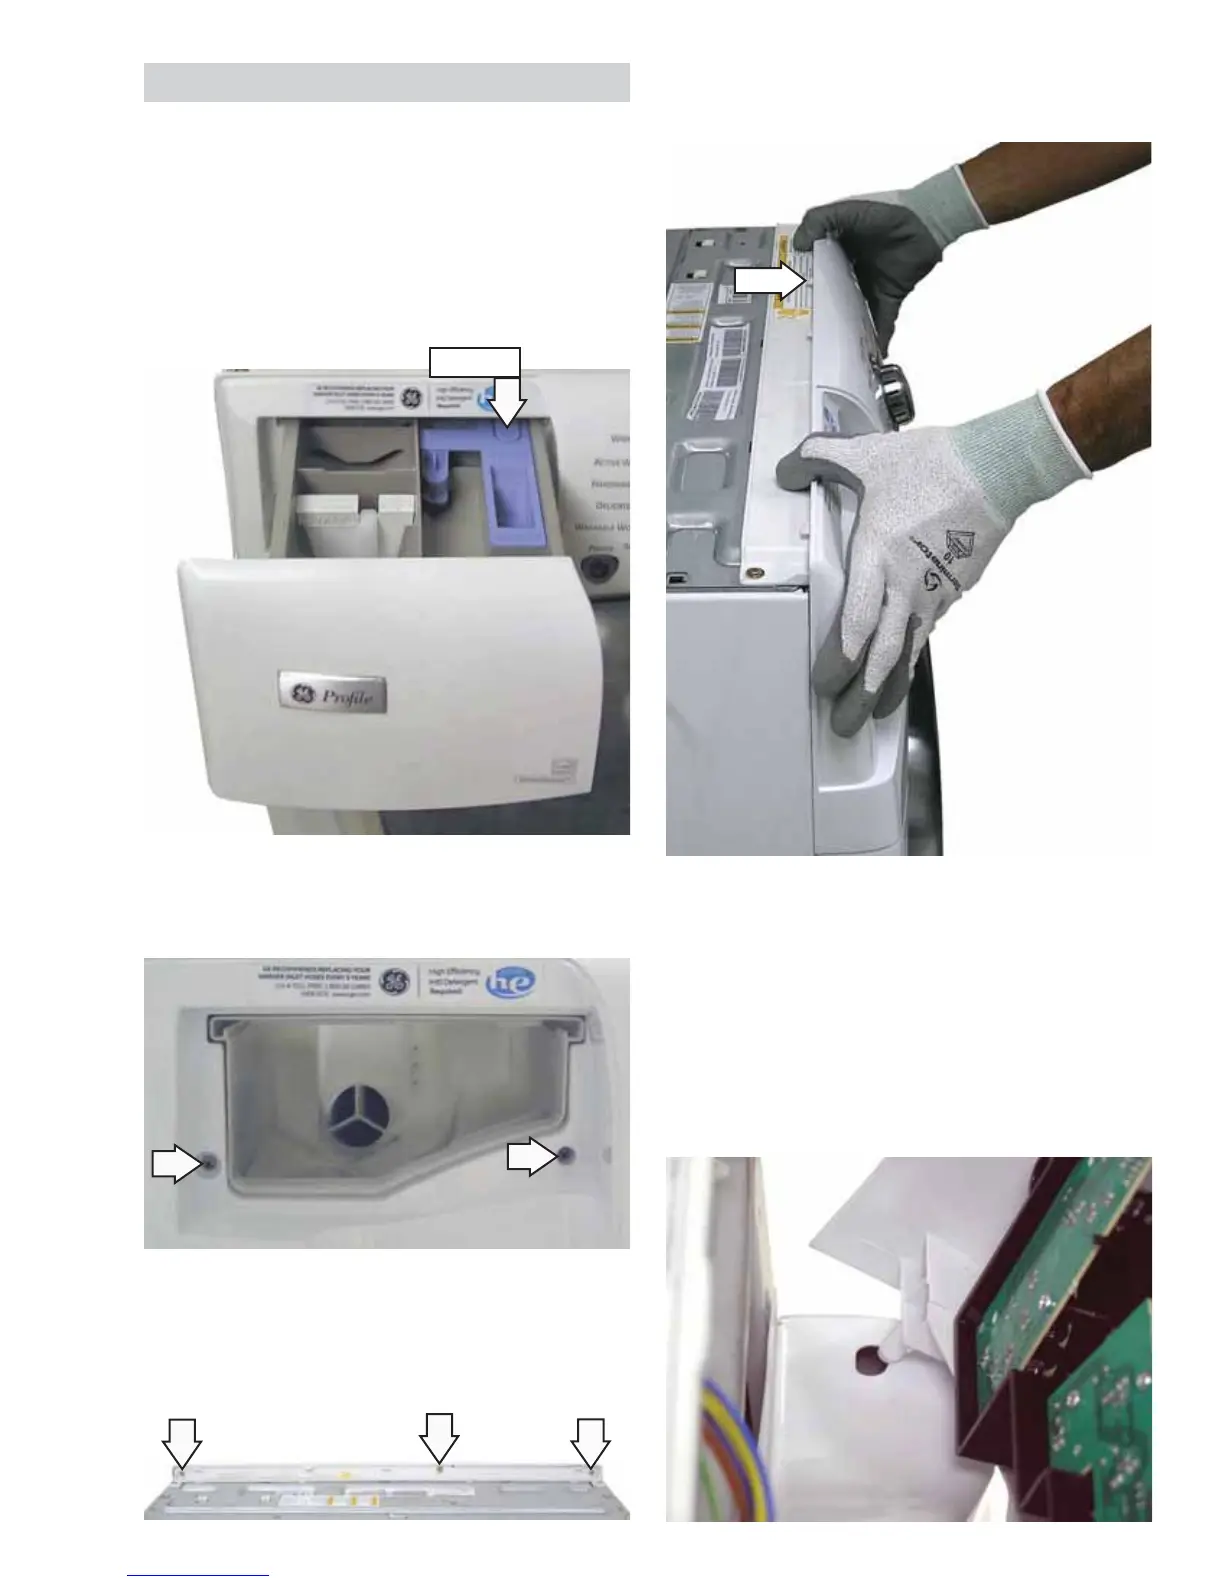
6. Lift the panel from the cabinet.
7. Disconnect the wire harness from the control
panel.
Note: When installing the control panel, place the
panel pin in the locator hole in the top right-side of
the front panel before engaging the tab.
5. Lift the top edge of the panel to disengage the
tab that holds the top of the panel in place.
Remove the 3 (7-mm) hex-head screws that 4.
attach the top of the control panel to the control
panel brace.
Remove the 2 Phillips-head screws from the 3.
control panel dispenser recess.
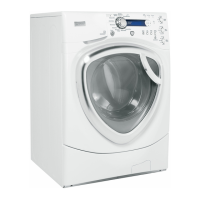
Lock Tab
Control Panel
The control panel is held in place with 5 Phillips-
head screws and 1 tab.
To remove the control panel assembly:
Remove the top panel. (See 1. Top Panel.)
Pull the dispenser out to the stop position. Press 2.
down on the lock tab. Pull the dispenser out.
Rear View
Tab
 Loading...