Component/FRU Removal and Replacement
2097937-002 Rev G T2100-ST1 Treadmill, 110V / T2100-ST2 Treadmill, 220V 143
11 March 2019
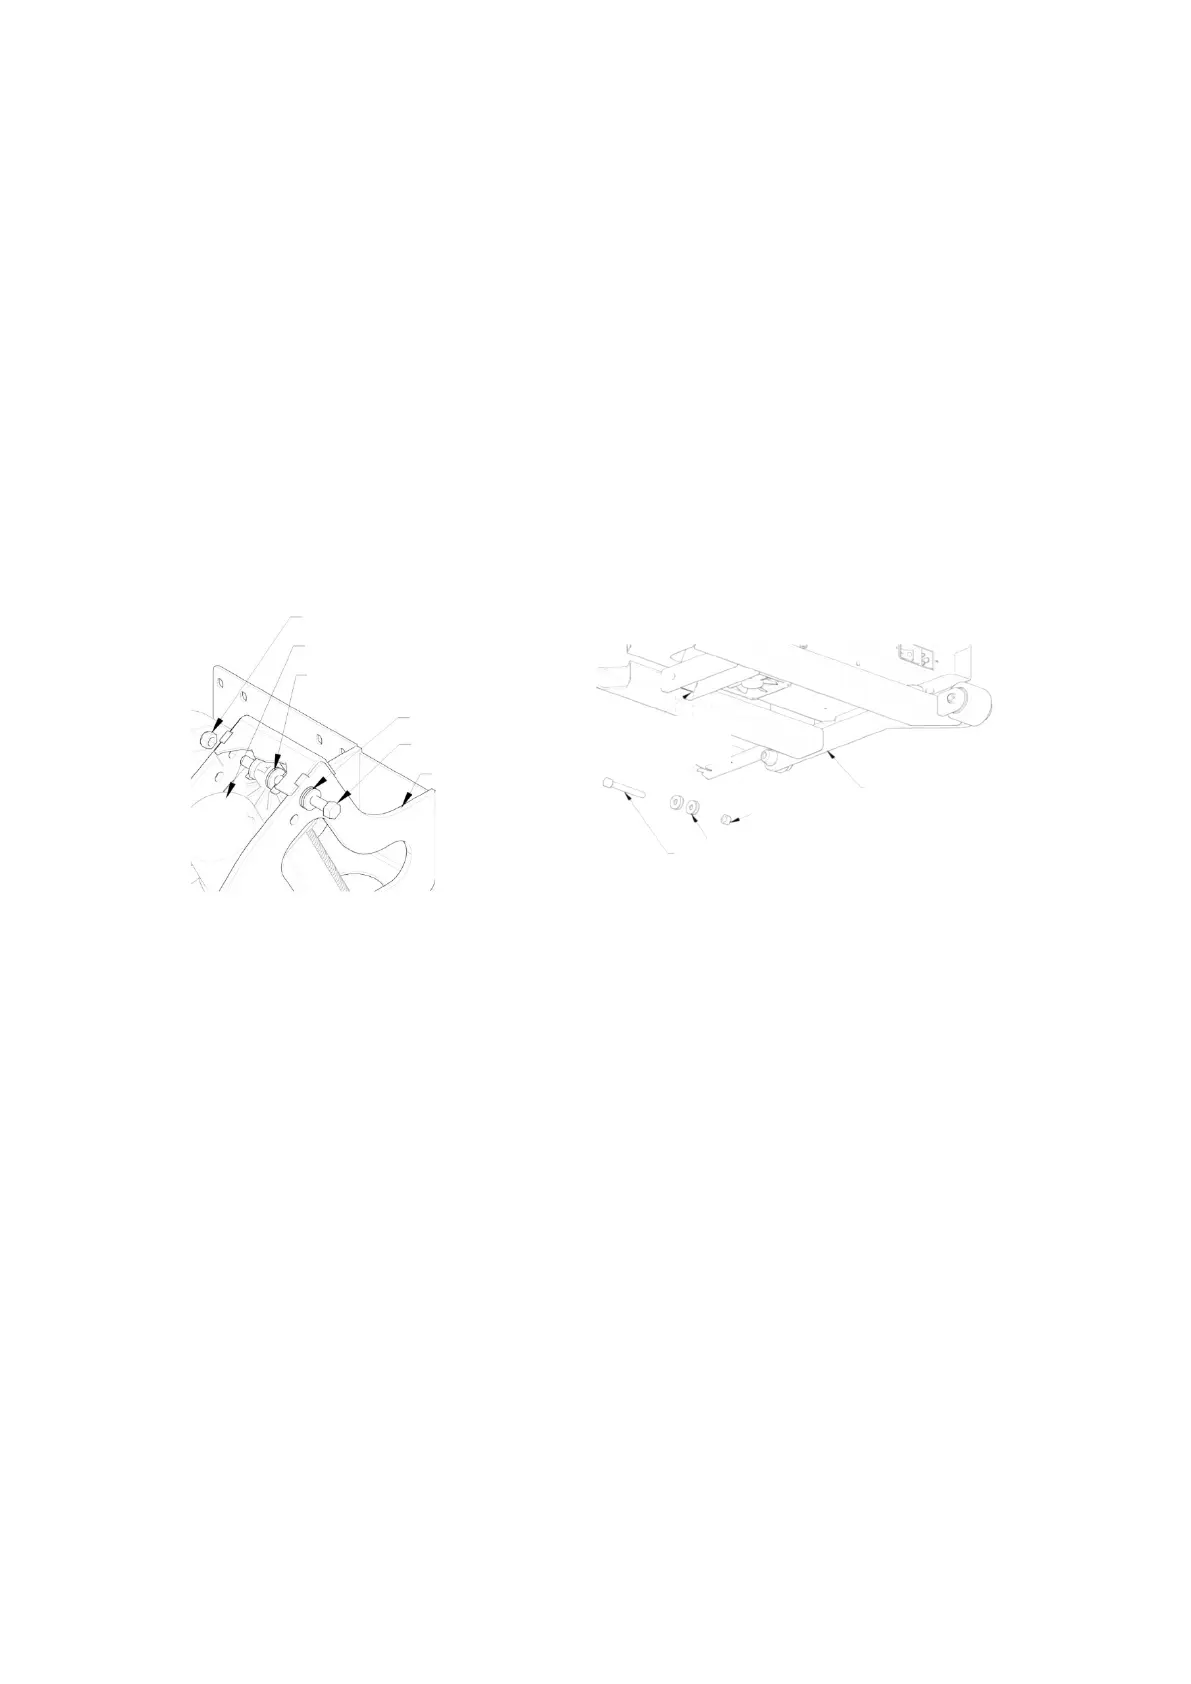
c. Turn the tube counter-clockwise 1.5 turns (540°) and
continue turning it until the bolt holes in the tube
align with holes as it is installed.
12. Reverse the procedure to install the actuator into the
treadmill.
Be sure to use Service grease (quality, moly-based grease)
on both the bolts and nylon washers retaining it.
NOTE:
Over tightening the lower bolt will lead to a popping
or creaking noise when the treadmill is elevating.
13. After installing the elevation actuator, perform “Calibrating
Elevation” on page 171.
Replacing the Smart Power Supply Relay Board
Tools required
Wire Cutters or Utility Knife
Grounding Wrist Strap
1/4” Hex Nut Driver or Flat Blade Screw Driver
5/16” Hex Nut Driver
3/32” Flat Blade Electronics Screwdriver
Grounding Wrist Strap
Approximate time to complete: 1 hr 15 min
1. Turn the treadmill main power switch to the OFF position.
2. Unplug the treadmill plug from the wall receptacle.
3. Allow the treadmill to discharge for 1 minute.
4. Remove the (5) hood securing bolts.
5. Remove the hood and set it aside.
Nylon Washer “Apply Service
Grease to pivot”
Grease

 Loading...