To avoid risk of electrical shock, personal injury, or
death, disconnect power to unit before servicing.
Disassembly Procedures
21
WARNING
Before attaching wire harness terminal blocks to timer,
verify all male terminals on timer are straight and are
capable of accepting terminals from wire harness
terminal blocks.
NOTE: When installing timer, verify timer is installed
correctly and is securely mounted to control
mounting plate.
CAUTION
To avoid risk of timer damage, do not allow timer
to be struck on the corners, edges of frame, or on
timer shaft.
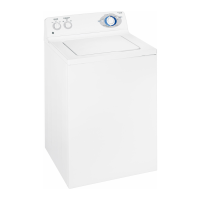
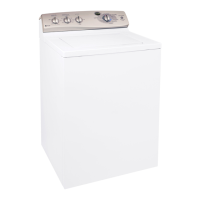
Temperature and Speed Switch
1. Loosen control hood assembly, see “Control Hood
Assembly” procedure steps 1 and 2.
2. Slide a soft cloth under the knob, wrapping the
entire knob and pull gently away from the control
panel.
3. Disconnect wires from switch terminals.
4. From the front, press inward on black plastic
tabs next to the switch shaft and rotate switch to
release switch from control hood mounting plate.
5. Reverse procedure to reassemble.
NOTE: See appropriate wiring diagram when rewiring
components.
Typical Control Panel Assembly
To
cover
Screws
Pressure
switch
Screw
S
eed
switch
Timer
Screw
Screw
Screw
Tem
erature
switch
Screw
End
anel
left side
Rocker
switch
Control
knob
Timer
knob
Timer
knob
skirt
Gra
hic
anel
Screw
Screw
Control
mountin
late
Ground
cli
Hold-down
cli
Control hood
rear
anel
End
anel
ri
ht side
(some models)
 Loading...