46
09665-08.2018-Gb
7
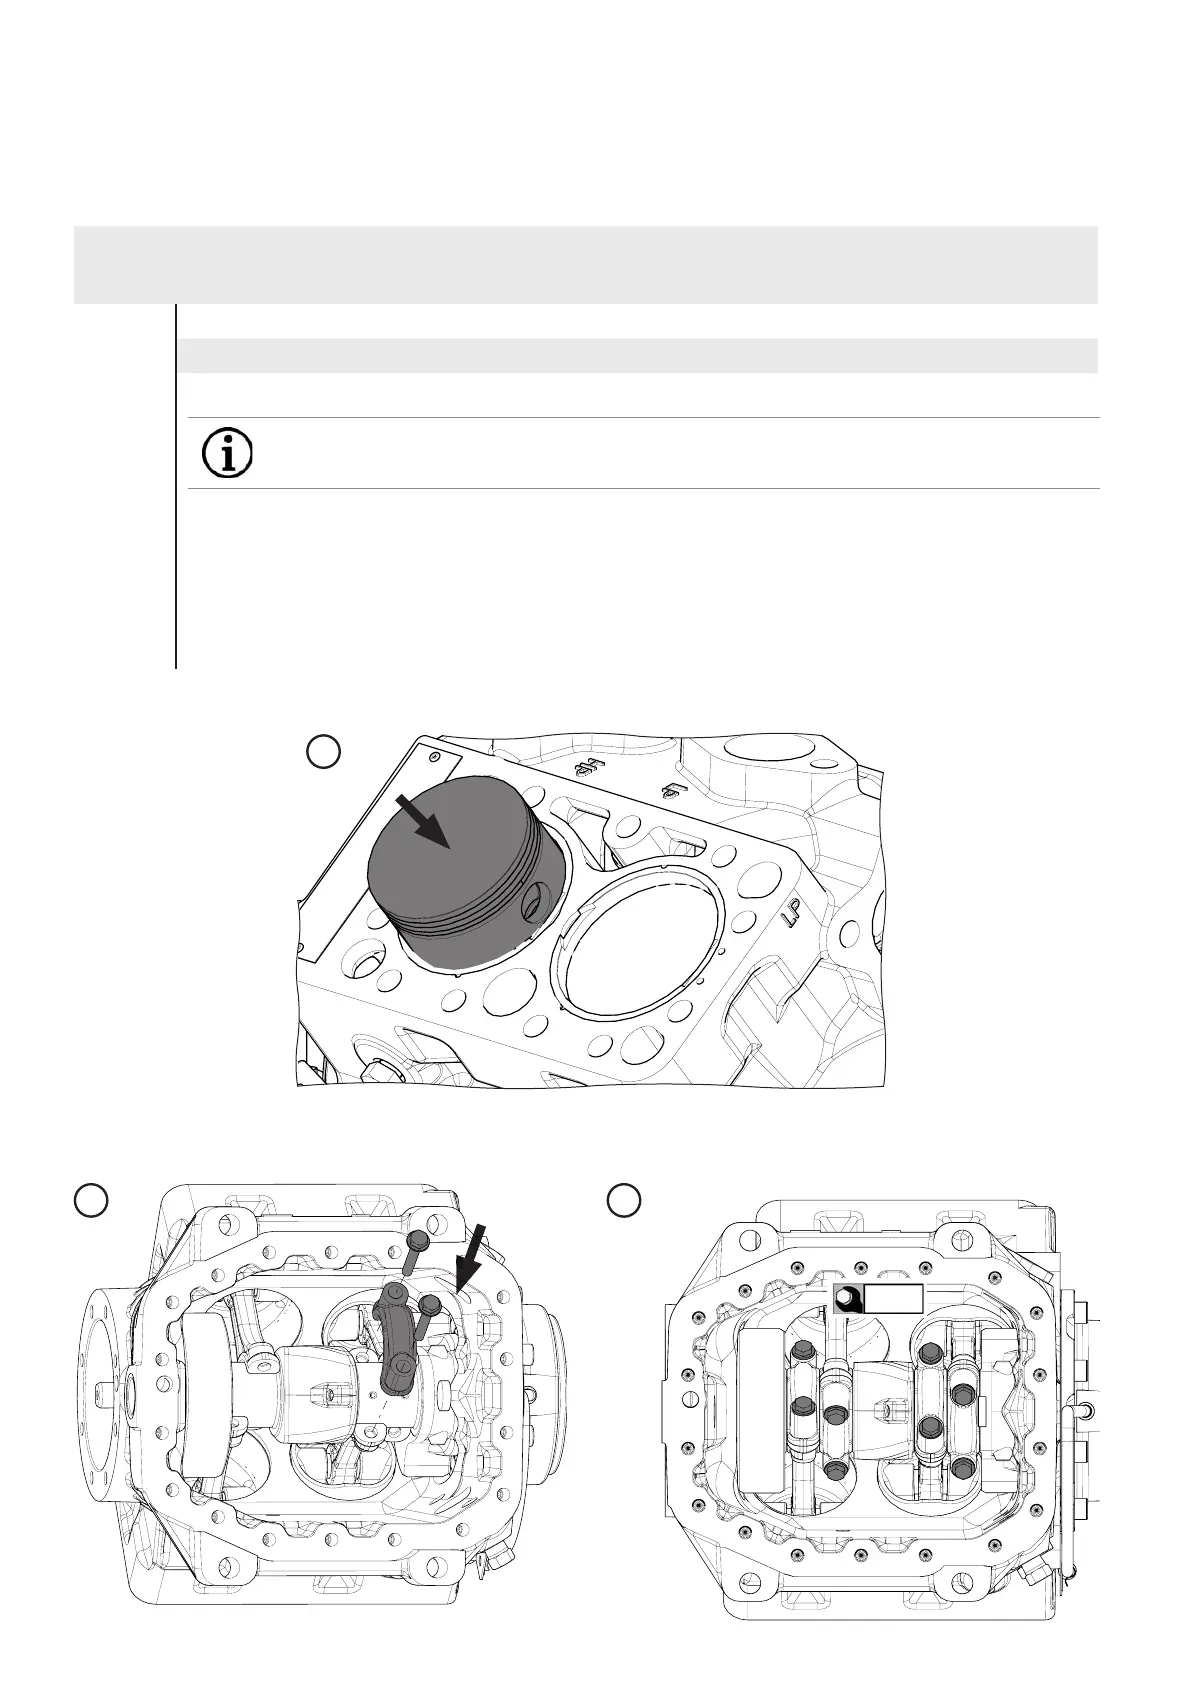
Assembly of the inserted connecting rods and pistons
Position in
parts list
Parts list position: 2040 opt. 2045 or 2030 opt. 2035 together with 2100
Tools: Piston ring pliers, spanner SW 10
Working course
290, 300
2100
2050
- Compress the oil scraper ring and compression ring with the piston ring pliers and insert the piston into the
cylinder liner
- Place the marked connecting rod caps onto the related connecting rods
- Screw on the connecting rod caps and tighten
- Turn the crankshaft by hand. In case the crankshaft does not rotate freely check the seating of the connecting
rods; if necessary, disassemble the connecting rods and carry out this step once more
12 I Assembly of compressor
INFO Pay attention to the correct pairing of connecting rods and connecting rod caps!
Replace connecting rod cap screws or in the case of reusing put on a sticker!
15 Nm
2 3
1
 Loading...