DenOptix QST
032-0265-EN Rev 15-4
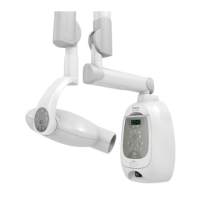
5. Turn the DenOptix QST
scanner off as per page 4-10.
Unplug the powe
r cord and
USB 2.0 cable.
To avoid possible electrical shock, ensure that the power cord is unplugged.
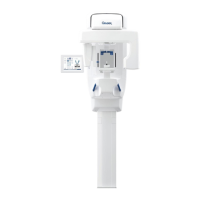
6. Insert a small, flat tipped
screwdriver into the top of
the fuse cover on the back
of the scanner. Pry the top
of t
he connector open.
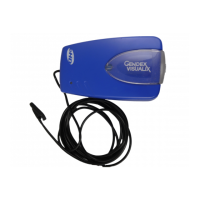
7.
Remove the fuse holder.
Change both fuses. Ensure
that new fuses meet the
follow
ing specifications:
250 V, 2 amp, Time Lag,
High Breaking Capacity.
Insert the fuses, REF 5101-
0005, into the fuse holder.
 Loading...