24
4. The Digital Organizer
The Digital Organizer lets you view, edit, annotate, or e-mail your digital pages
in Windows. You can download the digital pages from the G-Note’s built in
memory to your computer, and organize, rename, delete, or save them in most
frequently used file formats like JPG, BMP, or PDF.
4.1 Installing the Digital Organizer software
1. Turn on your computer and start Windows
2. Insert the Digital Organizer CD into the CD-ROM driver. If your system has
the “Auto run” function enabled, your screen will display the setup screen
menu. If the setup screen did not appear after a while, double click my
computer on the Windows desktop, and then the Compact Disc icon and
the Setup icon in succession.
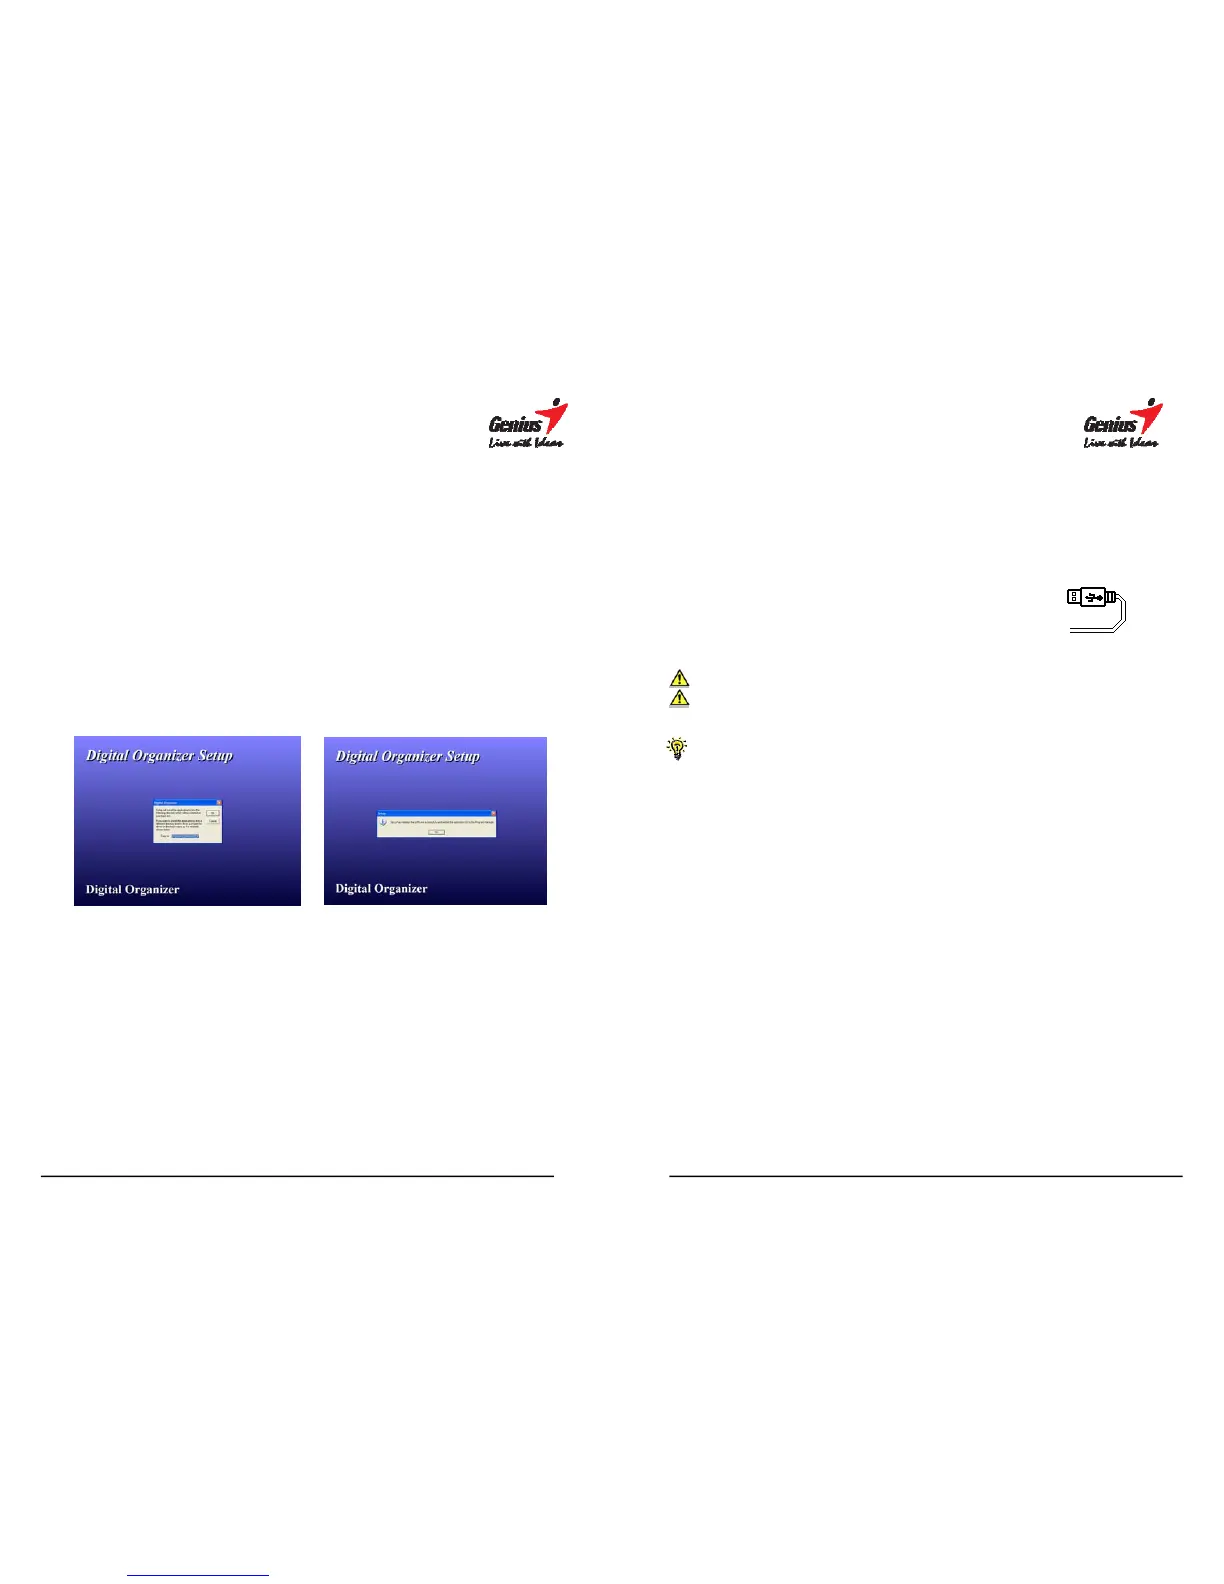
3. Confirm the location of the
destination folder (recommended)
and click [OK].
4. To proceed with the installation,
click [OK], wait until the install-
Latino is completed, and click [OK]
again.
25
4.2 Downloading digital pages from the G-Note
1. Take the G-Note USB cable that is included in the package, and plug the
small connector of the cable into the USB connector on the G-Note 7100. Make
sure your computer is turned on and plug the wide connector of the cable into
an available USB port on your computer
2. The LCD display will show a USB connector
diagram to confirm that you have successfully
established a USB connection between the G-Note
and your PC, and that the G-Note is in pen tablet
mode (see section 4.4).
G-Note in pen tablet mode
The G-Note will not be able to capture notes while it is in pen tablet mode.
Do not use the 32MB flash memory of the G-Note as a storage disk as file
errors may occur!
The G-Note won’t use battery power but will receive its power from the
computer during the USB connection.