offered by Busse-Yachtshop.com
••••••••••••••••••••••••••••••••••••••••••••••••••••••••••••••••••••••••••••••••••••••••••••••••••••••••••••••••••••••••••••••••••••••••••••••••••••••••••••••••••••••••••••••••••••••••••••••••••••••
2120
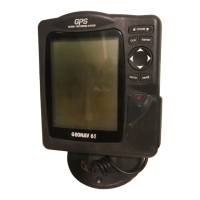
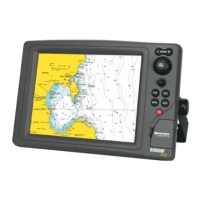
CARTRIDGE INSTALLATION
Installing the cartridge
• Remove the rubber cover on the
unit right side protecting the
Navchart™ cartridge slot.
• Insert the cartridge into the slot
paying attention to the reference
groove.
• Replace the rubber cover exer-
cising light pressure and make
sure it is perfectly inserted to
avoid any water infiltration.
Cartridge Installation
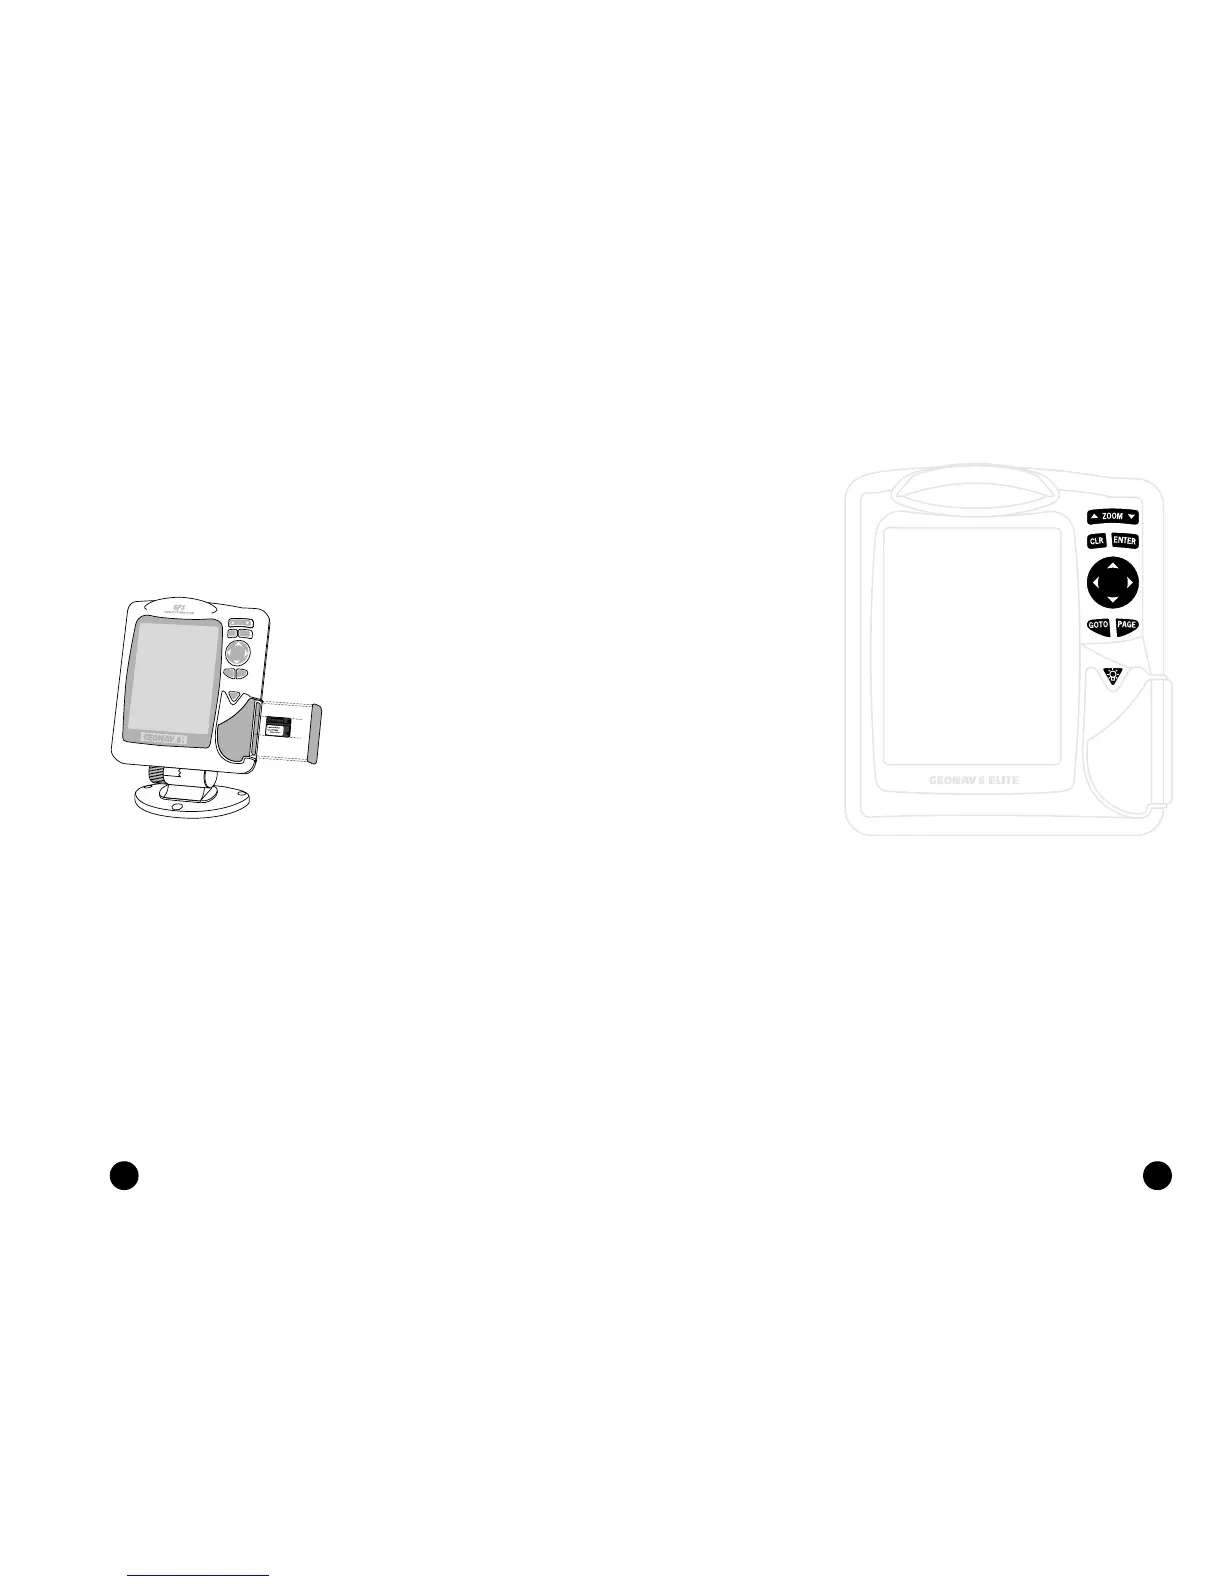
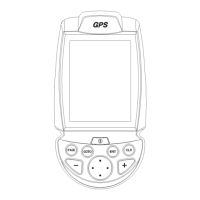
Keyboard
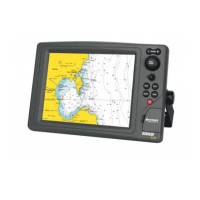
Removing the cartridge
• Make sure that the unit is perfectly dry.
• Remove the rubber cover on the unit right side and extract the car-
tridge.
ATTENTION: The rubber cover should be removed only when inserting or replacing the cartridge.
KEYBOARD
• Cursor mode:
Deletes the last
waypoint or the
marker pointed by
the cursor.
CURSOR
• Moves the manual
cursor across the
screen.
• Allows switching
from Navigation
mode to Cursor
mode.
• Allows selecting
from the options in
the menu /
submenu.
• At start-up, allows
adjusting screen
contrast.
ON/OFF
• Switches the
GEONAV on / off.
• Allows adjusting the
screen backlight.
ZOOM+/ZOOM-
Selects the chart range.
ENTER
Enters a marker or
confirms a selection
from the menu.
PAGE
• Navigation mode:
Turns navigation
data pages.
• Cursor mode:
Allows switching
from Cursor mode
to Navigation mode.
GOTO
Allows plotting a route
toward a manual cur-
sor position, desired
marker, port, nearest
port service or specified
position (lat/lon).
CLR
• Navigation mode:
Deletes the current
route.