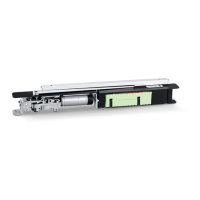
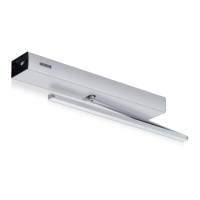
ECturn Inside
30
Commissioning
7 Commissioning
7.1 Collision test
X
Close the door carefully by hand and open it again.
During movement, no components may scrape or jam.
7. 2 Opening restrictor
X
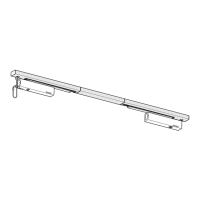
Fix the door stop with thrust in the guide rail at a door opening of max. 110° (see “Installing the guide rail” on
page 22).
X
During teach-in, make sure that the door does not slam into the thrust but rather comes to a standstill beforehand.
Alternatively, a door stopper can be installed.
7.3 Teaching the drive
If no contact sensor (wireless module, push-button switch or similar) is used:
X
Choose "Push & Go" in the parameter menu.
The teaching process is described in the ECturn wiring diagram.
X
Open the door a little.
X
Remove the control unit cover and allow to dangle from the cable.
X
Connect the display programme switch (mat. no.151524) with the RS485 socket.
X
Request the Teach menu item (audible signal).
X
Remove the DPS connector.
X
Move the door into the closed position by hand (1st reversing point).
X
Move the door into the required open position by hand (2nd reversing point).
X
Move the door near to the closed position.
X
Connect the display programme switch with the RS485 socket.
X
Press the enter key and quit the teaching program (audible signal).
X
Pull the DPS connector off and replace the control unit cover.
X
Move the door into the closed position by hand (drive knows its start position).
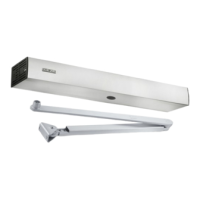
8 Adaptation possibilities
8.1 During planning
The space between the guide rail and drive can be enlarged by means of the lever with spindle extension (6 mm,
13mm, 16mm, 20mm).
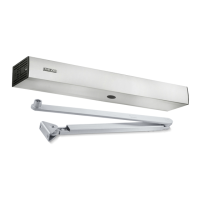
8.2 During installation (on site)
Adjustment of the space between the drive (door) and the guide rail (frame) is not easy after installation has been
completed.
When the ECturn Inside is installed in a wooden door leaf, the space can be reduced by shimming the motor gear
unit if necessary.