Figure
5-5-4
Figure
5-5-6
Wallpaper
Set the system wallpaper
In the interface of Et he rnet configuration
Output
mode
Set TV output mode, including
Ethernet
Equipment
Currently can be
720p,
1080p,
etc.
applied Ethernet equipment "eth0" acquiescently.
Display
position
:
Set
TV
representation
rate
to
adjust screen size.
Font
Size
: Set system font size.
Figure
5-5-8
Downloaded
: Display users' personal downloaded
and installed applications
Running
: Examine currentlyrunning service, visit
and manage the service.
5.5.7
Personal
Settings
Personal settings include Account & Synchronization,
2. Choose Setting ->system settin g ->system
upgrading into the system upgrading interface,
see as picture 5-5-10.
Figure
5-5-3
3.
Click
the
right
upgrading
among
all
lis te d
upgrade packages, then a confirmation dialogue
pops up , as shown in picture 5-5-11:
2 Static state IP Static IP mode
When choose Static state IP mode, you need
to setup all IP parameters correctly and save it.
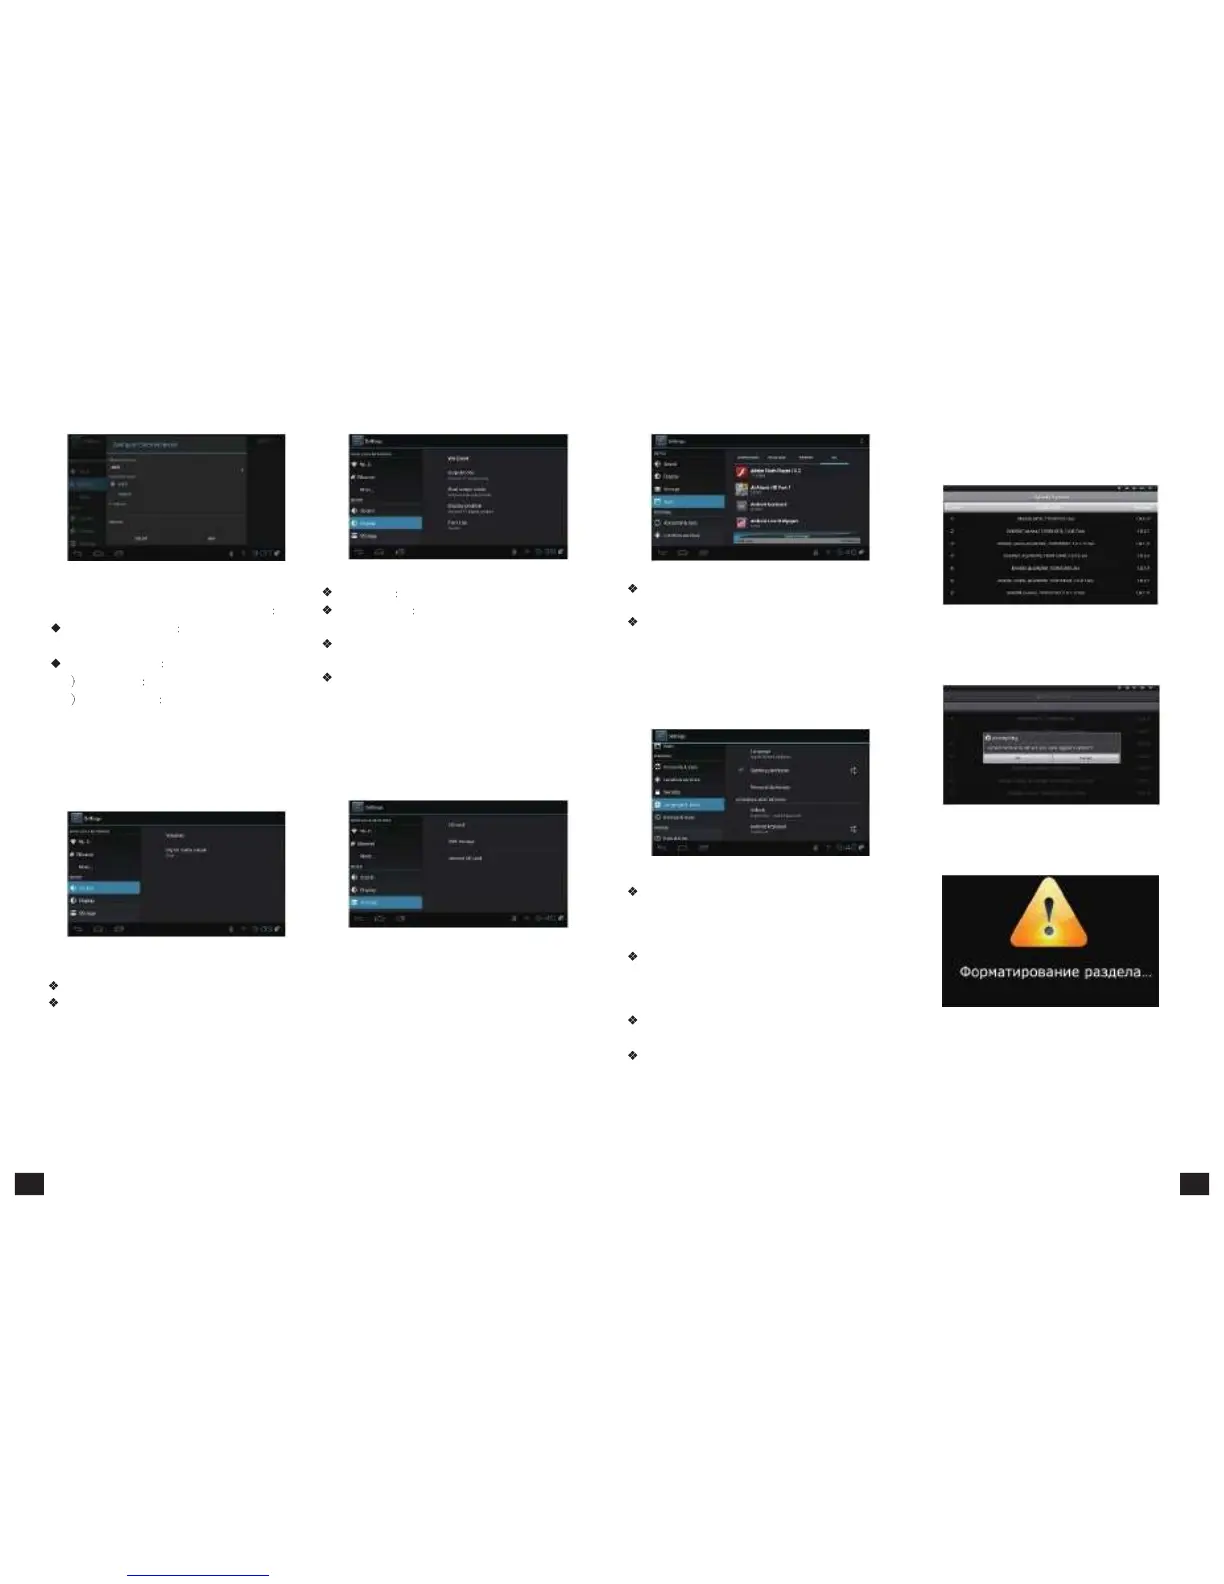
5.5.3
Sound
Setup
Press【OK】button to enter in "Sound".
Figure
5-5-5
Volume: Set the system volume;
Sound Output Mode: Choose PCM or RAW model.
5.5.4
Display
Setup
Press【OK】to enter in "Display".
5.5.5
SD
Card
and
Storage
Device
Show SD card and storage device and internal
memory information, and operations of unloading,
Installation and formatting.
Figure
5-5-7
Note: Please unload it safely before formatting Hard
Disk.
5.5.6
Applications
Choose
"Apps"
and
press【OK】to
enter
in,
like Picture 5-5-8 shows:
LBS, Safety, Language & Input, Backup & Reset, as
shown in picture 5-5-9.
Figure
5-5-9
Account
&
Synchronize:
All kinds of accounts can be added, including Google,
Skype, Twitter and so on, realizing the synchronization
of data
Location
Based
Services
: Set whether to open
Google's location service or not
Safety: Set password visible, equipment control,
application installation, etc.
Language
&
Input
: Set system language and
default input method.
Backup
&
Reset
:
Back
up
data
and
restore
factory setting.
Figure
5-5-11
4. Click "OK" to upgrade. system will reboot then
into the uploading interface, as picture 5-5-12:
Figure
5-5-12
5. The machine starts to clear FLASH and showing
completely loading the upgrade files, see as picture
5-5-13.
5.5.8
System
Update
1. Insert the SD card or U-disk that store upgrading
files.
21 22