GA-E7AUM-DS2H Motherboard - 70 -
Step 6:
Select Save & Exit Setup and then press <Y> to save settings to CMOS and exit BIOS Setup. The
procedure is complete after the system restarts.
Press <Y> to load BIOS defaults
Step 4:
Press <Esc> and then <Enter> to exit Q-Flash and reboot the system. As the system boots, you should
see the new BIOS version is present on the POST screen.
Step 5:
During the POST, press <Delete> to enter BIOS Setup. Select Load Optimized Defaults and press
<Enter> to load BIOS defaults. System will re-detect all peripherals devices after a BIOS update, so we
recommend that you reload BIOS defaults.
CMOS Setup Utility-Copyright (C) 1984-2008 Award Software
MB Intelligent Tweaker(M.I.T.)
Standard CMOS Features
Advanced BIOS Features
Integrated Peripherals
Power Management Setup
PnP/PCI Configurations
PC Health Status
ESC: Quit : Select Item F11: Save CMOS to BIOS
F8: Q-Flash F10: Save & Exit Setup F12: Load CMOS from BIOS
Load Optimized Defaults
Load Fail-Safe Defaults
Load Optimized Defaults
Set Supervisor Password
Set User Password
Save & Exit Setup
Exit Without Saving
Load Optimized Defaults (Y/N)? Y
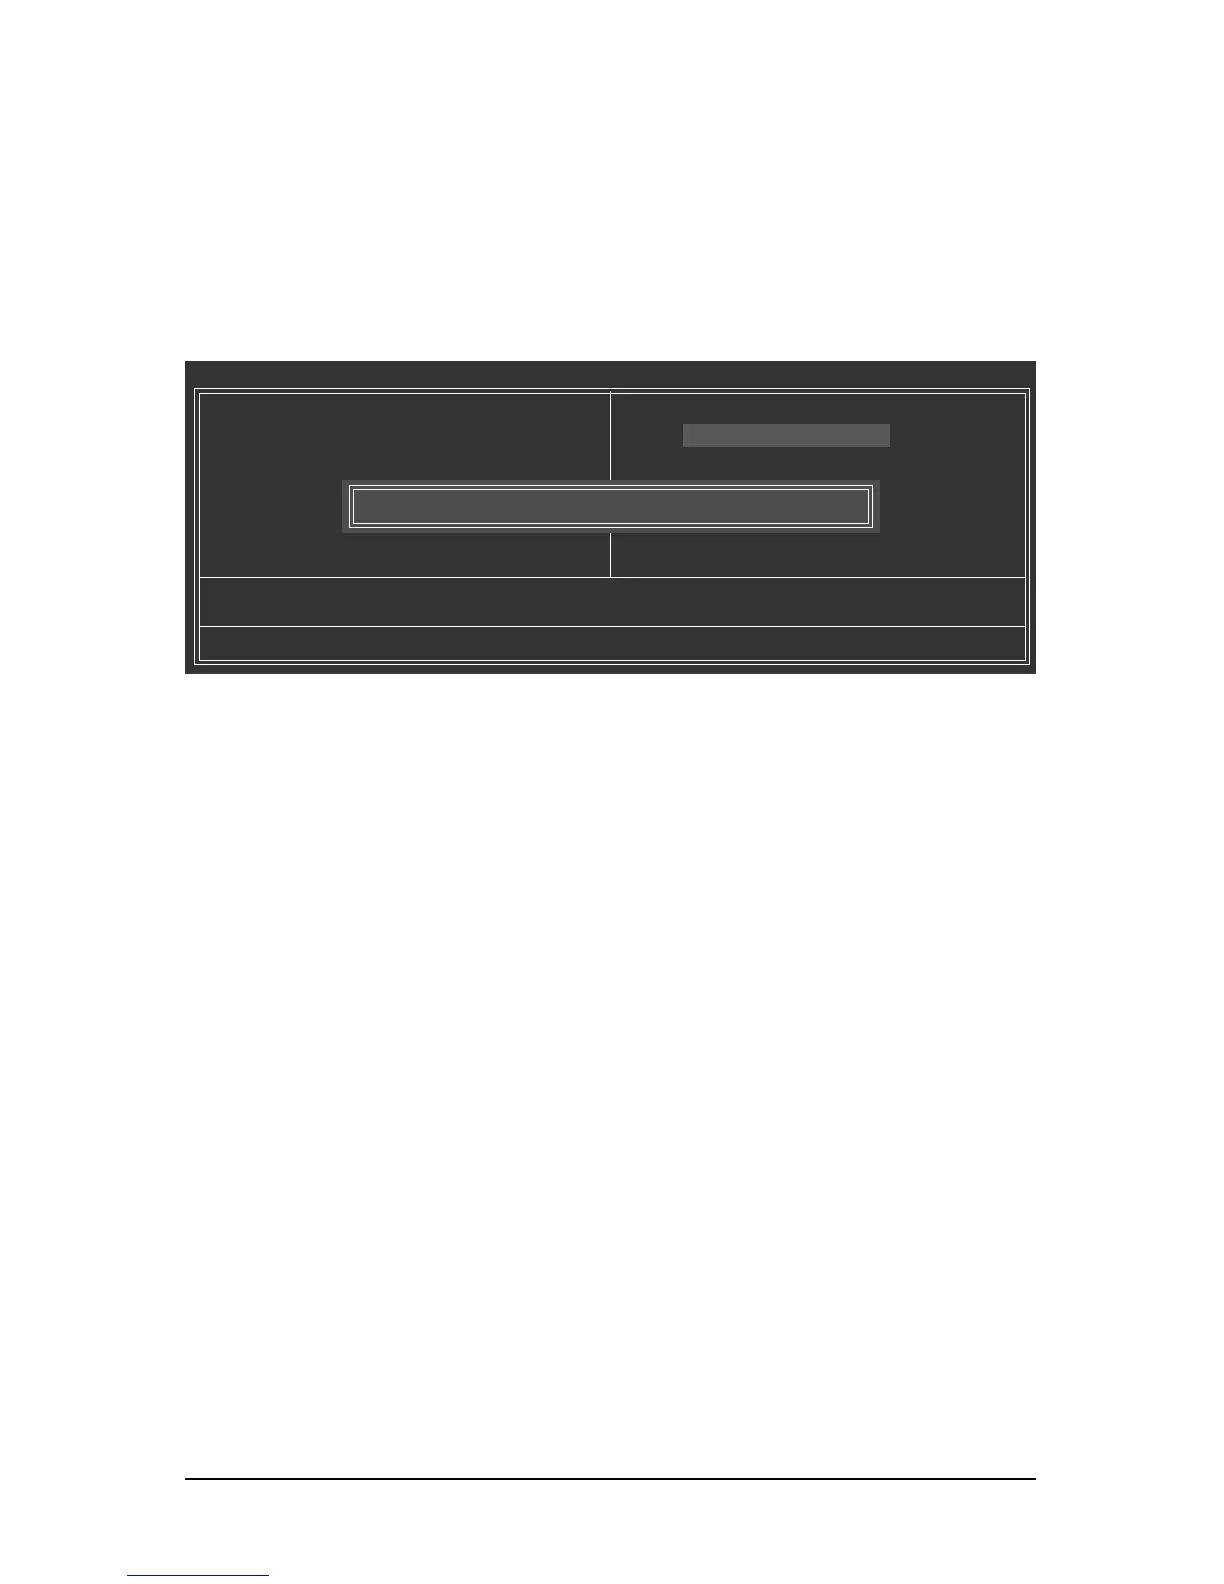 Loading...