GA-E7AUM-DS2H Motherboard - 92 -
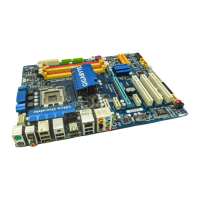
5-2-2 Installing the S/PDIF In and Out Cable (Optional)
The S/PDIF in and out cable provides S/PDIF in and S/PDIF out functionalities.
Coaxial
S/PDIFOut
Coaxial
S/PDIFIn
Optical
S/PDIF In
Optical
S/PDIF Out
S/PDIF in:
The S/PDIF in jacks allow you to input digital audio signals to the computer for audio processing.
S/PDIF out:
The S/PDIF out jacks can transmit audio signals to an external decoder for decoding to get the best
audio quality. Install the S/PDIF in and out cable first if you want to output S/PDIF digital audio signals
to an external decoder.
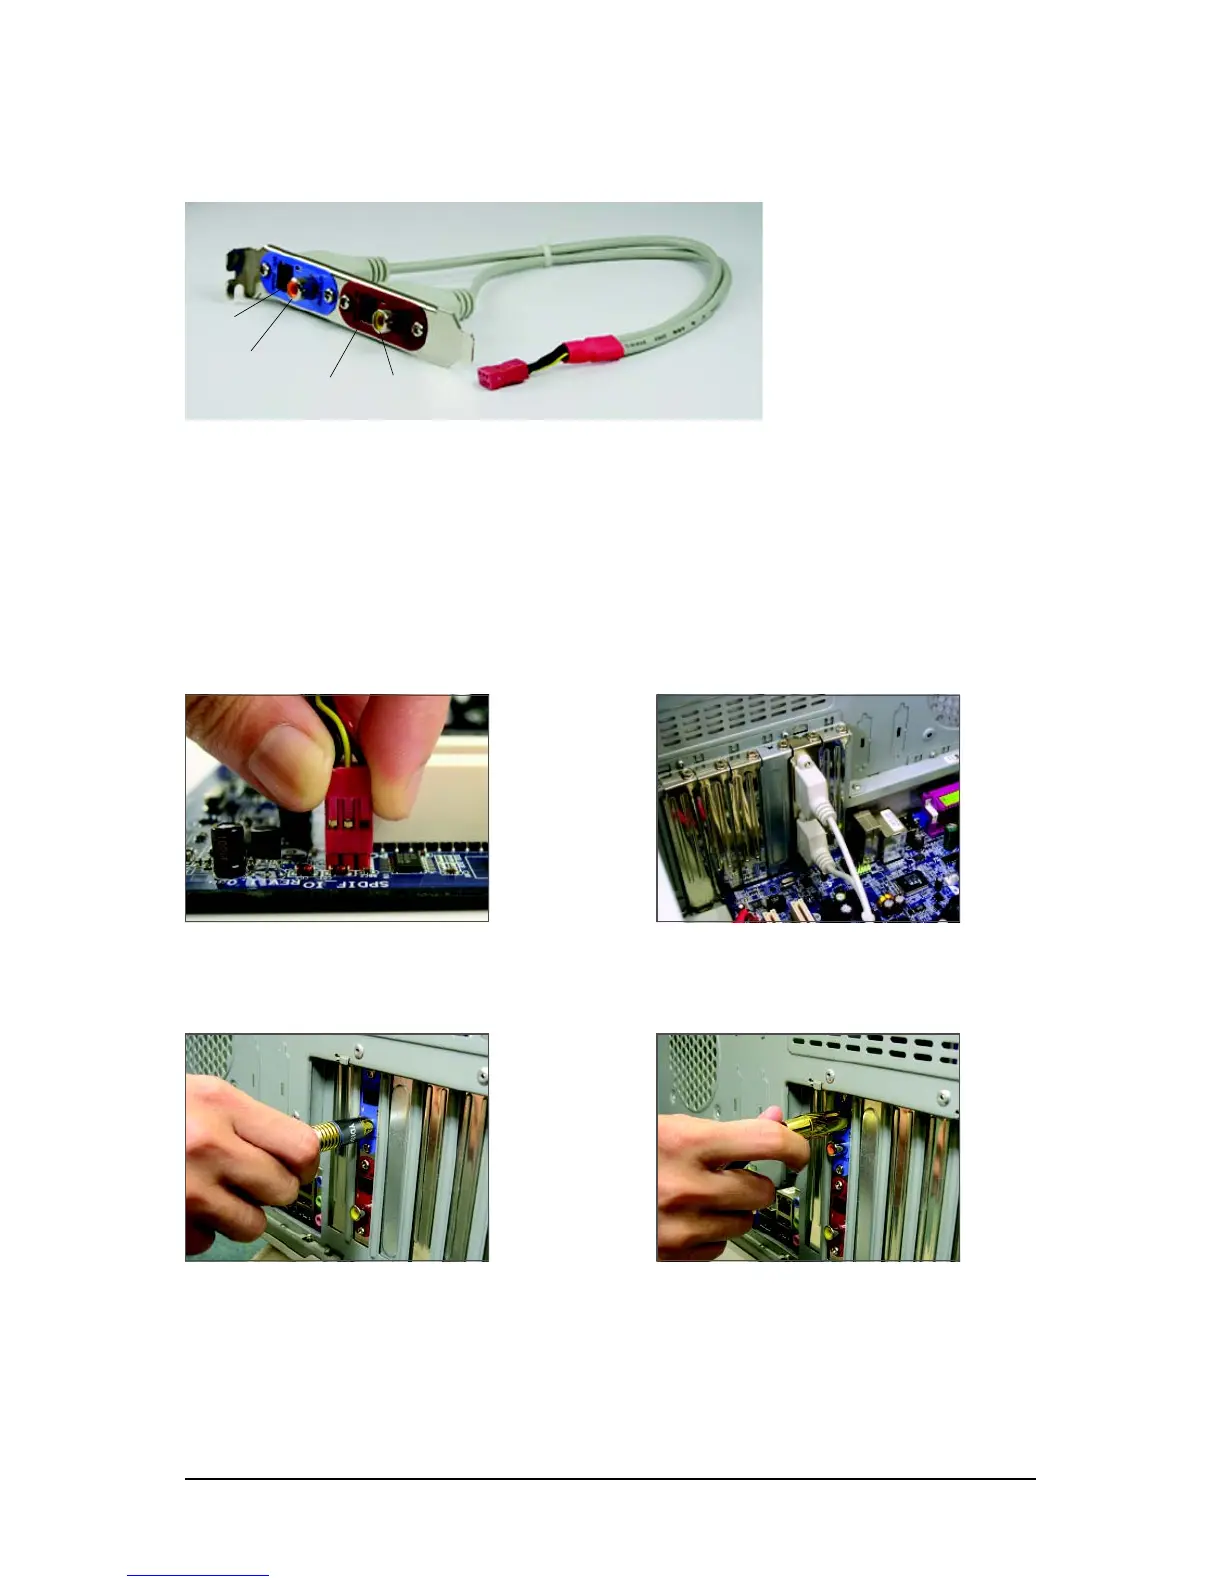
A. Installing the S/PDIF In and Out Cable:
Step 1:
First, attach the connector at the end of the cable
to the SPDIF_IO header on your motherboard.
Step 2:
Secure the metal bracket to the chassis back
panel with a screw.
Step 3:
Connect a S/PDIF coaxial cable or a S/PDIF optical cable (either one) to an external decoder for
transmitting the S/PDIF digital audio signals.
S/PDIF Coaxial Cable
S/PDIF Optical Cable
(Note) The actual locations of the SPDIF In and SPDIF Out connectors may differ by model.
 Loading...