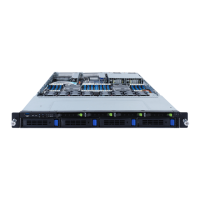
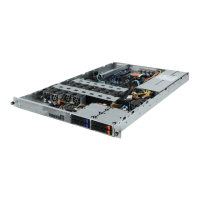
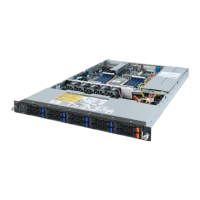
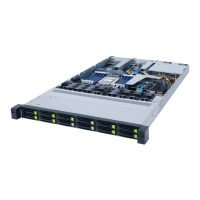
System Hardware Installation - 26 -
3-3 Installing the CPU and Heat Sink
Read the following guidelines before you begin to install the CPU:
• MakesurethatthemotherboardsupportstheCPU.
• Alwaysturnoffthecomputerandunplugthepowercordfromthepoweroutletbeforeinstalling
the CPU to prevent hardware damage.
• Unplugallcablesfromthepoweroutlets.
• Disconnectalltelecommunicationcablesfromtheirports.
• Placethesystemunitonaatandstablesurface.
• Openthesystemaccordingtotheinstructions.
WARNING!
Failure to properly turn off the server before you start installing components may cause serious
damage.Donotattempttheproceduresdescribedinthefollowingsectionsunlessyouarea
qualiedservicetechnician.
Follow these instructions to install the CPU:
1. Alignandinstalltheprocessoronthecarrier.
NOTE:
ApplythermalcompoundevenlyonthetopoftheCPU.Removetheprotectivecoverfrom
the underside of the heat sink.
2. Carefullyiptheheatsinkover.Theninstallthecarrierassemblyonthebottomoftheheatsinkand
make sure the gold arrow is located in the correct direction.
3. Remove the CPU cover.
NOTE:
Save and replace the CPU cover if the processor is removed from its socket.
4. AligntheheatsinkwiththeCPUsocketbytheguidepinsandmakesurethegoldarrowislocatedin
the correct direction. Then place the heatsink onto the top of the CPU socket.
5. Tosecuretheheatsink,tightenthescrewsinasequentialorder(1
g
2
g
3
g
4).
NOTE:
Whendissamblingtheheatsink,loosenthescrewsinreverseorder(4
g
3
g
2
g
1).
1
2
3
4
 Loading...