User Manual
4. Installation
10
358
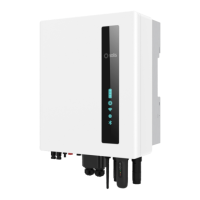
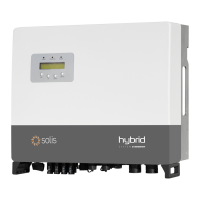
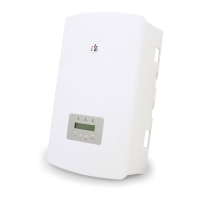
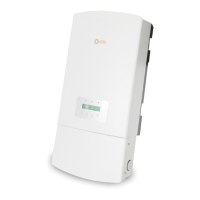
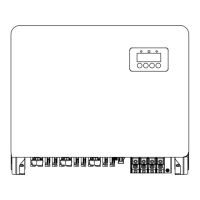
4.2 Mounting the Inverter
The inverter shall be mounted vertically.
The steps to mount the inverter are listed below:
1. Select the mounting height of the bracket and mark the mounting holes.
For brick walls, the position of the holes should be suitable for the expansion bolts.
WARNING:
The inverter must be mounted vertically.
Once a suitable location has be found accordingly to 4.1 using figure 4.3 mount the wall
bracket to the wall.
Dimensions of mounting bracket:
Figure 4.3 Inverter wall mounting
unit:mm
Figure 4.4 Wall Mount Bracket
2. Lift up the inverter (be careful to avoid body strain), and align the back bracket on the
inverter with the convex section of the mounting bracket. Hang the inverter on the
mounting bracket and make sure the inverter is secure (see Figure 4.4)
3-OB11*6.8
407.5
358
322
180
177
222
Φ6.8
177 117
23
Punch position
 Loading...