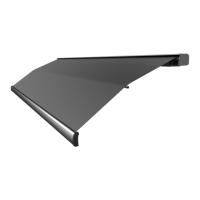
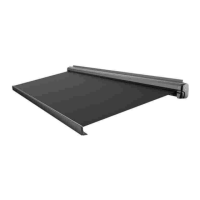
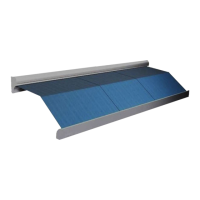
B. LAYOUT AND MOUNTING THE BRACKETS
1. MOUNTING THE AWNING – NOTE: The clearances needed for mounting
the VISION varies by manufacturer. The shape of the roof, the depth of
installation and all other factors should be taken into consideration
when installing this product. Please consult Girard Systems if there are
any questions regarding your installation.
a. Determine the exact position for the final installation of the awning.
b. Mounting brackets must be installed within 6” of the ends of the awning.
Once you have determined the location of the two end brackets snap a chalk
line between the two points to ensure alignment of the installation. You will
be able to reference this line to install the smaller middle brackets at a later
time.
c. To find the location of the smaller middle brackets please refer to the chart
on the following page. NOTE: The placement of the middle brackets
must comply with the VISION BRACKET PLACEMENT CHART. Failure
to follow these instructions will void the warranty of this product.
d. Now that you have determined the bracket locations, using the bracket as
your template, mark the holes for mounting the bracket.
e. Fix the brackets to the roof of the vehicle using appropriate sized fasteners.
NOTE: It is up to the installer to find adequate structure to securely
fasten the mounting brackets to. All caution must be taken to
weather seal all installation perforations. Failure to do this could
result in damage to the vehicle.
NOTE: Please consult your RV’s wiring diagram to ensure that no
wiring will be damaged while drilling any holes.