9
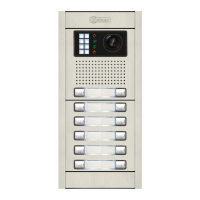
INSTALLATION OF THE DOOR PANEL
Configuring the contact type for Relay 1 and Relay 2 (lock release):
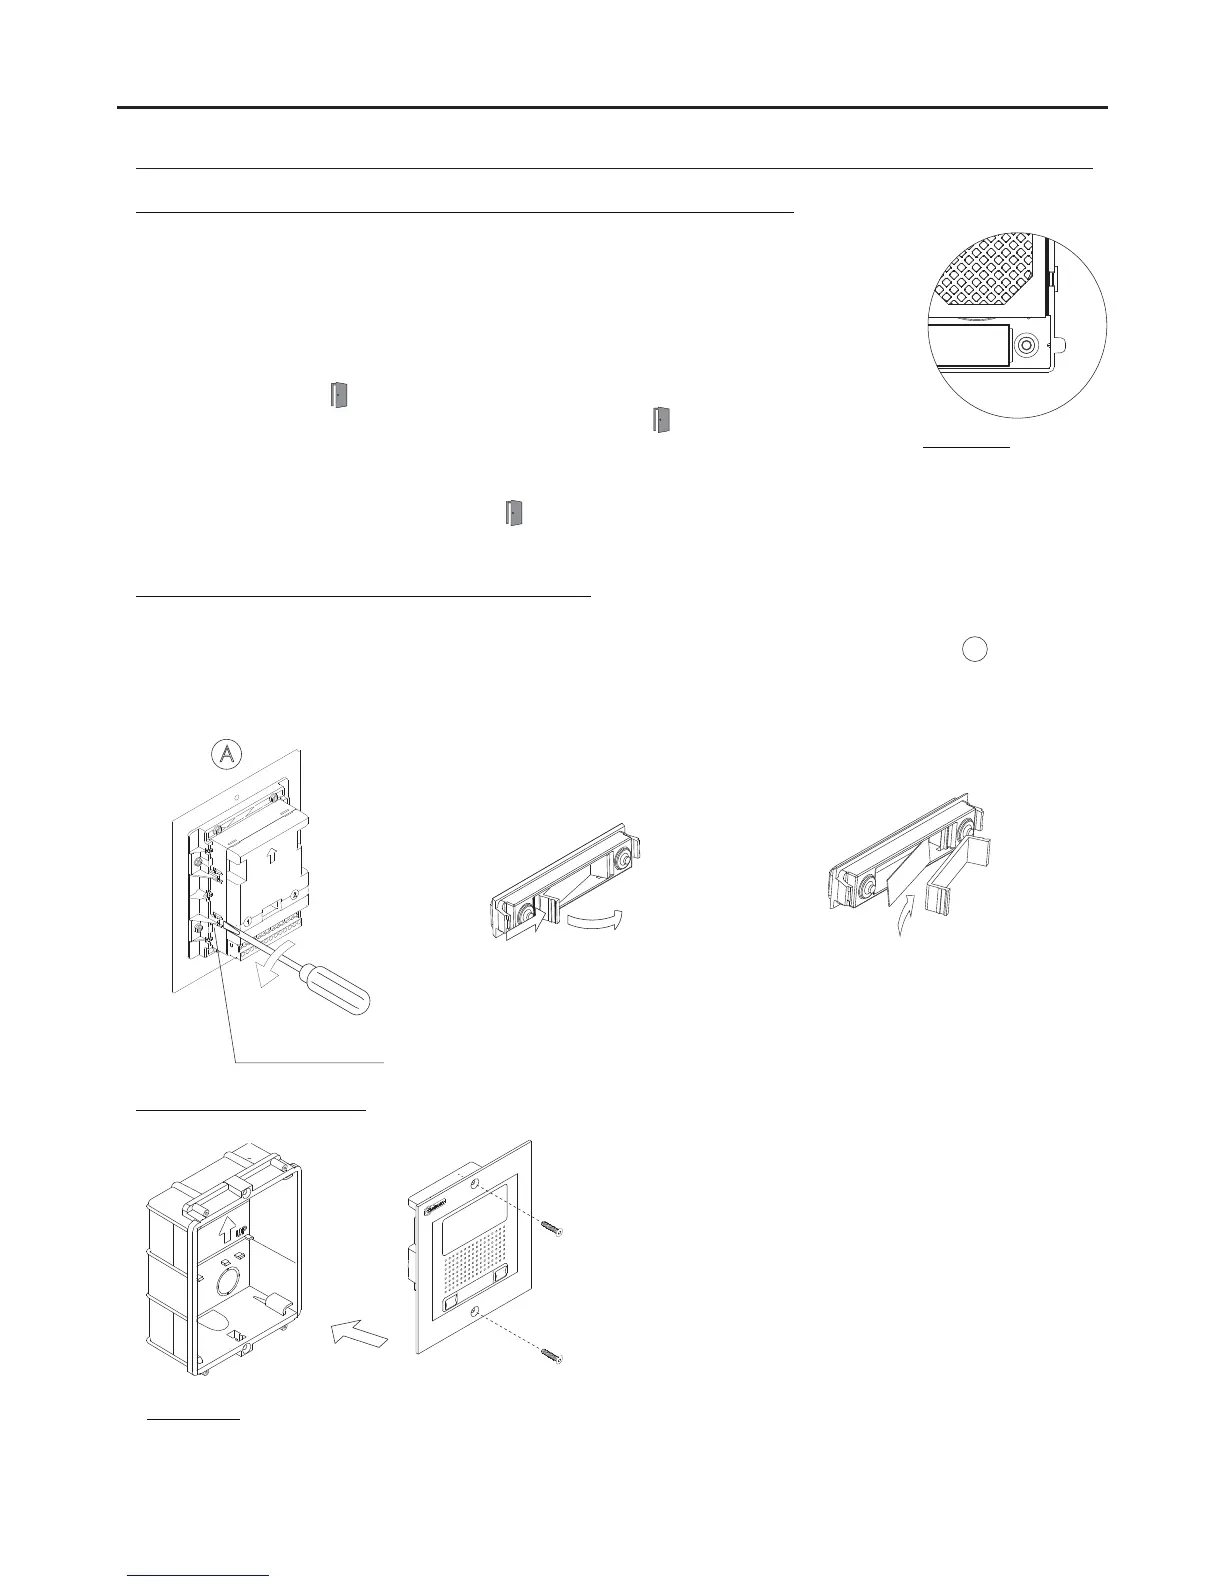
Inserting the push button identification labels:
Open the label holder
window.
Place the label
and close.
Closing the door panel:
Once the door panel has been correctly wired, configured
and adjusted, fix it to the embedding box using the
tamper-proof screws and ¼” tamper-proof screwdriver bit
supplied.
Important:
- Before closing the door panel, make a test call to any apartment to ensure that everything works correctly.
- Keep the tamper-proof screwdriver bit in a safe place in case the door panel needs to be reopened.
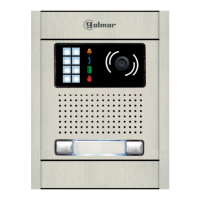
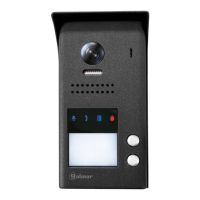
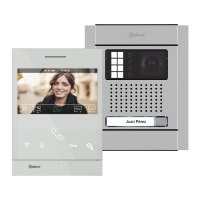
STAINLESS STEEL NEXA MODULAR GB2 VIDEO DOOR ENTRY SYSTEM KIT – HOUSES
To insert the push button identification labels, remove the sound module from the door panel to access the label
holder and use a flat screwdriver to gently lever open the fastening clips, as shown in drawing . Once theA
identification labels have been inserted, reattach the sound module to the door panel. Line up the tabs on the sound
module with their respective fastening clips and then press gently until correctly positioned.
*
( )
A
Fastening clips (x4).
To change the contact type for lock release activation of Relay 1 and Relay 2 of the door
panel, follow these steps:
- Disconnect the door panel's power supply.
- Set DIP 6 on the sound module (see page 6) to ON.
- Reconnect the door panel's power supply.
- Press and hold down button P1 on the sound module for 6 seconds (until the confirmation
tones end and LED on the door panel blinks).
- After this, each press will change the type of contact, LED on the door panel will blink
rapidly if the contact selected is NO (factory setting) or slowly if the contact selected is NC.
Once the required option is selected, stop pressing P1.
- Finally, set DIP 6 to OFF.
Aconfirmation tone will be heard and LED on the door panel will turn off.
Description:
Normally open NO
Normally closed NC
Important: The type of contact selected will be for Relay 1 and Relay 2.