1. Place the 2 cardboard boxes that contain the
hulls parallel on a flat surface approximately
2 meters apart and carefully cut the top open.
The sides of the boxes may be folded down
to provide a clean and protective working
surface. The packing frames inside the box
should keep the hulls upright while you work.
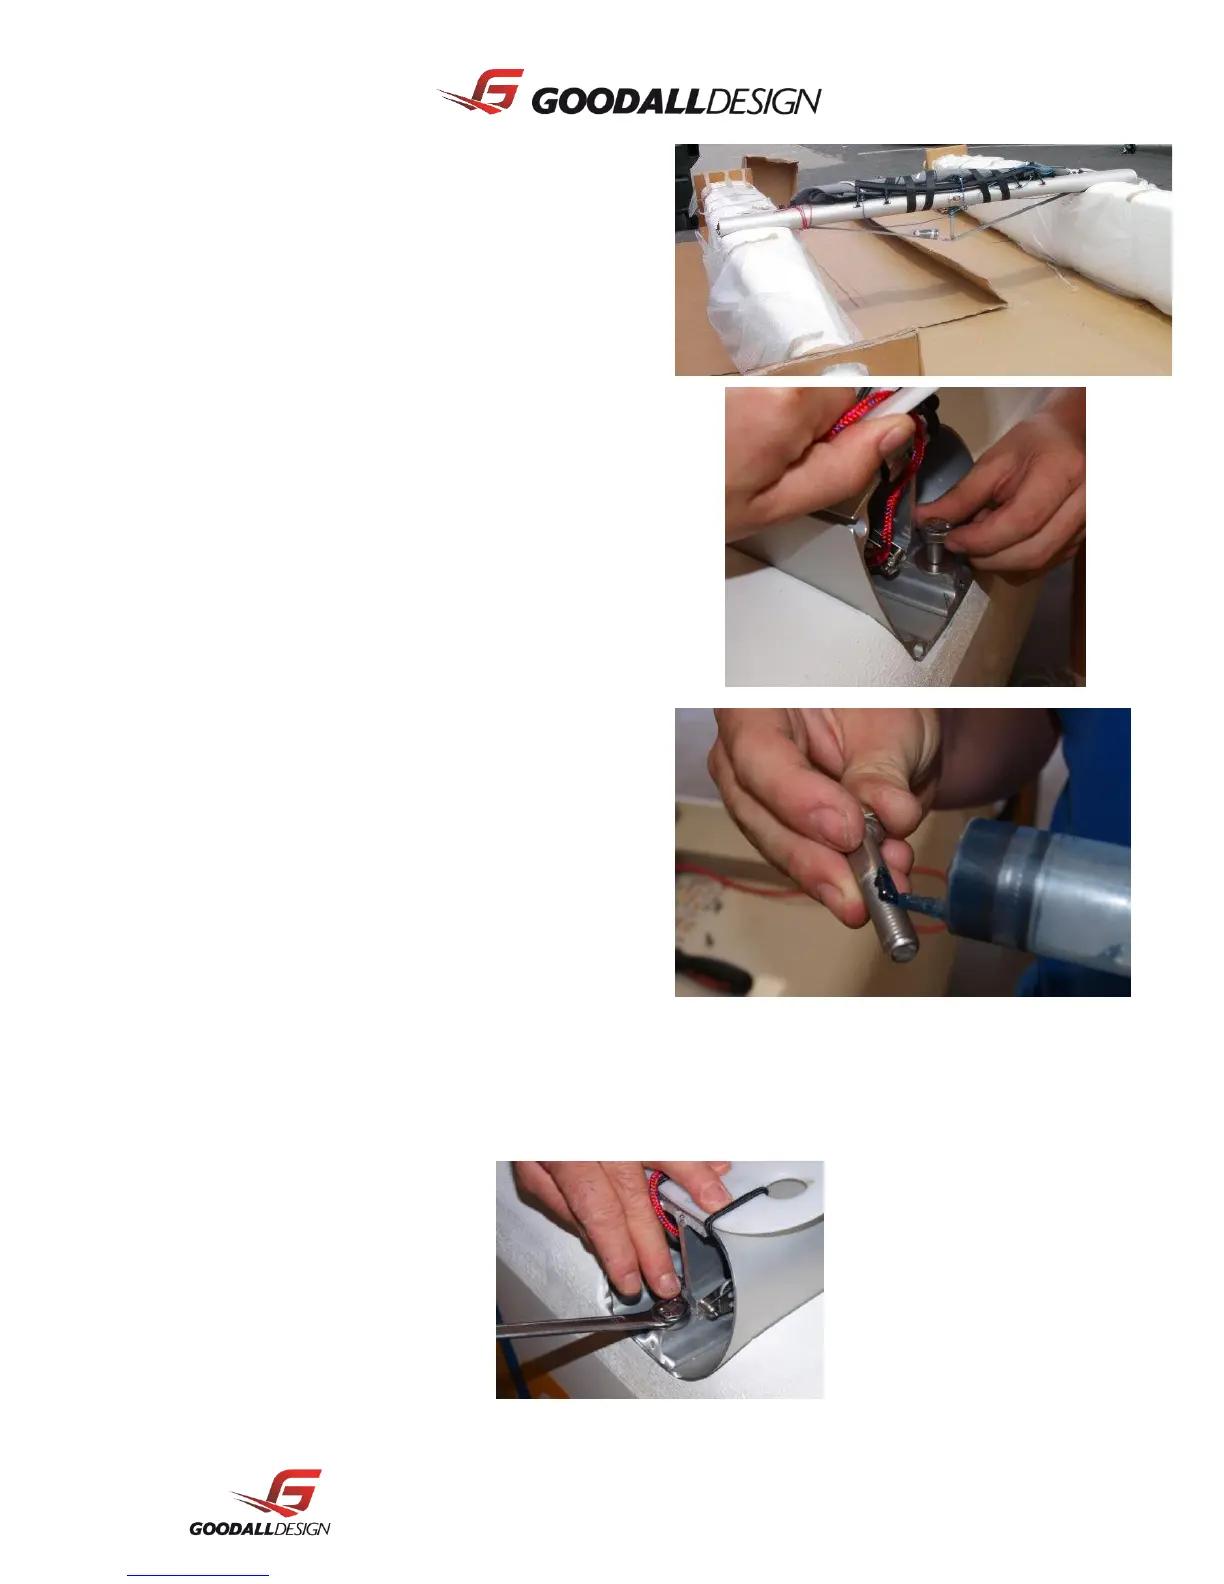
2. The beams will come from the factory pre-
rigged and ready to go onto the boat. The
shorter bolts and smaller washers are for the
outer locations and the longer bolts and
bigger washers for the inner locations. To
access the outer bolt holes you will have to
remove the plastic end caps from the beams
with a Phillips head screwdriver, don’t undo
any of the shock cords on the front beam as
they are already in the correct position.
3. Wipe all dirt and grease from the beam pad
before sitting the beam on. Make sure the
beams are facing the correct way. The rear
beam should have the traveler saddles facing
backwards. Apply grease to the threaded part
of all bolts before inserting them into the hull.
Get all the bolts started before tightening any
of the bolts. We recommend beginning with
the inner front beam bolt. If a particular bolt
is being difficult to fit. Release all the beam
bolts and fit this bolt first.
4. Use a 17 mm hexagonal socket or spanner to tighten the bolts properly. The bolts should be set to
20Nm using a torque wrench. Check the bolts regularly but in never exceed the recommended 20
Nm.