308441 19
Service
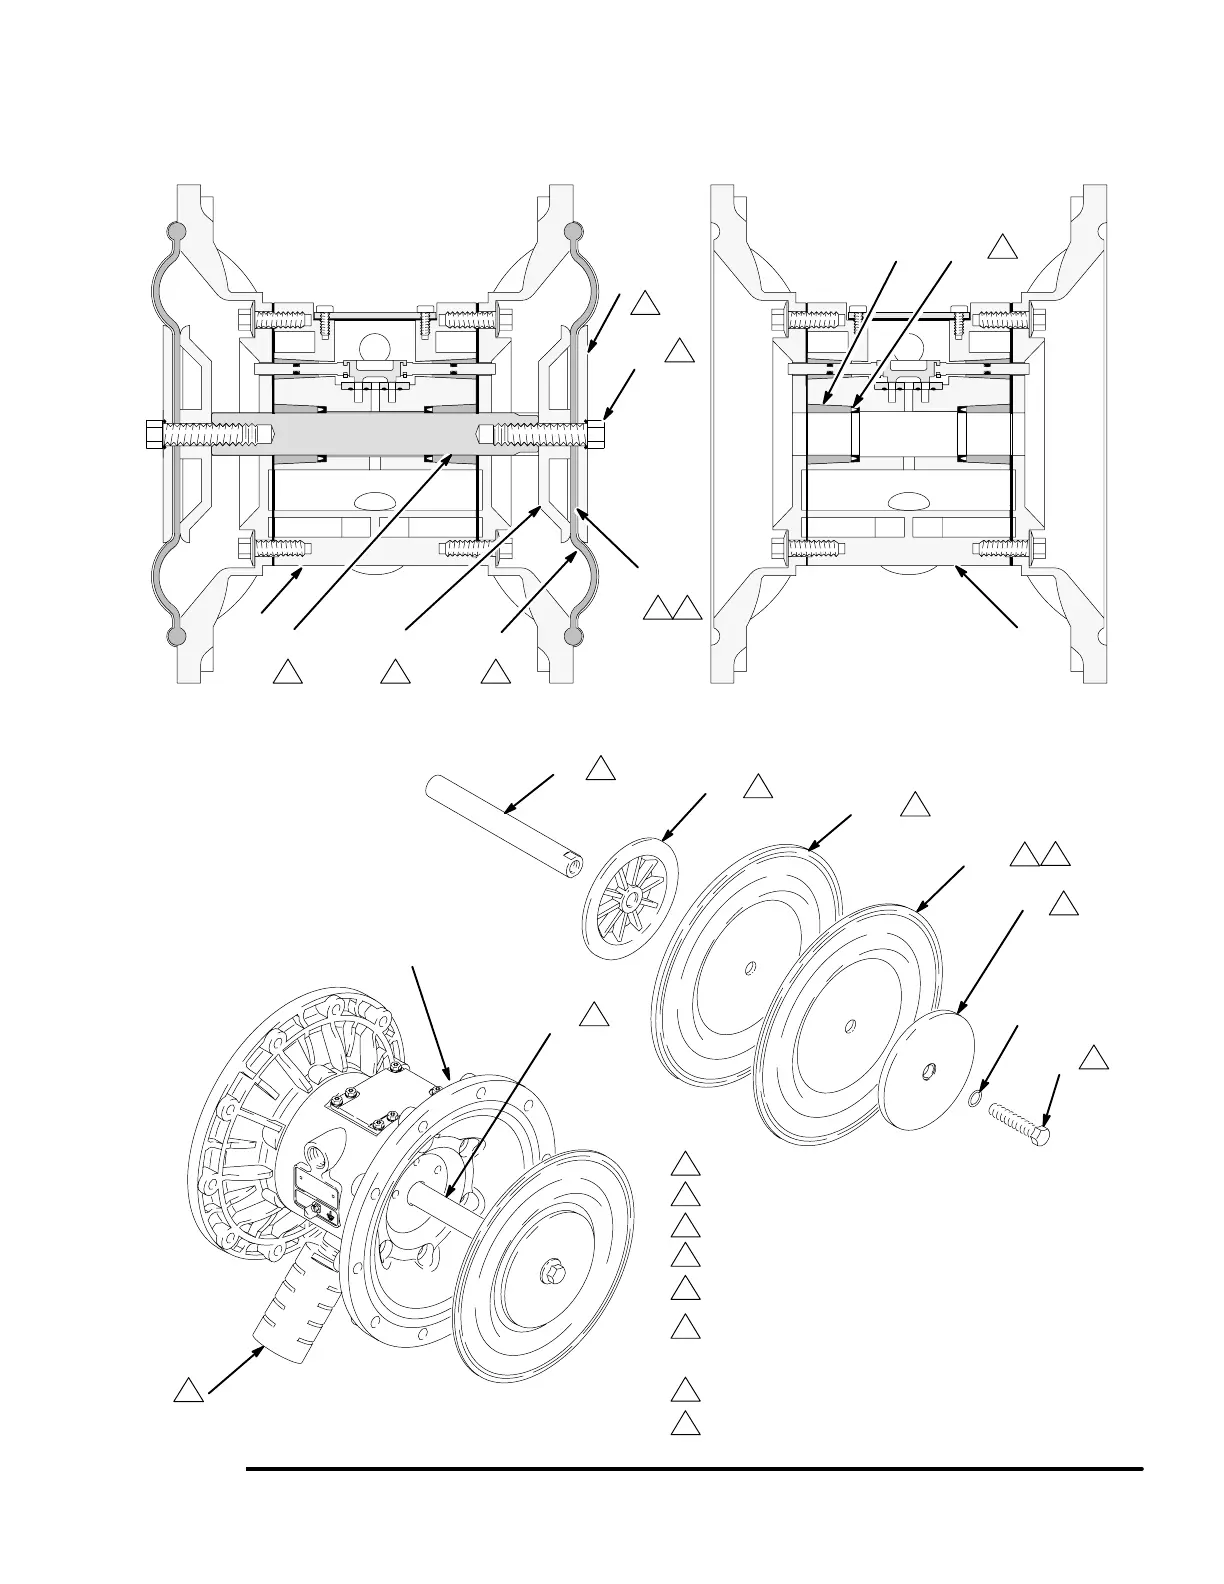
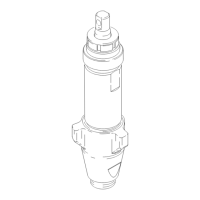
03275A
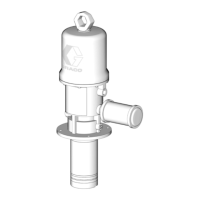
03274A
Fig. 12
1
3
4
2
24
104
403*
401*
108*
107
24
24 104 401*
403*
107
105
19 402*
Cutaway View, with Diaphragms in Place Cutaway View, with Diaphragms Removed
1
Lips face out of housing (1).
Rounded side faces diaphragm (401).
Air Side must face center housing (1).
1
Grease.
Apply medium-strength (blue) Loctite or equiva-
lent. Torque to 20 to 25 ft-lb (27 to 34 N-m) at 100
rpm maximum.
Used on pumps with PTFE diaphragms only.
5
6
1
2
3
3
3
3
1
4
4
4
5
5
6
6
105
2
7
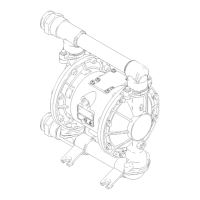
Recessed side faces diaphragm (401).
7
7
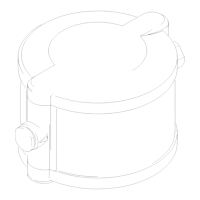
03276C
8
Muffler not included on Model No. 253485.
8