Spraying
2 313895A
Spraying
The spray pattern can be adjusted by changes to:
• Nozzle size
• Fluid and/or air flow
• Air needle position
• FineFinish disk size* (see next page)
The standard applicator adjustment
is to adjust the air
needle slightly behind the fluid nozzle. Fully open the air
valve (3), while adjusting the needle valve (5) for the
minimum air flow necessary for a good pattern.
NOTE: Installing needle (20) too far forward can force
air back into fluid hose, stopping material flow.
Air bleeds from the applicator nozzle
whenever the
applicator air valve (3) is open. Close the valve to stop
the air if desired. Otherwise, the air valve can stay open
during priming.
Adjusting the spray pattern
requires testing to balance
the fluid flow and the air to the applicator, and requires
the correct nozzle size.
Spray Techniques
1. Test the spray pattern on cardboard. Hold the appli-
cator 18-30 in. (455-760 mm) from the surface. Use
this spraying distance for most applications.
2. Adjust fluid flow until material flow is adequate.
3. Adjust the applicator air flow valve (5) to achieve a
uniform round spray pattern.
4. Consider the size of aggregate in the material and
the coarseness of the spray pattern. Larger nozzles
allow heavier patterns.
5. Overlap each stroke 50%. A circular overlapping
pattern may give the best results, and is obtained by
grasping the flexhead (2) and swinging the head
around as the hose flexes.
When spraying small confined areas
use the valve and
knob to make fine adjustments without adjusting the
pump.
Material Flow Adjustments
For a lighter spray pattern, adjust the air needle (20)
closer to the fluid nozzle and/or reduce the fluid flow.
For a heavier spray pattern, adjust the air needle (20)
farther back from the fluid tip and/or increase the fluid
flow.
NOTE: Withdrawing needle (20) too far can force air
back into fluid hose, stopping material flow.
Air Flow Valve Adjustment
To decrease air flow, turn valve knob (5) clockwise.
To increase air flow, turn valve knob (5) counterclock-
wise.
Check material and thin as needed to maintain the
proper consistency. The material may thicken as it sits
and could slow down application or affect the spray pat-
tern.
Flush and dry applicator thoroughly at the end of each
use.
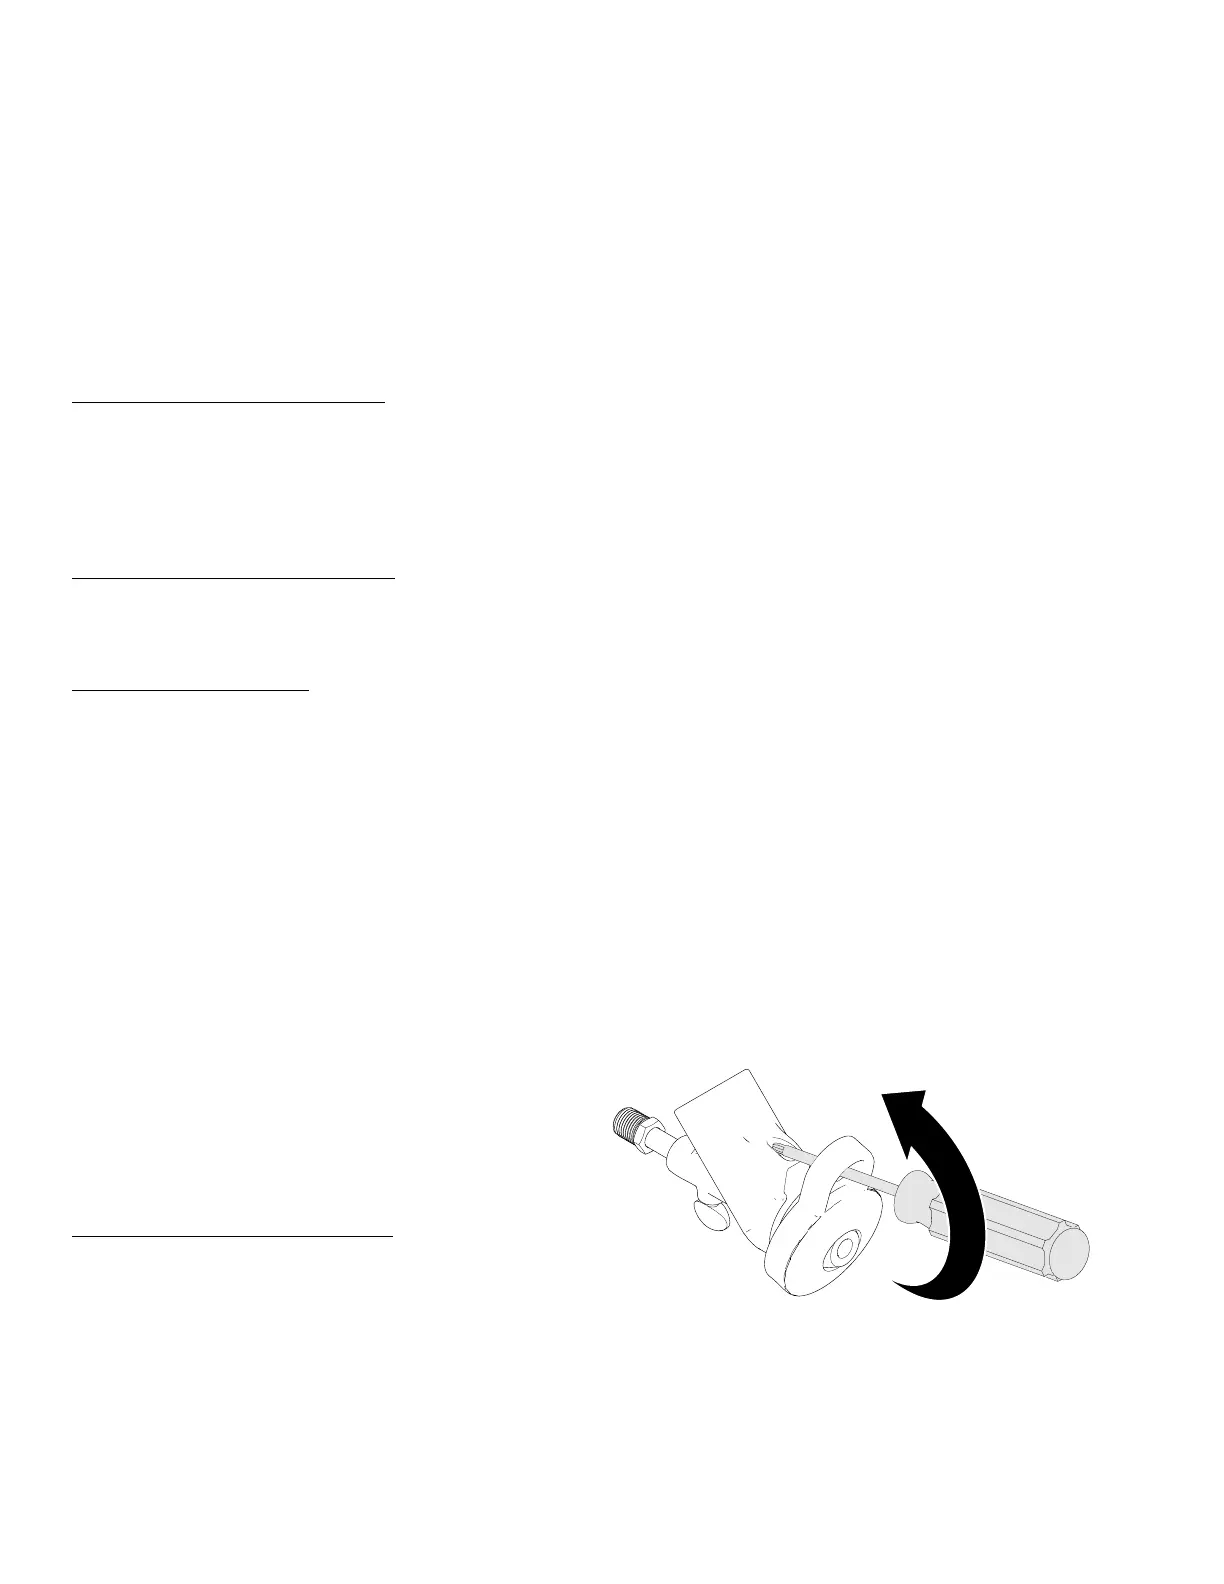
Installing Nozzle Retaining Cap
1. Place nozzle retaining cap over top lip of applicator
housing.
(Optional)
2. Insert screwdriver through hole in tab of nozzle
retaining cap.
3. Push screwdriver head against notch on applicator
tip and pry nozzle retaining cap over lip until it snaps
into place.
ti14355a