~~~~
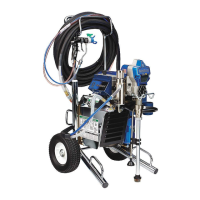
SERVICE
Pressure
Relief
Procedure
WARNING
To reduce the risk of serious bodily injury, including fluid injection; splashing in the eyes or on the skin; injury from
moving parts or electric shock, always follow this procedure whenever you shut
off
the sprayer, when checking
or
servicing any pan of the spray'system, when installing, cleaning or changing spray tips, and whenever you stop
spraying.
2.
Turn the
ON/OFF
switch
OFF.
1.
Engage
the gun safety latch.
4.
Disengage the gun
safety
latch.
3.
Unplug the power
supply
cord.
5.
Hold
e
metal part
of
the
gun
firmly to the side
of
a
grounded metal pail, and trigger the gun
to
relieve pressure.
6.
Engage the gun safety latch.
7.
Open the drain valve/pressure relief valve, having
a
container ready to catch the drainage.
8.
Leave the drain valve/pressure relief valve open until you are ready to spray again.
If
you
suspect the spray tip or hose
is
completely clogged, or that pressure has not been fully relieved after follow
-
ing the steps above,
VERY SLOWLY loosen the tip guard retaining nut or hose end coupling and relieve pressure
gradually, then loosen completely. Now clear the tip
or
hose.
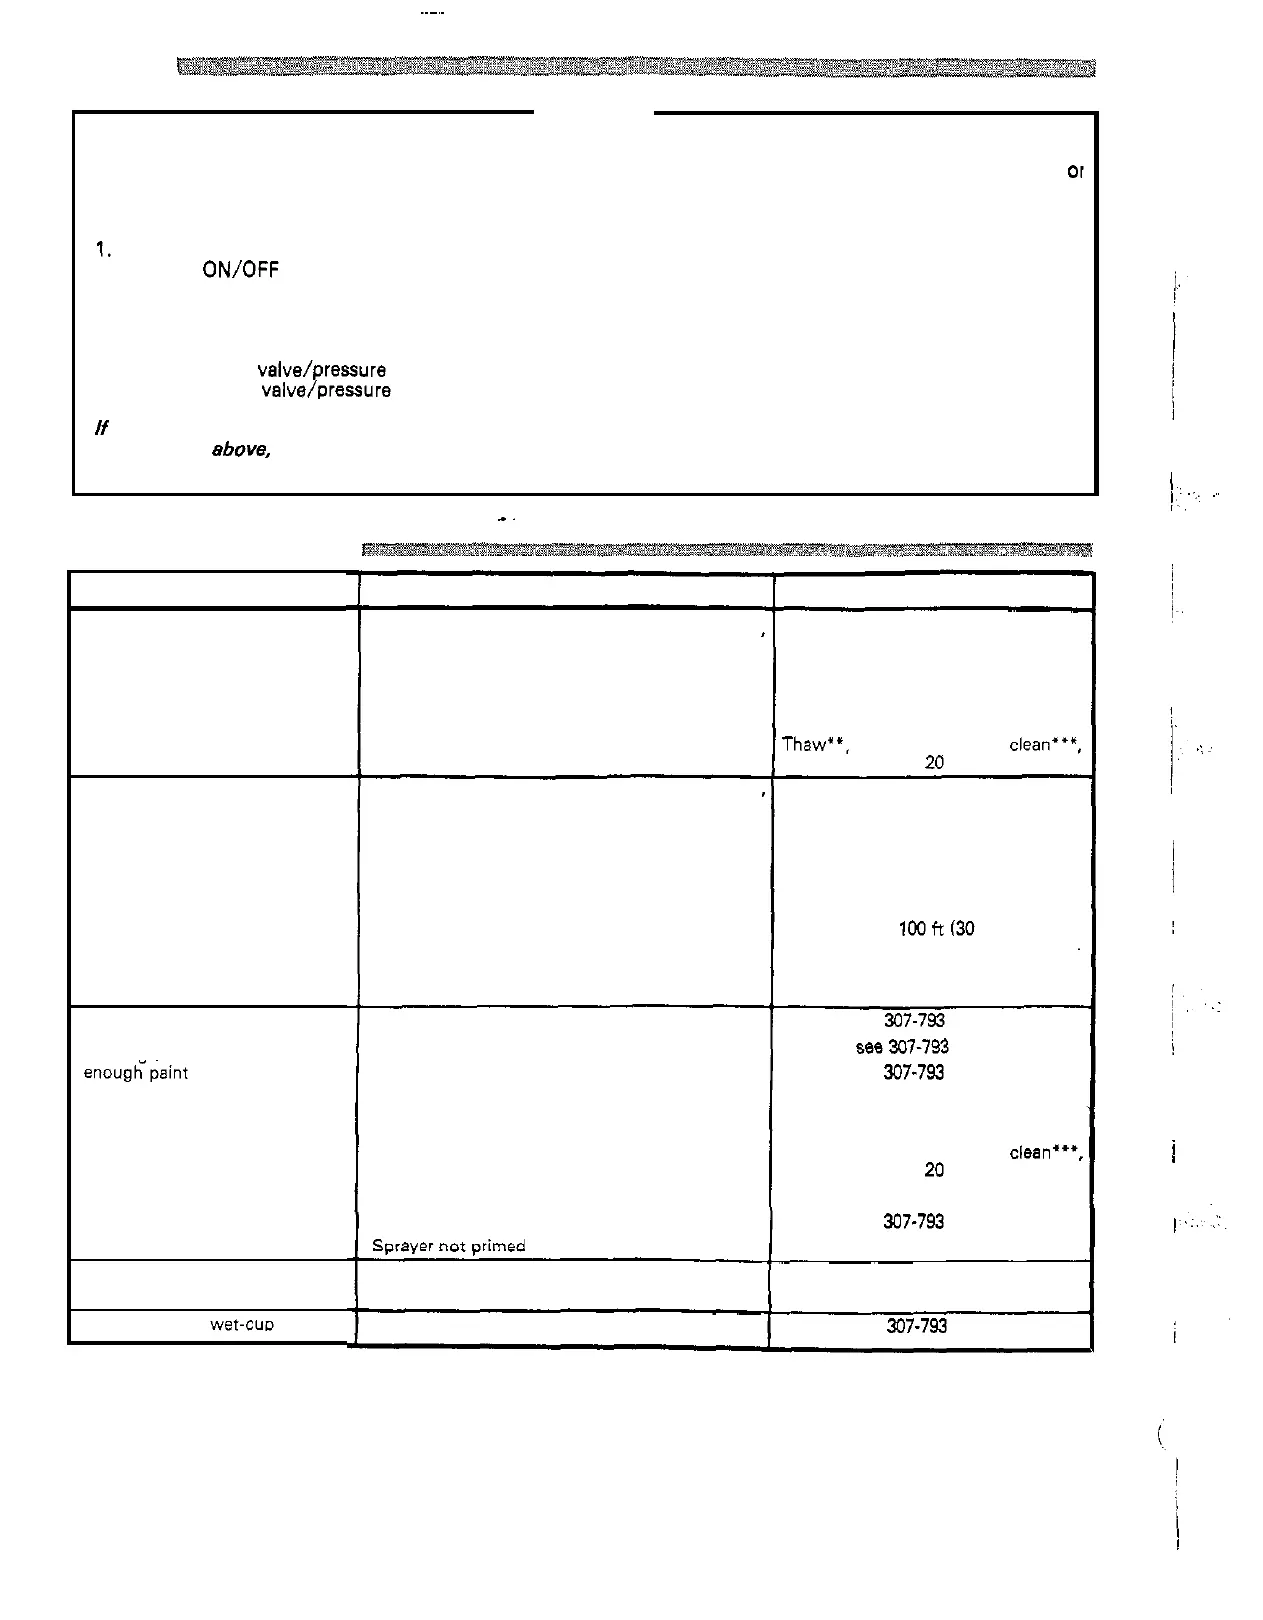
TROUBLESHOOTING CHART
-.
PROBLEM
Electric motor won't run
spraying
Electric motor stops while
Electric motor runs, but low or
strokino (See PROBLEM
"
Not
no paint output and pump not
enougti-paint pressure
"
, on page
15,
also.)
Electric motor labors when start
-
ing, blowing fuses
Paint leaks into
wet-CUD
CAUSE
or building circuit fuse blown
Power or extension cord unplugged or damaged
Motor overload switch' has opened
Pressure setting too low
Pressure control frozen or damaged by over
pressurization
or building circuit fuse blown
Power or extension cord unplugged
or
damaged
Motor overload switch' has opened
Pressure setting too low
Spray tip or filter plugged
Wrong type extension cord
Piston ball check not seating
Piston packings worn or damaged
Intake valve ball check not seating
Pump frozen
Filter upside down
pressurization
Pressure control frozen or damaged by over
Gear train damaged
Worn pump parts
Snrsver
not
nrimed
Capacitor failure
Circuit board failure
Throat packings worn or damaged
~~~
Check, reset or replace
allow to cool, decrease pressure
Unplug power cord, relieve pressure,
Increase
Thaw'*, change, remove or clean***
replace, see page
20
Check, reset or replace
Unplug power cord, relieve pressure,
allow to cool, decrease pressure
Increase
Remove and clean
Use maximum
100
ft
(30
ml,
3
wires
12
gauge minimum, grounded exten
-
sion cord
~~
-
Service, see 307-793
Replace.
see
307-193
Service, see 307-793
Thaw
"
Remove
and
reinstall
Thaw'.. change, remove or
clean**'
replace, see page
20
Replace
Service, see
307-793
Prime
sprayer,
see page
10
Replace capacitor, see page
19
Replace circuit board, see page
21
Replace, see 307-793
I.
i.'.
i
i
!
I"
'::
,
.'
..
.
..
.:
:
,
14
307
-
724
i

 Loading...