Installation
18 313431A
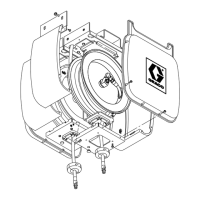
Hose Reel Enclosure Installation (see FIG. 15, page 20)
NOTE:
•For each reel : order 1 Enclosure Mounting Channel kit and 1 Side Panel kit.
•For each reel bank: order 1 End Panel kit.
• Before installing the Hose Reel Enclosure, you must install the hose on the reel and adjust the spring’s tension.
1. Bolt reel base to mounting channel.
2. Slide hose reel into the reel base (302). Install the
hold-down plate (303), washer (305) and capscrew
(304) as shown in F
IG. 15. Tighten the screw firmly.
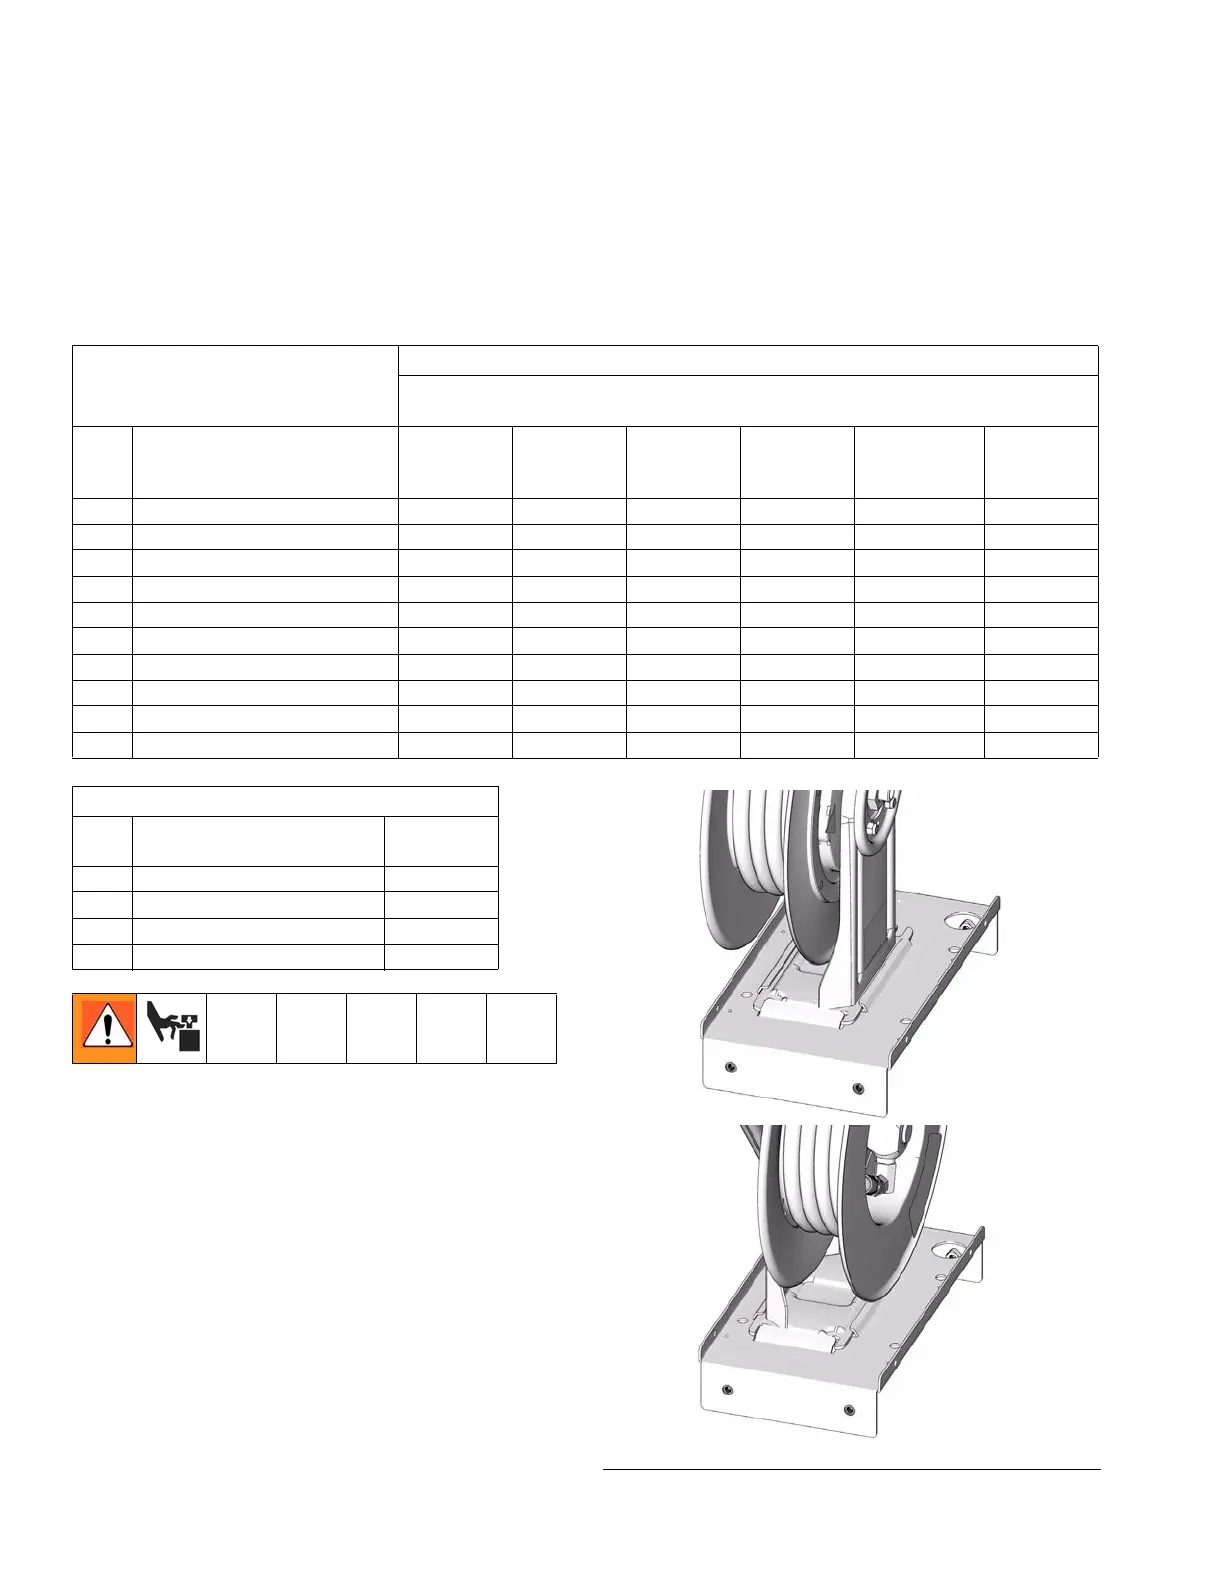
NOTE: Although the hose reel can be installed on the
reel base (302) with the guide arm positioned on the left
or the right side, there is only one correct installation
position. When the hose reel is correctly installed in the
reel base, the reel will be centered over the reel base.
See F
IG. 13 to verify you have installed the hose reel in
the reel base correctly.
.
HR and HP Models: Side Panel Kits
Part Number - Reel Size
Color
FN Description
24A217 - 10
24A218 - 20
White
24A940 - 10
24A945 - 20
Metallic Blue
24A941- 10
24A946 - 20
Red
24A942 - 10
24A947 - 20
Black
24A943 - 10
24A948 - 20
Mercedes Blue
24A944 - 10
24A949 - 20
Yellow
301SCREW, M6 x 1.0 x 20 4444 4 4
302 BASE, reel, enclosed, black 1111 1 1
303PLATE, hold down 1111 1 1
304SCREW, 3/8” -16 x 5/8” 5555 5 5
305WASHER, lock, 3/8” 5555 5 5
306SCREW, thumb, 3/8” - 16 x 1/2”4444 4 4
307PANEL, side 1111 1 1
308PANEL, side 1111 1 1
309SCREW, #10 - 24 x 5/8” 2222 2 2
310NUT, spring 2222 2 2
HR and HP Models: End Panel Kits
FN Description
24A950 - 10
24A951 - 20
401 NUT,spring 12
402 SCREW, 10 - 24 x 5/8” 12
403 PANEL, end 2
404 LABEL, Graco logo 2
FIG. 13
WRONG
CORRECT