12
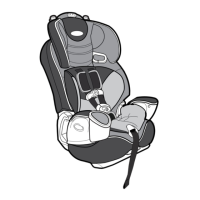
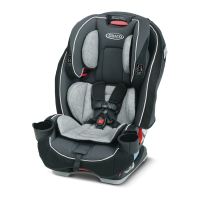
t3FNPWFTFBUQBEGSPNSJHIUIBOETJEFPGUIFDIJMESFTUSBJOUBTDIJMETJUTJO
restraint D.
t*OTFSUDVQIPMEFSJOUPPQFOJOHJODIJMESFTUSBJOUE.
t3PUBUFDVQIPMEFSEPXOVOUJMZPVIFBSBDMJDLUPMPDLJOUPQMBDFF.
t8SBQTFBUQBECBDLBSPVOEDVQIPMEFSBOETJEFPGDIJMESFTUSBJOUG.
t5VDLGBCSJDBSPVOEDVQIPMEFSBOEMPDLLOPCH.
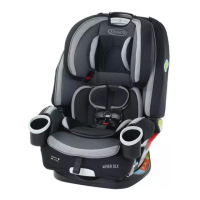
4.0 Assembly
4.2 Attaching Cupholder
4.1 Attaching LATCH Storage Compartment
P
D
1
5
9
9
0
5
A
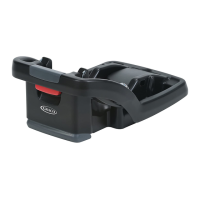
NEVER use without LATCH storage compartment or
cupholder attached.
NEVER place sharp or pointed objects in a
cupholder. In a crash, these objects could hit your
child and cause serious injuries.
t*OTFSULATCH storage compartment under metal tube into bottom of
base as shown A.
t-JOFUBCTPOCPUUPNPGLATCH storage compartment with openings in
child restraint B.
t1VTIJOUPCBTFVOUJMZPVIFBSBDMJDLC.