18
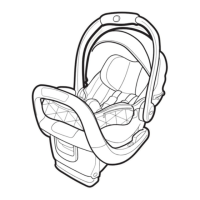
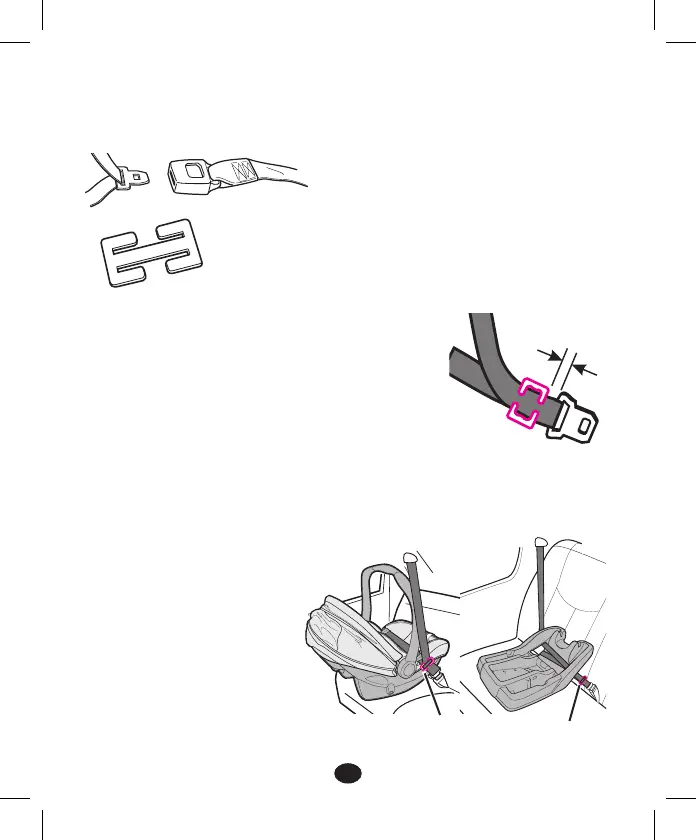
To Install Locking Clip:
1. Tighten the buckled belt by pushing down
hard on the infant restraint and pulling hard
on the shoulder belt.
2. While pushing down on the infant restraint,
pinch the two straps together behind the
buckle tongue. Unbuckle the belt
without allowing it to slip.
3. Connect lap and shoulder belts with locking clip as
shown Ê and Ë.
4. Rebuckle belt. Check that lap belt does not
move by pulling and
pushing hard on the
infant restraint.
If belt loosens or
lengthens, repeat
procedure.
Locking clip
• Combination Lap/Shoulder
Belt with Sliding Latch
Plate
This belt has a latch plate that slides
freely along the belt.
This belt MUST be converted to prevent
movement of the lap portion of the belt.
You must use a locking clip (provided
with the infant restraint) when using the
infant restraint without the base unless
your vehicle’s seat belt can be
converted in another way as described
in your vehicle owner’s manual.
2.5 cm
(1 inch)
Ê
Locking clip goes here,
2.5 cm (1 inch) from the buckle
Ë
 Loading...